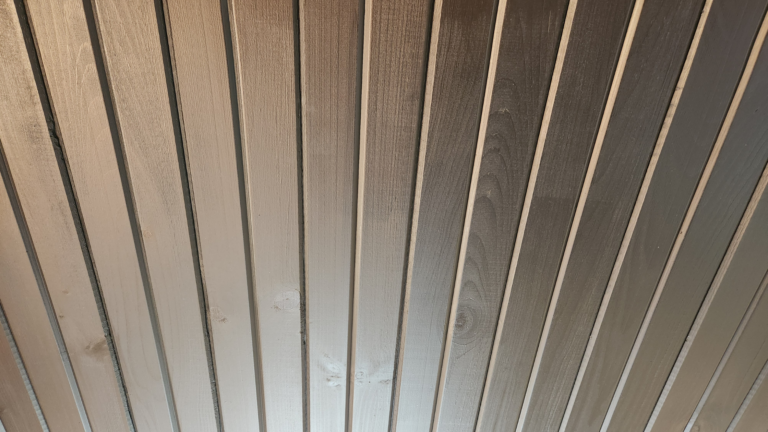
Dining Room Makeover Series, Part 2
If you haven’t already checked out Part 1 of my Dining Room Makeover series, I highly recommend reading it first! It explains why we left things unfinished to tackle this next DIY project: covering the support beam with pine barn wood.
Turning a Challenge Into a Design Feature
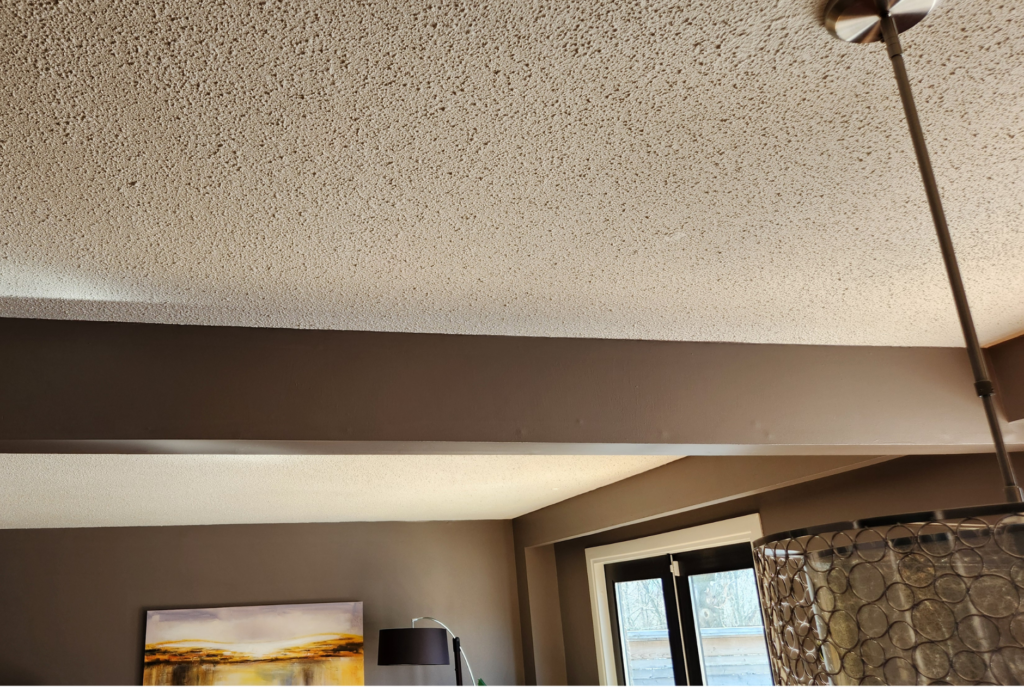
I can’t even imagine the cost of raising the support beam into the ceiling, so instead, I decided to work with it! Since this dining room makeover is all about finding creative solutions, it made sense to incorporate the beam into the design. I’ve always admired rustic wooden beams in homes I’ve seen on HGTV and Pinterest, so why not bring that charm into my own space?
Finding the Perfect Pine Barn Wood Planks
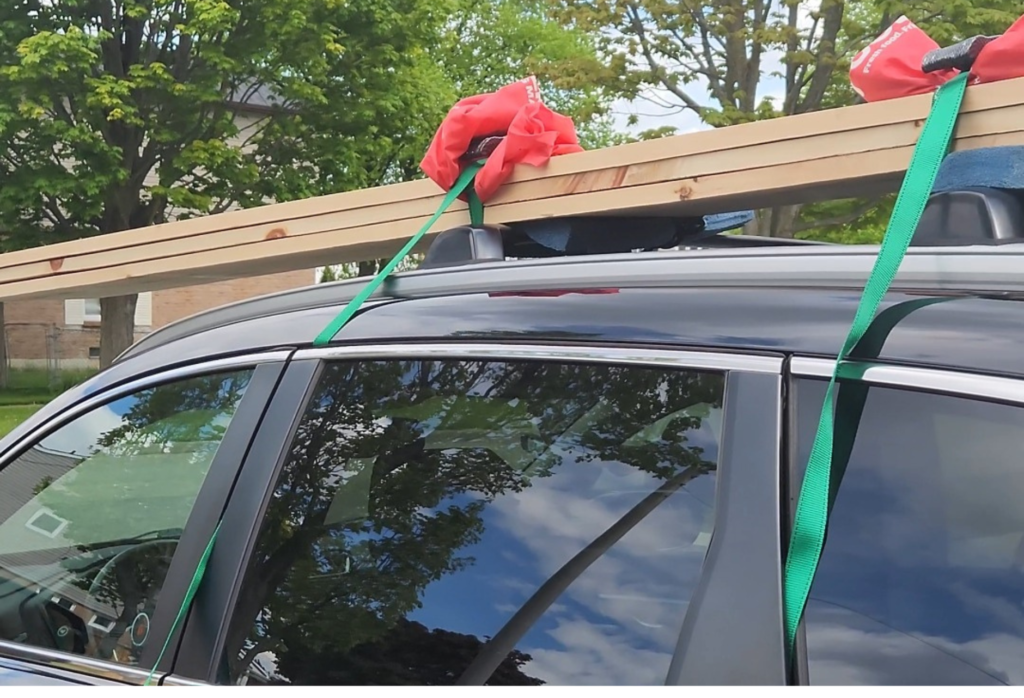
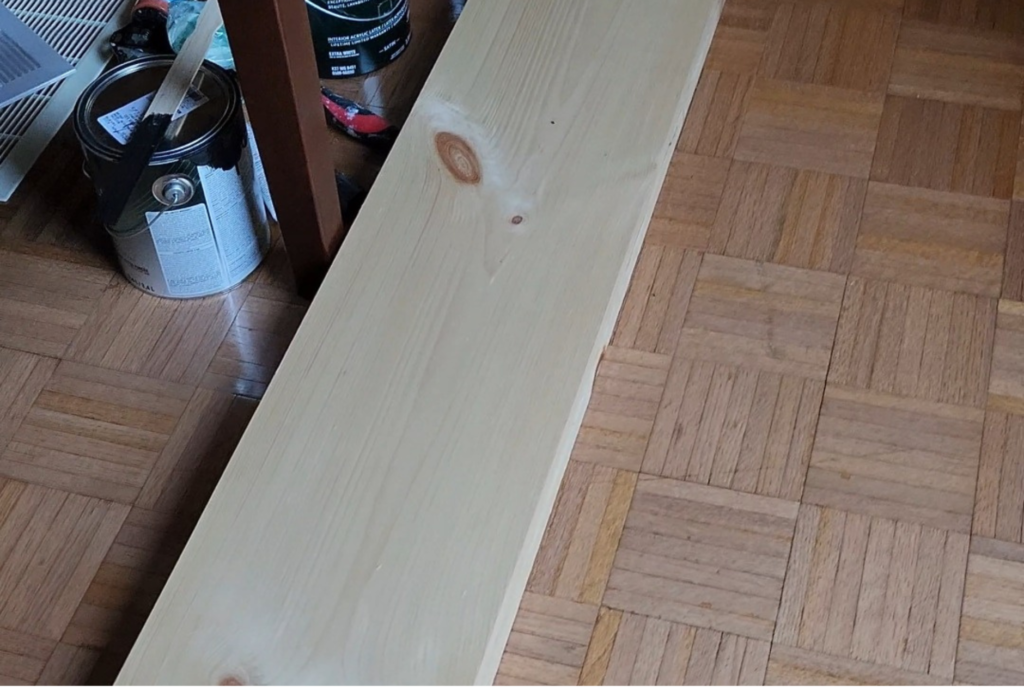
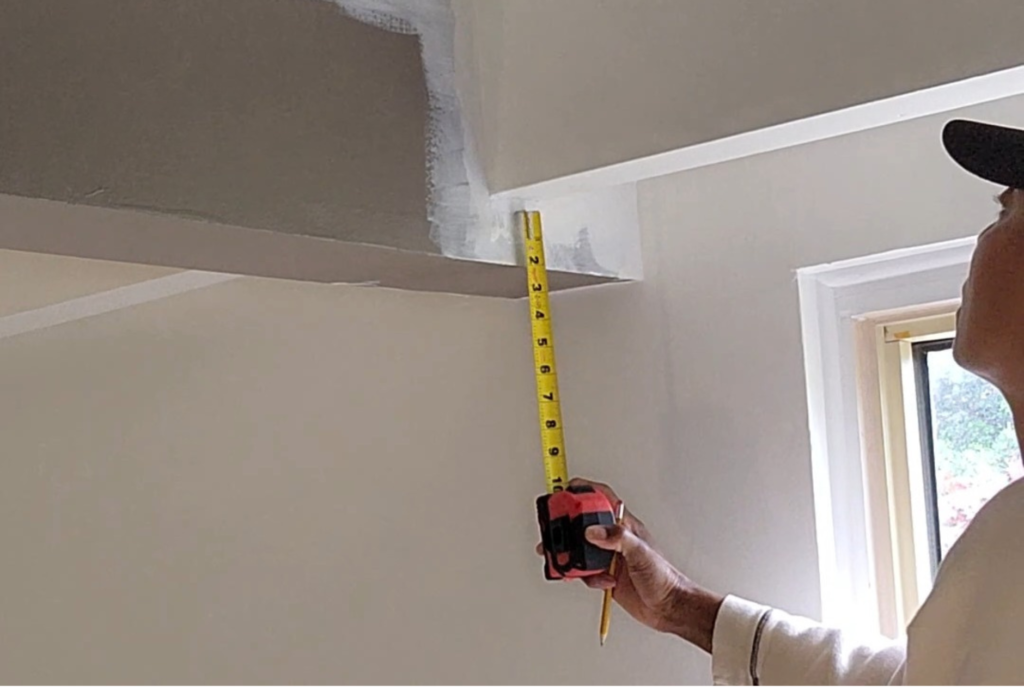
After measuring the beam, the next step was to source planks wide enough to cover it—at least 12” wide and 11 feet long. I didn’t have to search far. A friend who recently updated their home with pine barnwood told me exactly where to find it. Lucky me, I found the planks at a big box store, and the price was even better than expected! The only challenge? Hauling them home safely, strapped to the roof of my car. It was a nerve-wracking trip, but we made it back without a hitch (and without losing any boards on the road!).
To Miter or Not to Miter?
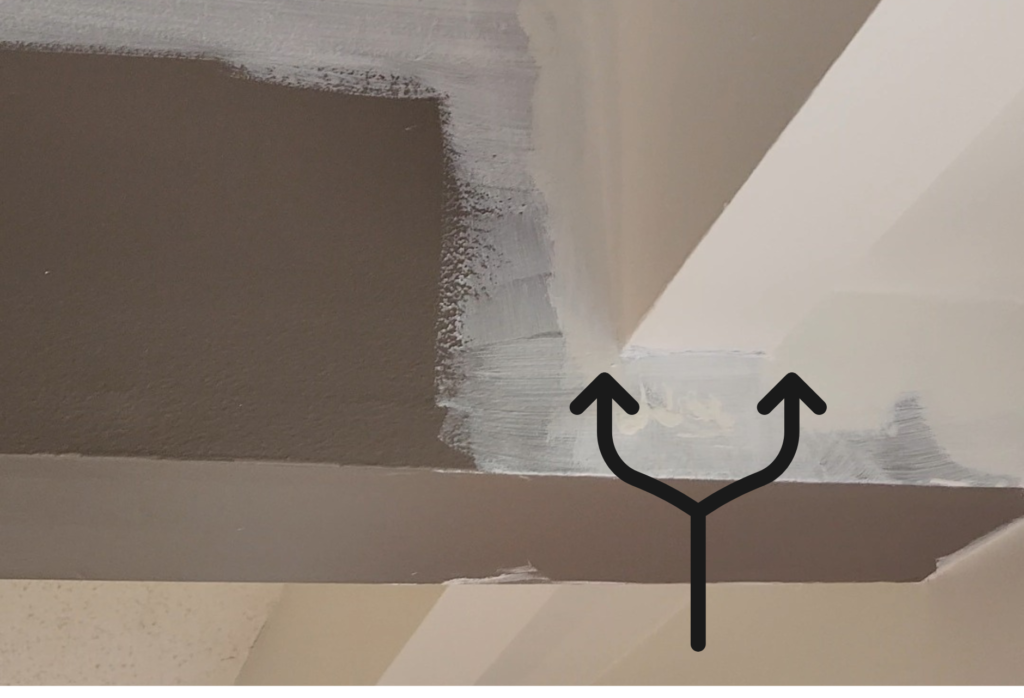
Before cutting the boards, we debated whether to miter the corners or go with a simple butt joint.
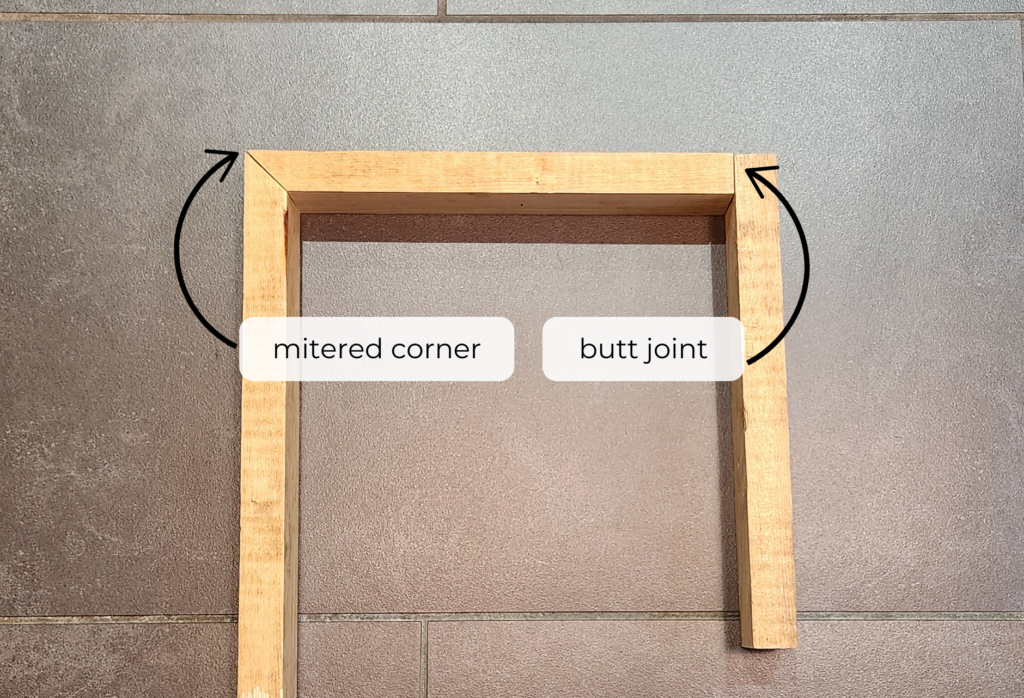
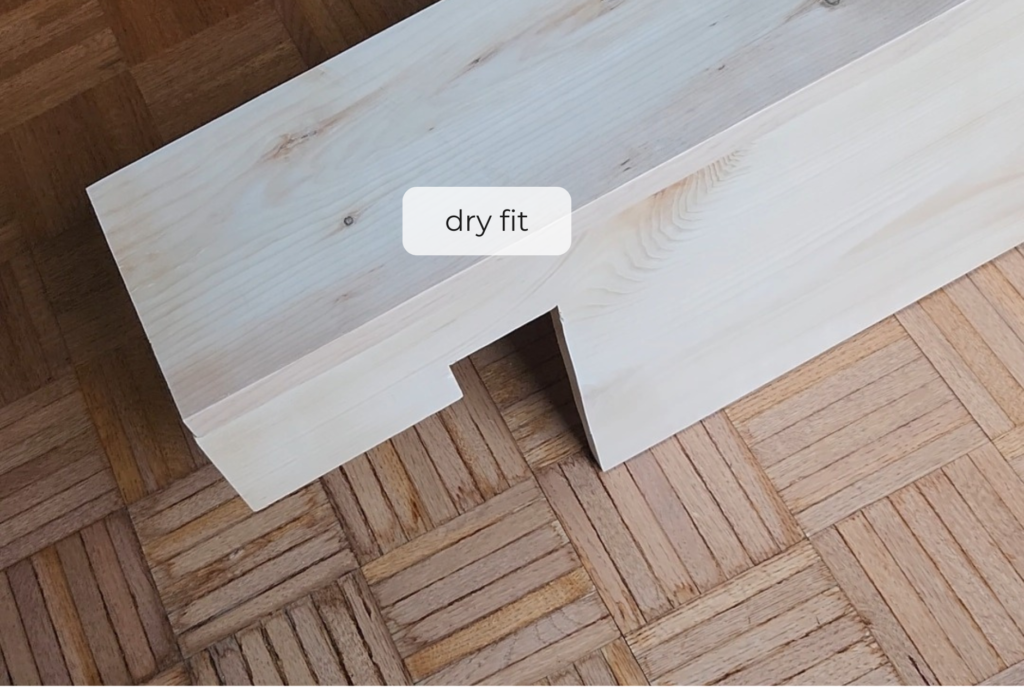
While mitered corners would give the appearance of a solid beam, it also required precision cuts and tools we didn’t have. So, we opted for a butt joint—it’s simpler but still looks fabulous! Plus, I knew the end result would be satisfying either way.
Creating a Custom Template
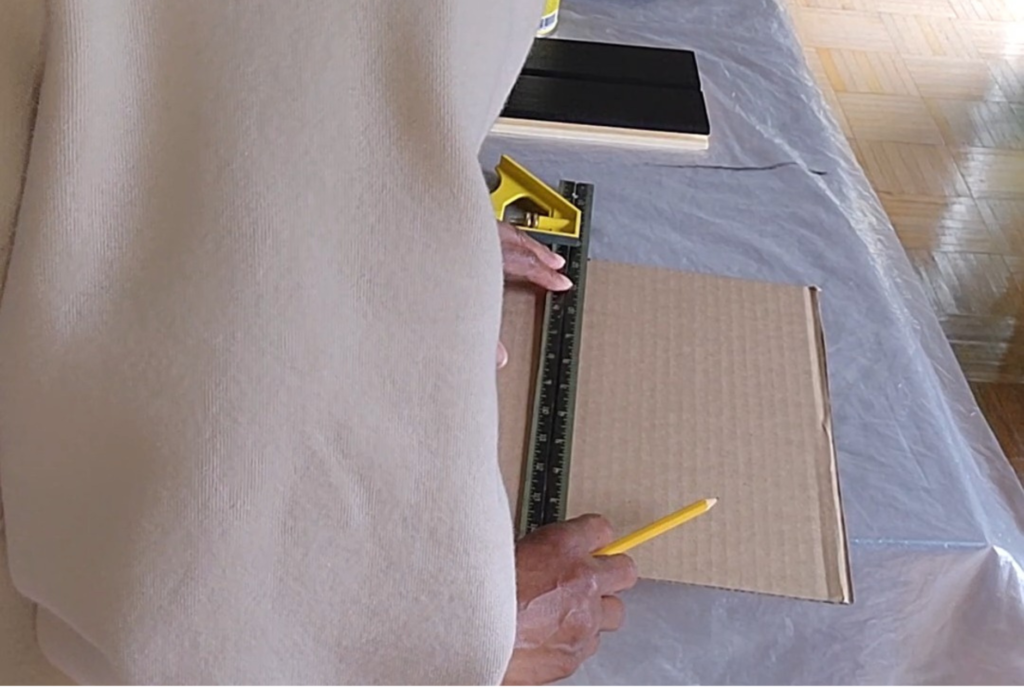
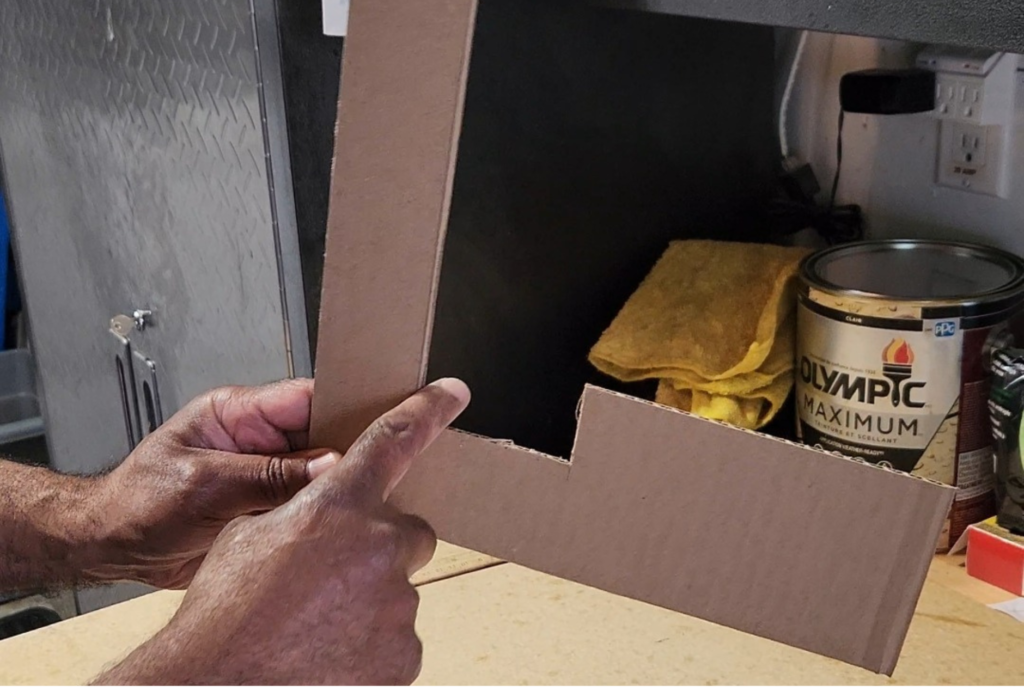
Next, we took careful measurements of the beam and created a cardboard template to notch out the areas where the cross beams meet.
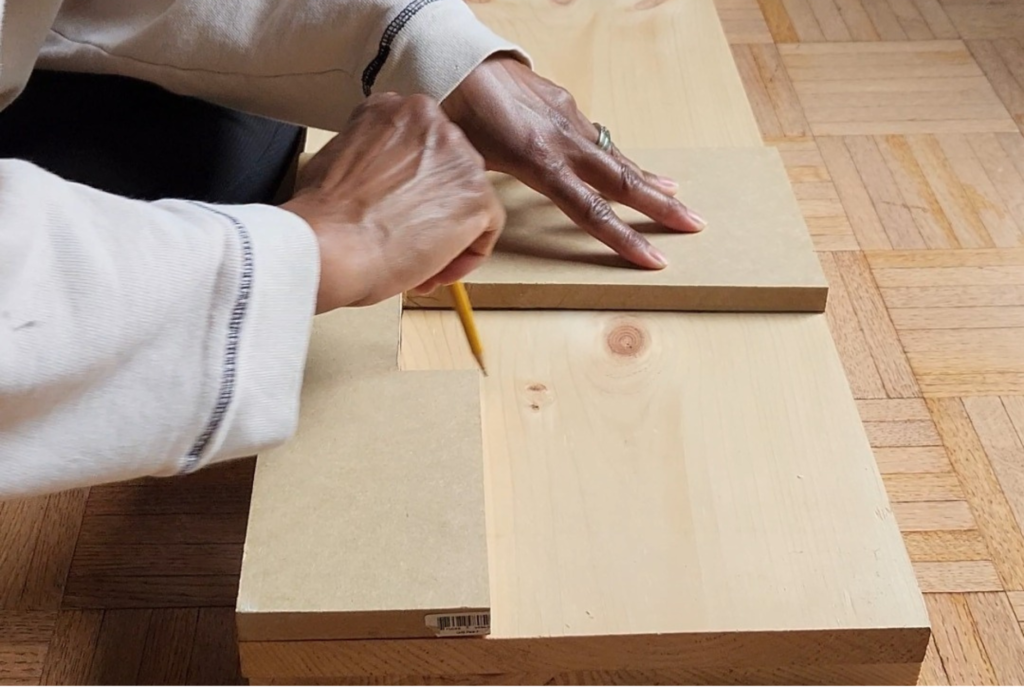
I measured both sides of the beam separately (because they weren’t exactly the same size!) and used the template to ensure a perfect fit before transferring the design onto the barnwood.
Assembly Time!
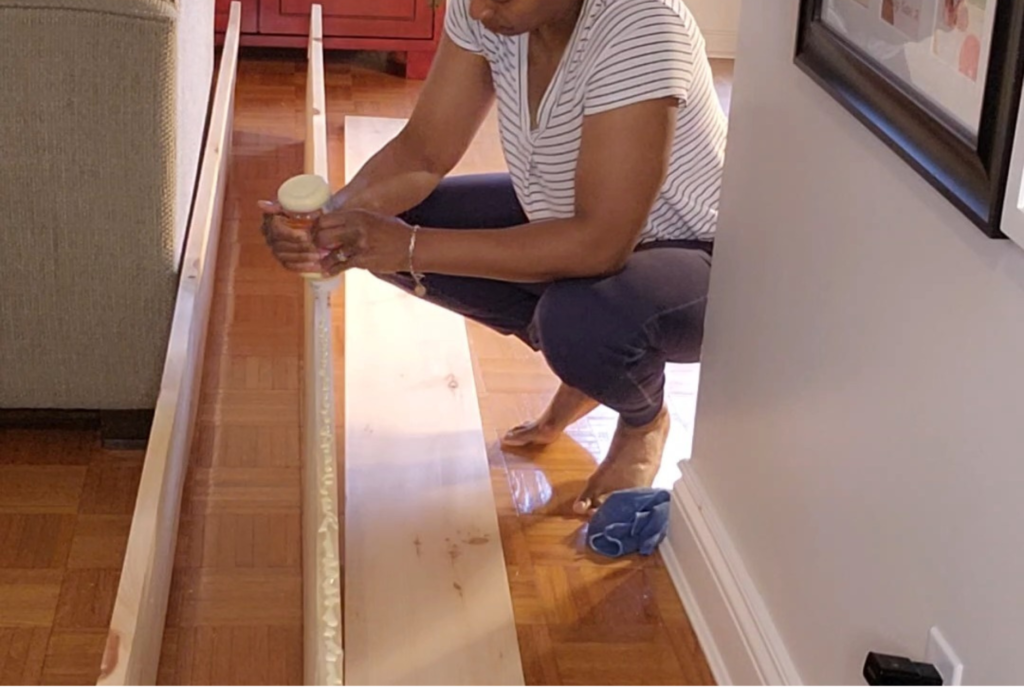
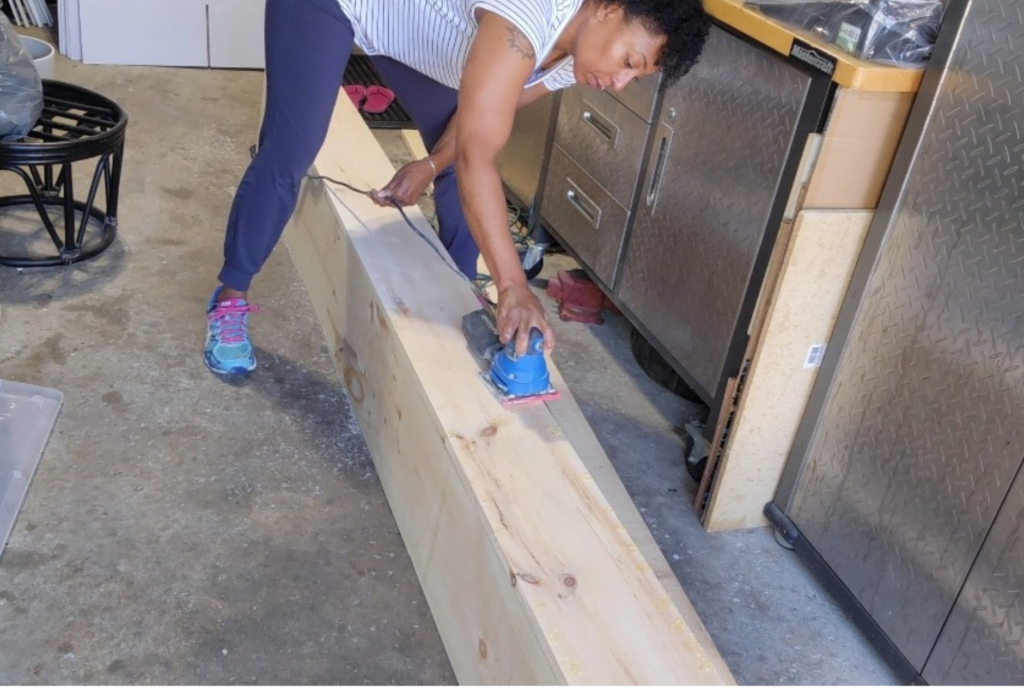
Since we weren’t ready to set up our outdoor furniture (yet), we assembled the barn wood planks in our living room. We used wood glue and 2” finishing nails to secure the sides and bottom together, ensuring everything aligned. After assembly, we filled the nail holes with wood putty and sanded everything smooth (in the garage!) with 100-grit sandpaper.
The Perfect Stain Combo
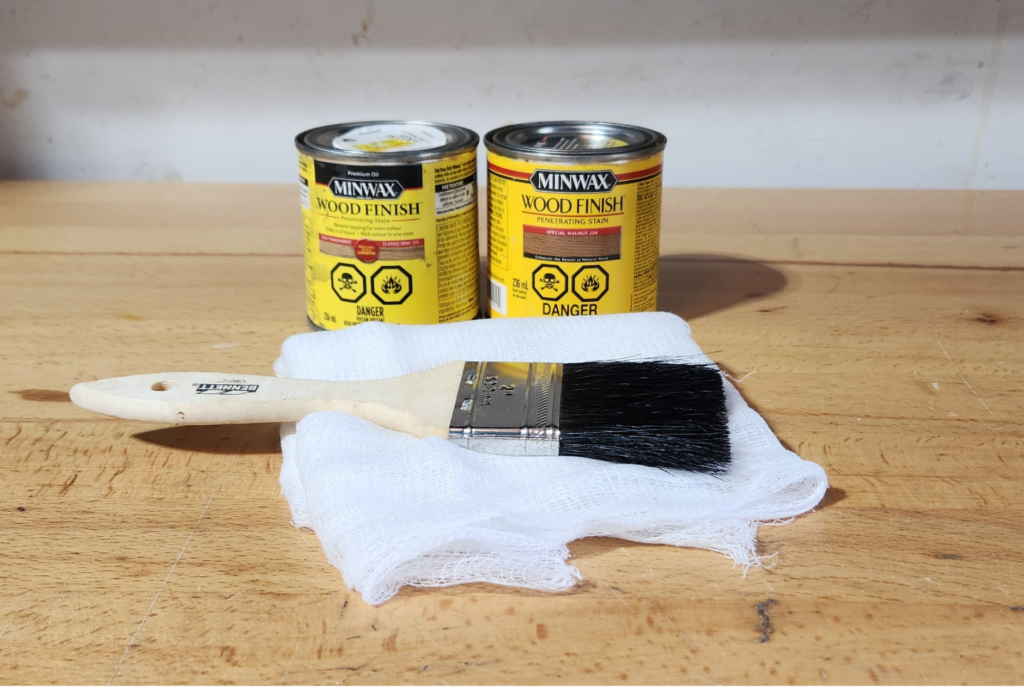
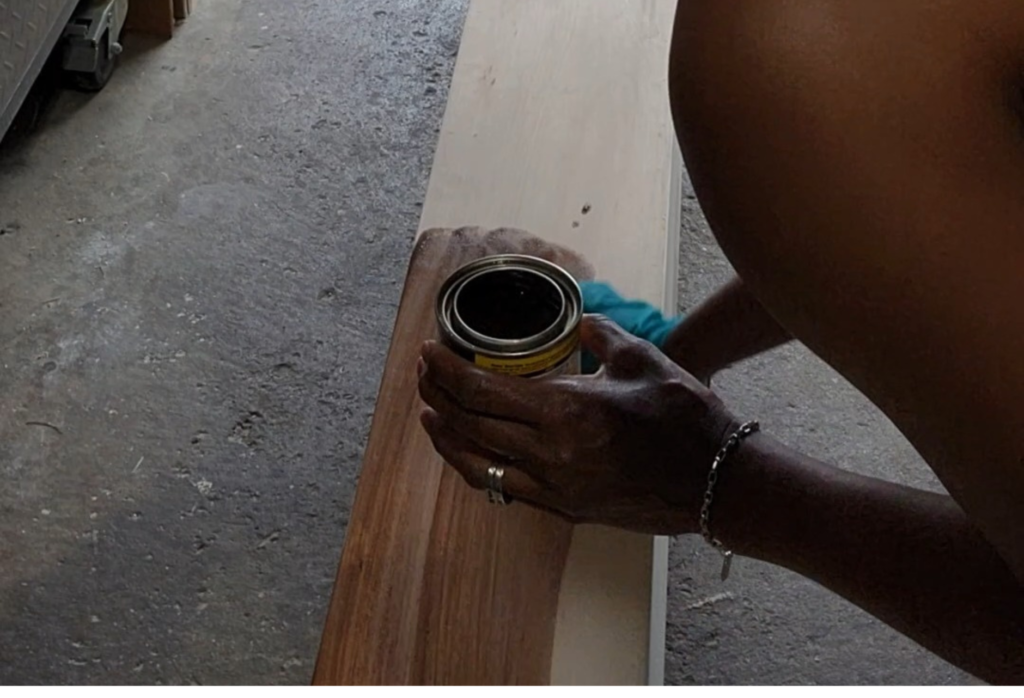
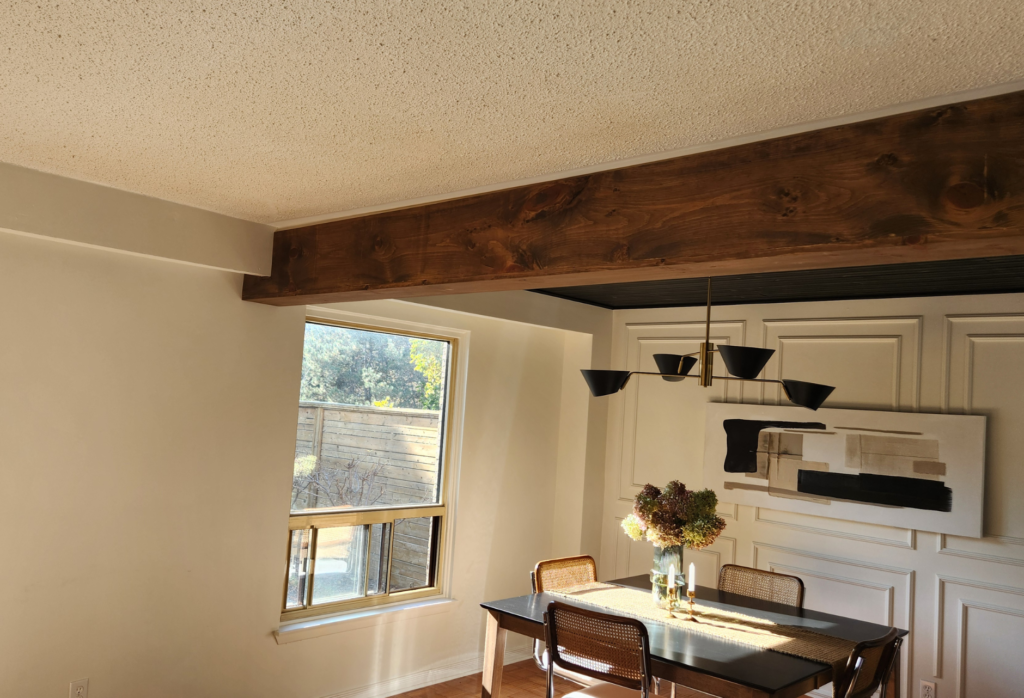
For the finish, I wanted warmth, not the natural orangey tone pine can develop over time. After some research, I found a blog called Designed Simple that recommended a blend of Minwax Special Walnut and Minwax Classic Gray to achieve the perfect rustic tone. I used cheesecloth to apply the stains in layers, starting with the Classic Gray and then adding more Special Walnut for depth. The result? A beautifully rich, warm finish that complements the room perfectly!
Securing the Pine Barn Wood to the Support Beam
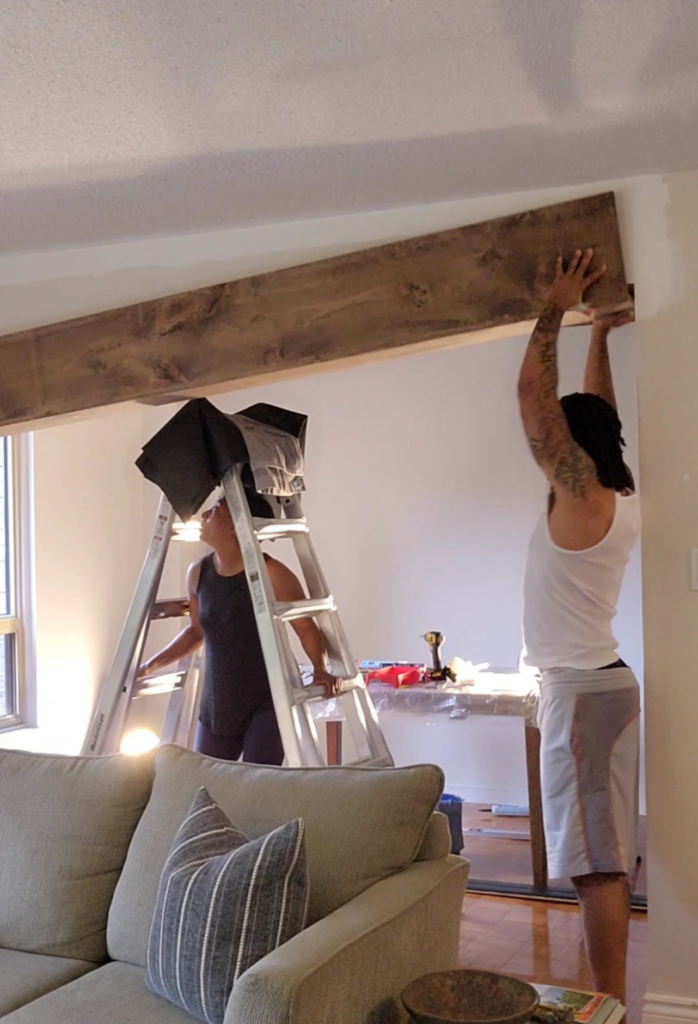
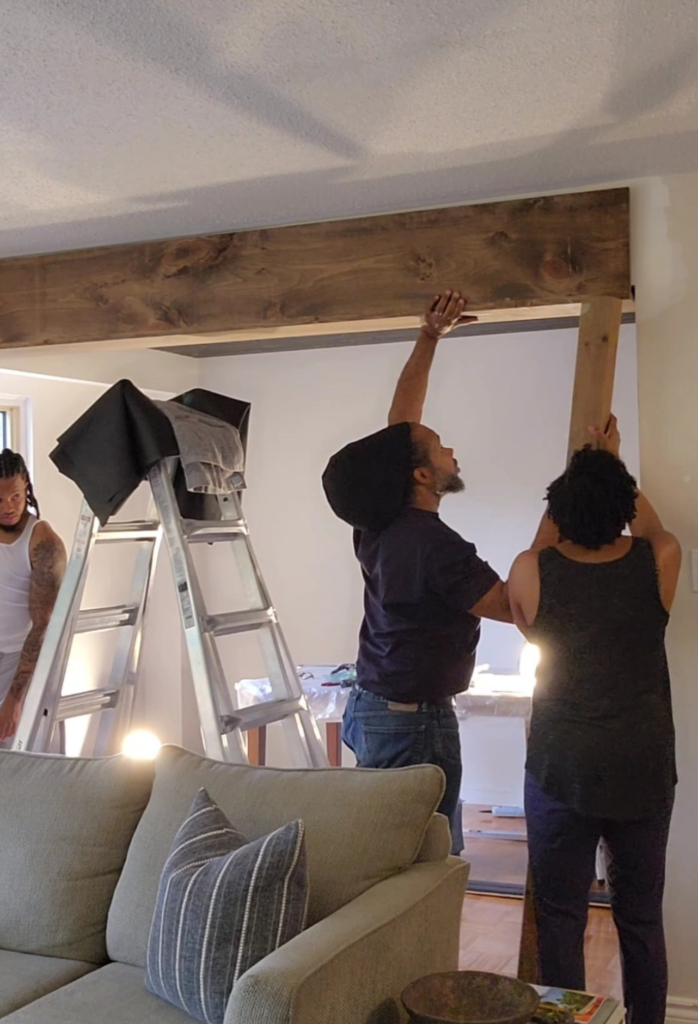
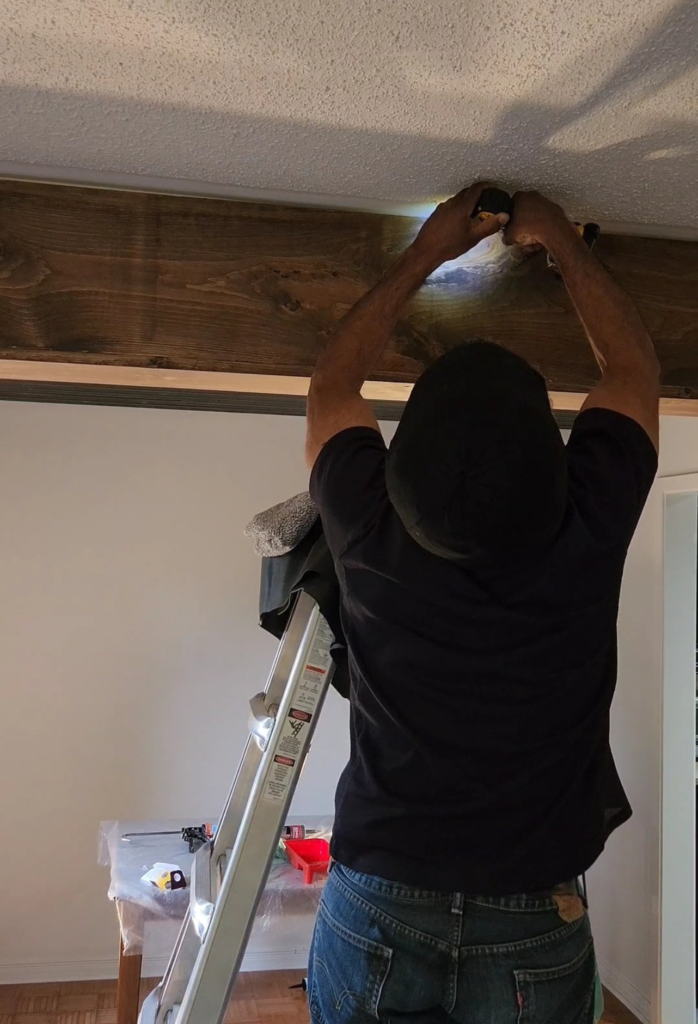
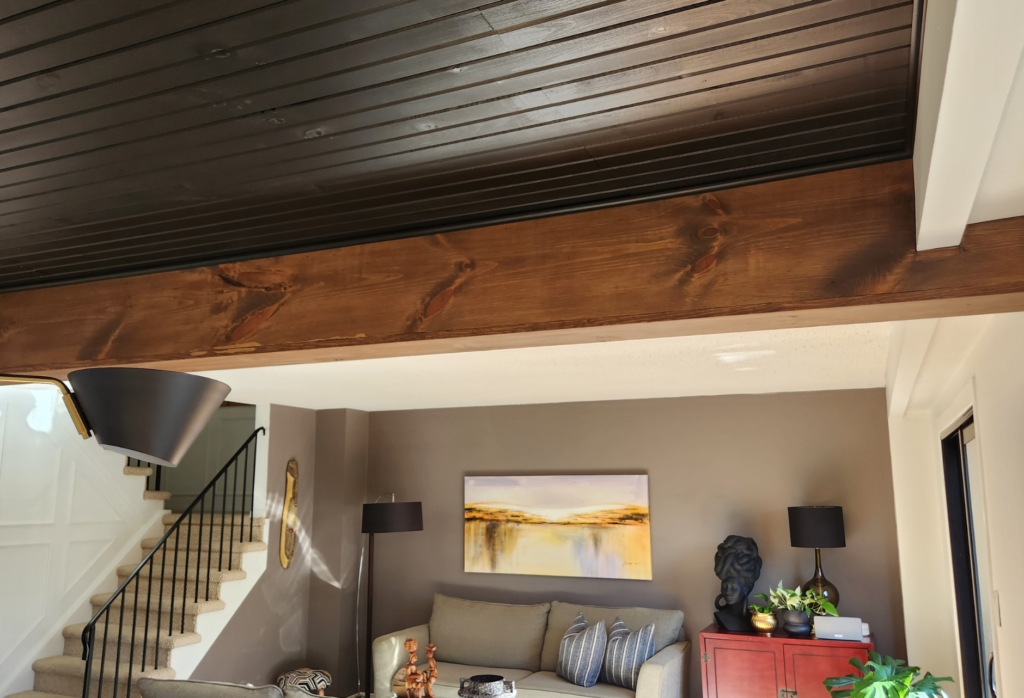
Finally, it was time to install the pine barnwood to the support beam! This part had me a bit nervous, but we found trim head screws that were perfect for the job. These screws are small, so they don’t stand out once in place. With some help from our son Q and a lot of muscle power, we lifted the barn wood, braced it in place, and screwed it in every 8 inches.
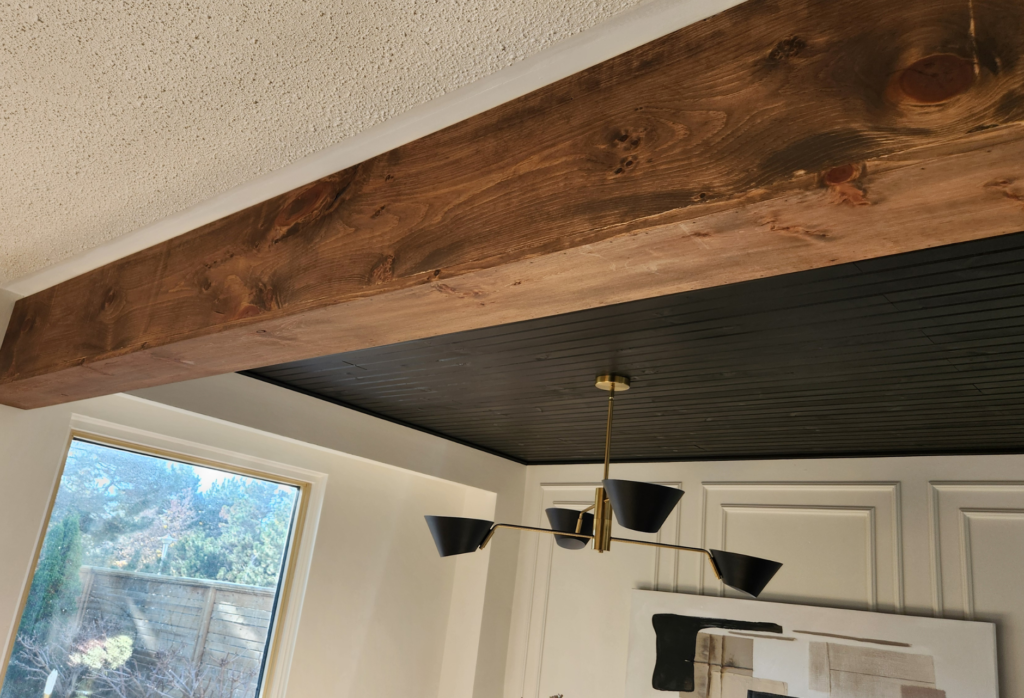
The final result? It looks like a professionally installed beam, and I couldn’t be happier with how it turned out!
Final Thoughts
Whenever I dive into a new DIY project, I always have a bit of skepticism—wondering if things will actually go as planned. But every time, I end up amazed by the final result! I really need to trust the process more. The rustic barn wood beam, paired with the black tongue-and-groove ceiling from Part 1, is beginning to transform our dining room into a cozy, stylish space. I can’t wait to share more of this makeover with you!


