The First Steps to a Stunning New Space
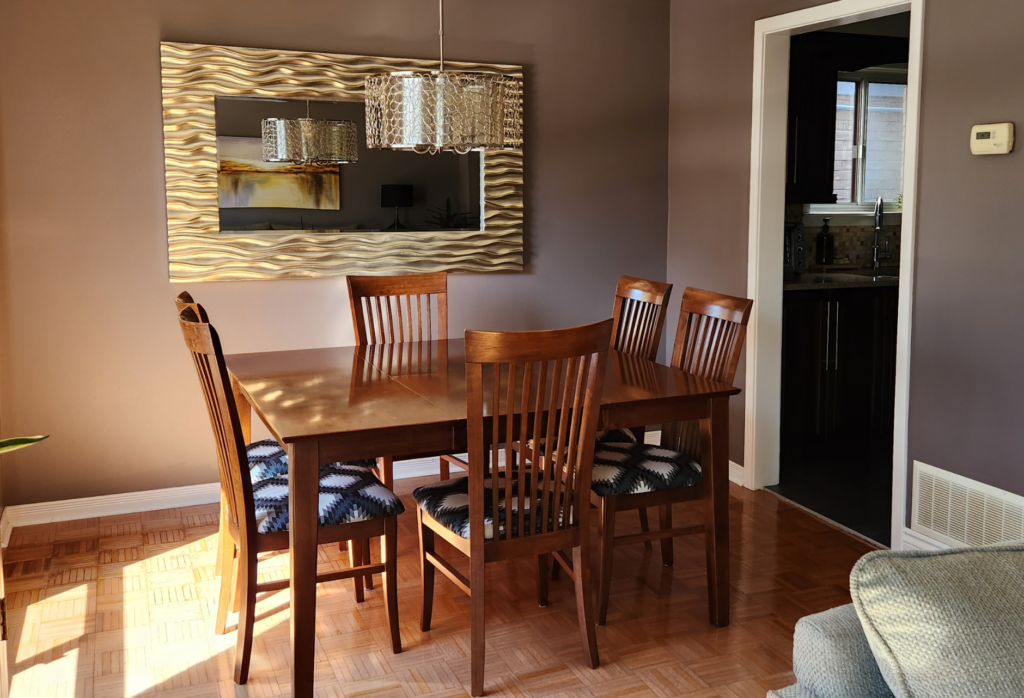
Our next big project is one I’ve been itching to start—a dining room makeover that our space desperately needs! The goal? We need to update this space as much as possible while staying within our budget, which means our not-so-lovely parquet floors will remain untouched for now. I’ve learned that when tackling home projects, especially on a budget, things can snowball quickly if you’re not careful. But with no demos planned, I’m confident we can manage this transformation smoothly.
Step 1: Clearing the Space (Bye-Bye Old Decor!)
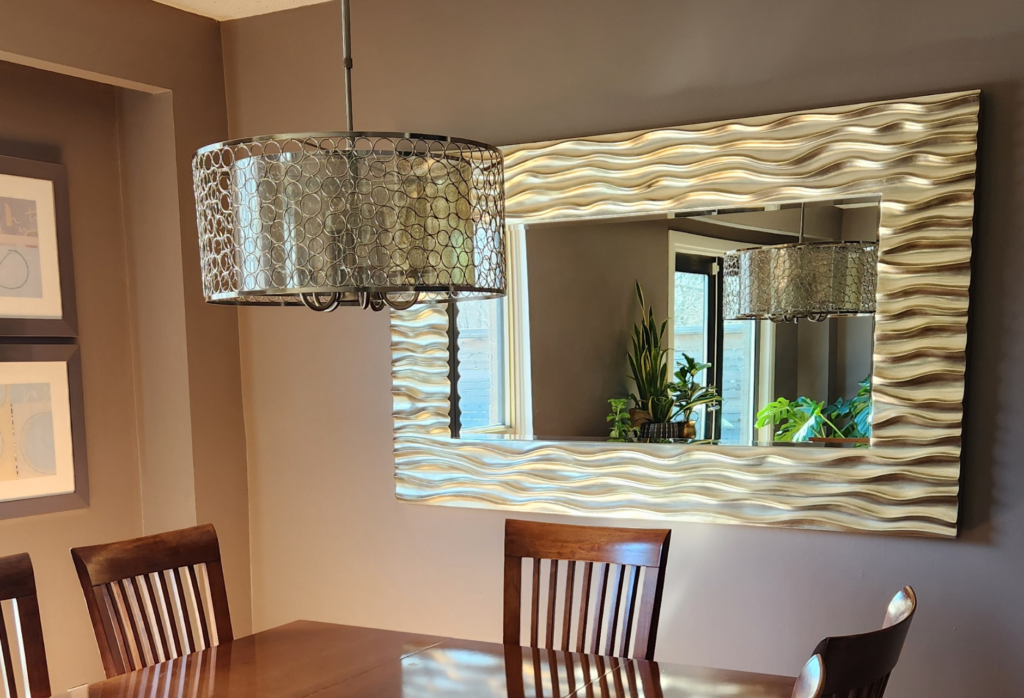
The first step in any makeover is clearing out the space; our dining room was no exception. I decided to sell any decor that I could, putting the money towards expenses like paint. To my delight, the mirror we listed on Facebook Marketplace sold within days! The ceiling light didn’t have quite the same luck, but I gave it a time limit—if no one snatched it up, it would have to be donated to make room in the garage for all the new projects I’ve got planned. And, well, let’s just say the light ended up being donated!
Step 2: Goodbye Popcorn Ceiling, Hello Tongue and Groove
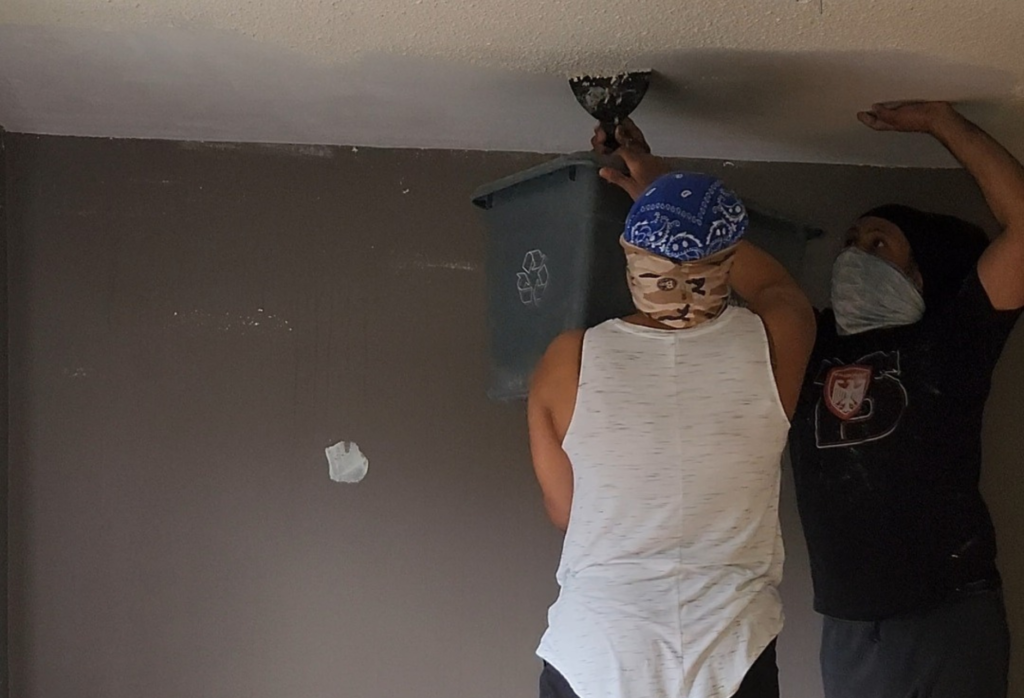
If you’ve been following me for a while, you know that removing popcorn ceilings has become a bit of a specialty of ours. We’ve tackled this task in most of the house, so by now, we’re practically pros—kidding! But seriously, we’ve gotten pretty good at it. This time, however, I wanted to do something different. Instead of going through all the steps to achieve a finished ceiling, we decided to install tongue and groove panels.
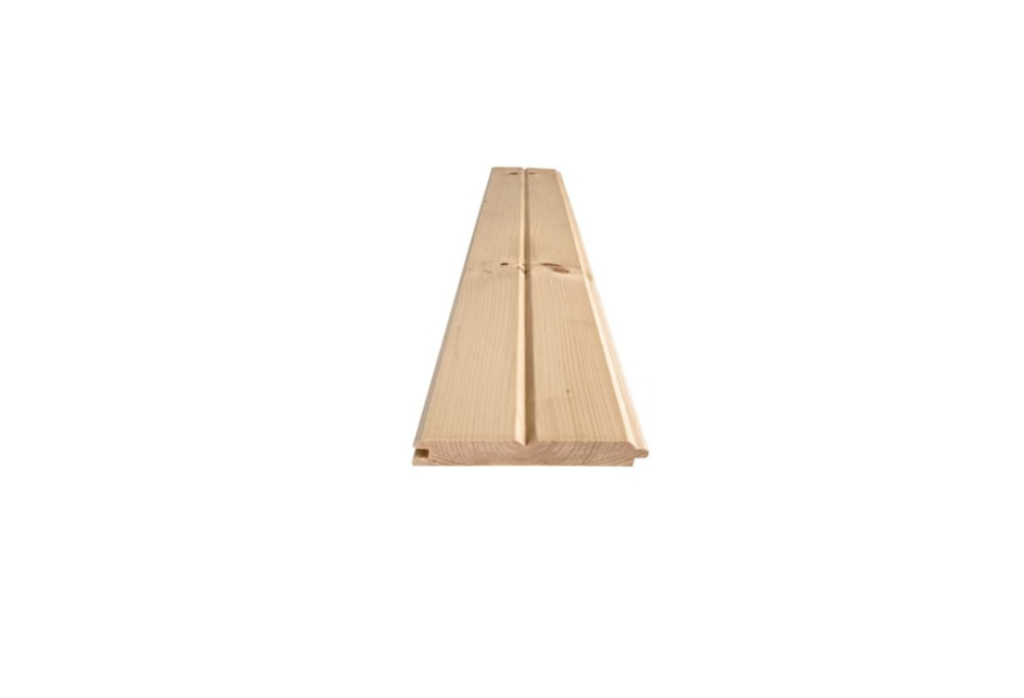
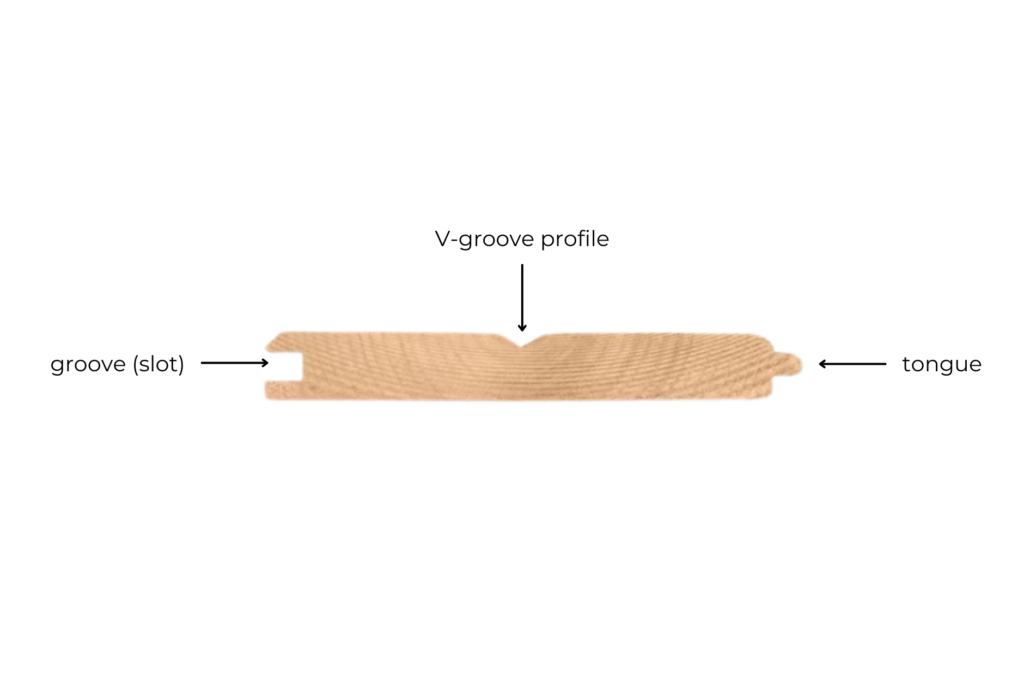
A few years ago, we tackled this same project on the ceiling of our porch, so we’ve got a little experience under our belts. In case you’re unfamiliar with it, tongue and groove panels are a type of decorative ceiling treatment where each panel has a groove and tongue (hence the name) that fits perfectly in either the tongue or groove of the next panel. I’ve been in awe of this look for ages, inspired by countless Instagram and Pinterest posts, and I couldn’t wait to bring it into our home.
Step 3: Prepping for Tongue and Groove Panels
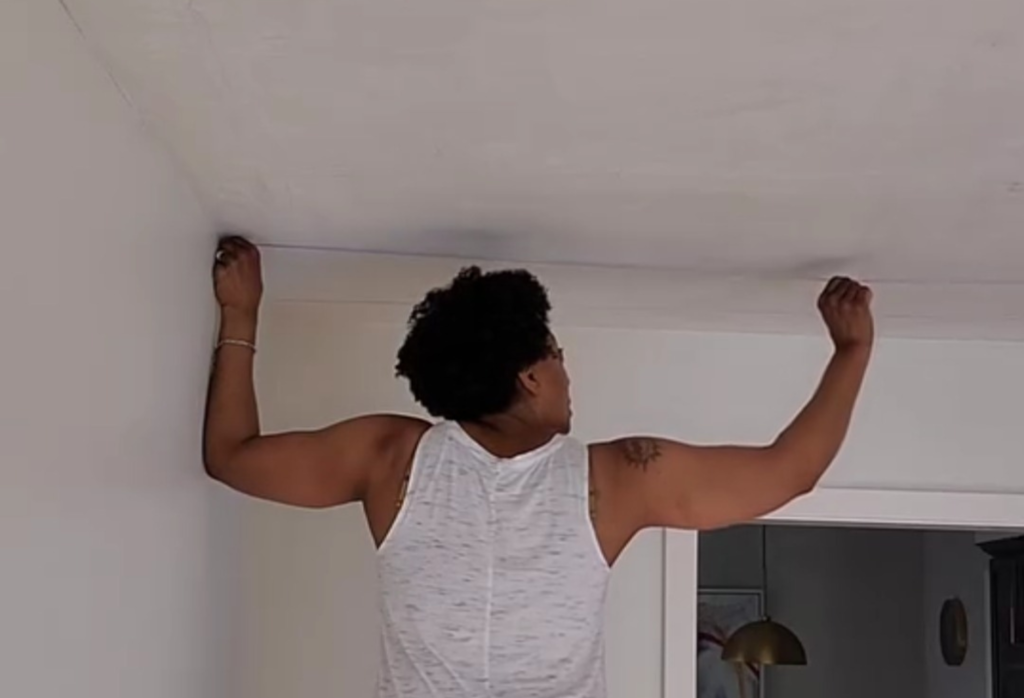
We had a crucial step to complete before diving into the installation of our tongue and groove panels. After scraping off the popcorn ceiling, we prepped the walls with a fresh coat of primer and paint. Next, we got to work locating and marking all the studs on the ceiling. Using a stud finder and a pencil, we marked each stud’s location, then connected those markings with a snap line to ensure we knew exactly where to secure the planks.
With the ceiling measurements and a bit of calculation, we figured out we needed 12 lengths of pine tongue-and-groove panels. This step was essential to ensure a smooth and precise installation for our dining room makeover.
Step 4: The Hunt for the Perfect Panels
We then set out on a mission to find our panels—and let me tell you, it was quite the adventure! Finding ones that were straight, knot-free, and undamaged was more challenging than we expected. After spending hours searching through one big box store without much luck, we finally struck gold at Home Depot. We couldn’t help but wish we had started there! We chose a profile with a V-groove down the center, which creates the look of a narrower 1×4″ board but gives us the time-saving convenience of a wider board.
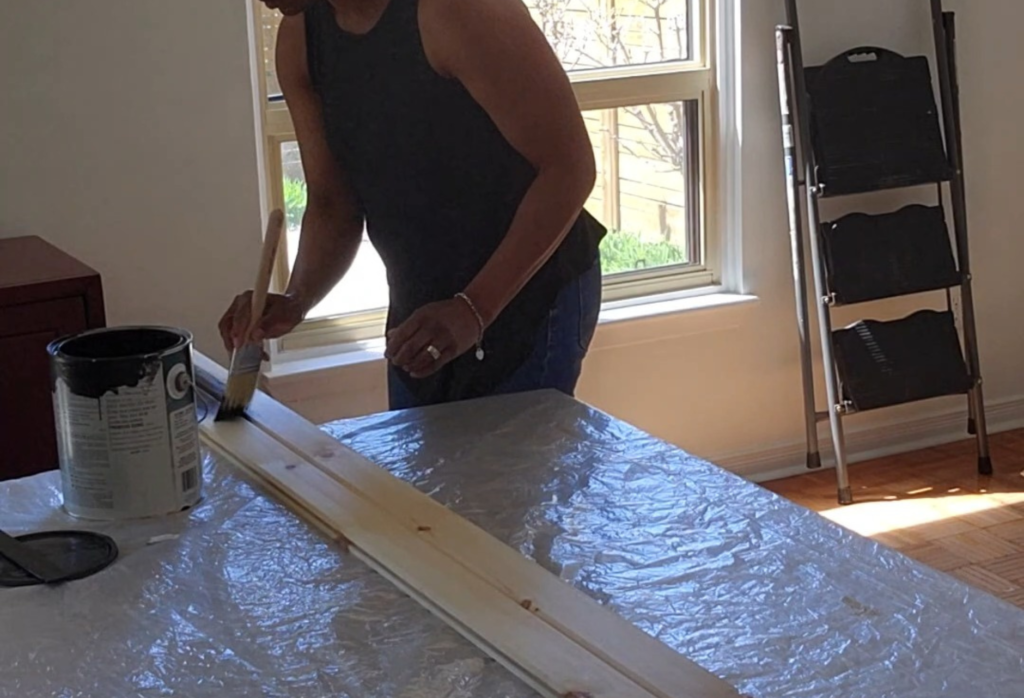
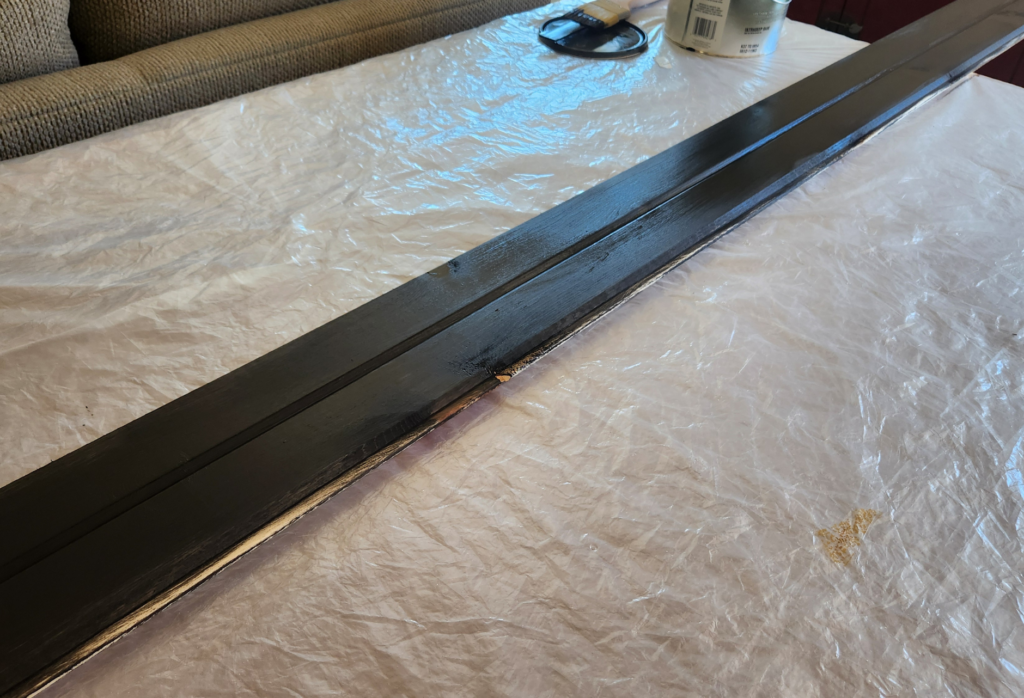
But of course, I couldn’t just leave the panels as-is or even stain them. I wanted some drama—okay, maybe a lot of drama—so I decided to paint each of the panels black. And bonus, I had a leftover door and trim paint in Sherwin Williams Tricorn Black, so I saved money there, too! I applied two coats, being careful not to get any paint into the grooves or on the tongues, as too much paint could make fitting them together a nightmare.
Step 5: Installation Time—Let the Fun Begin!
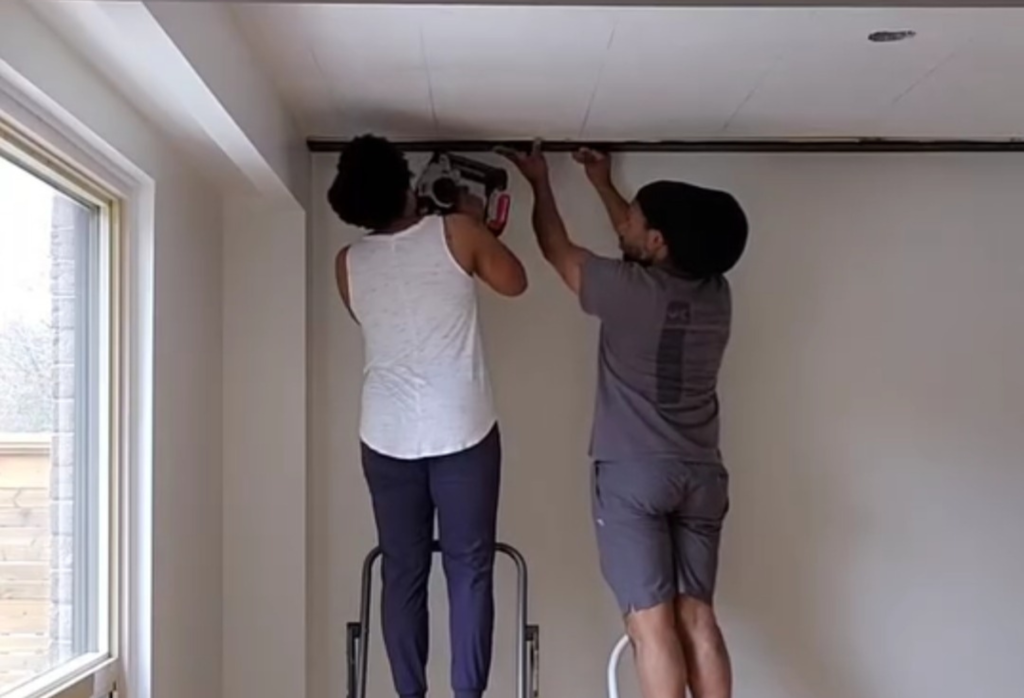
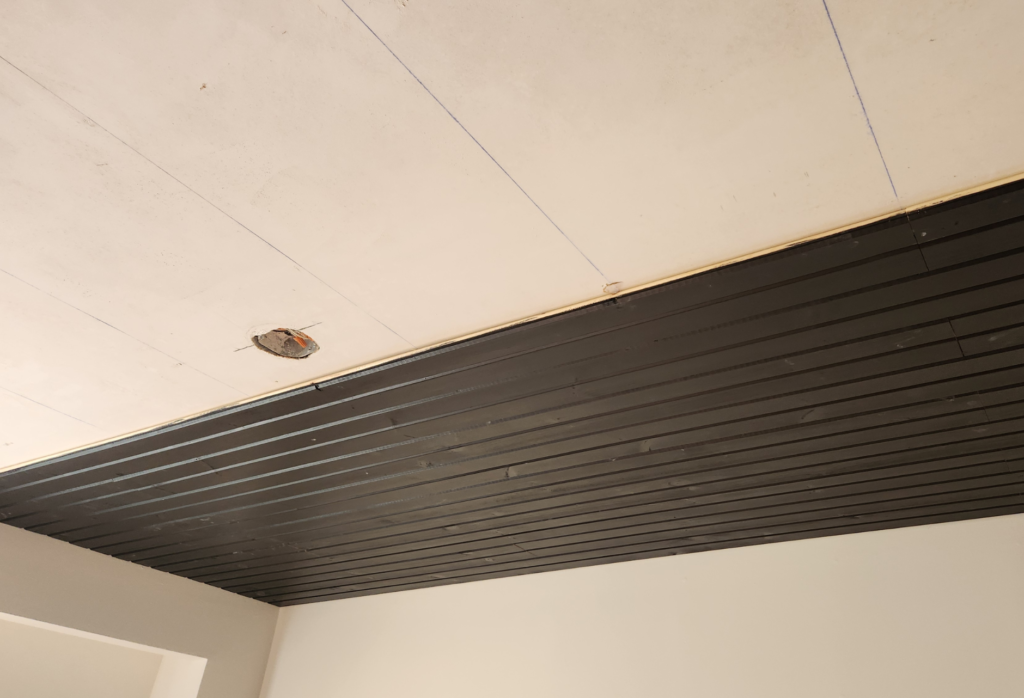
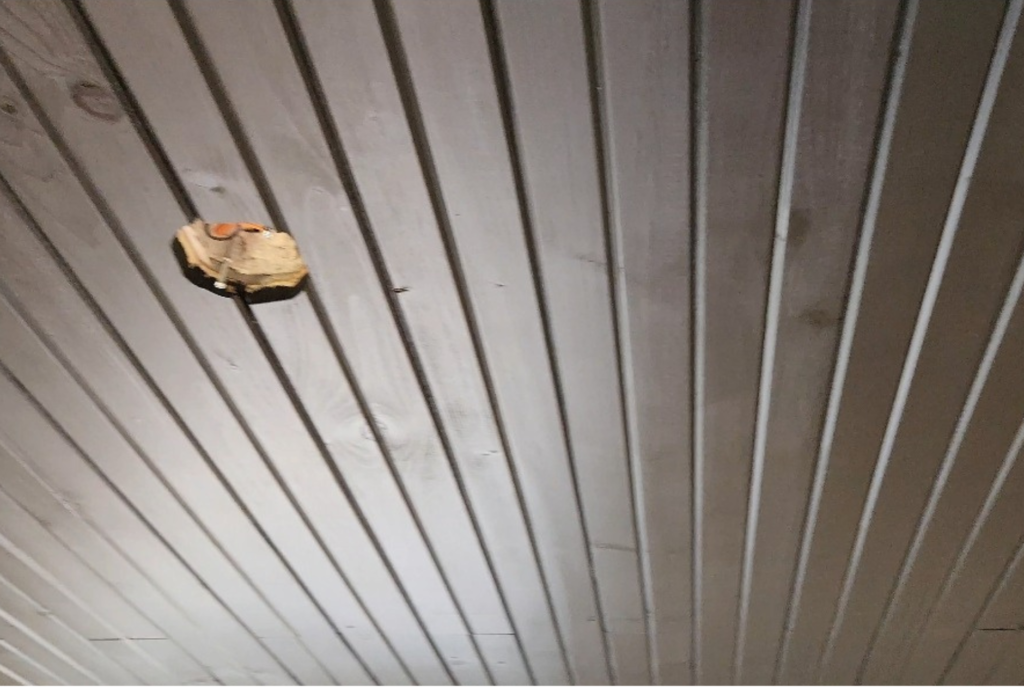
With the panels prepped and ready, we got them up on the ceiling. We started by placing the first full-length panel with the tongue facing outwards on one end of the ceiling where it meets the wall. Using 2” finishing nails, we secured it at each marked stud location. Since the panels aren’t as long as the ceiling width, we measured, cut a piece, and secured it beside the first one.
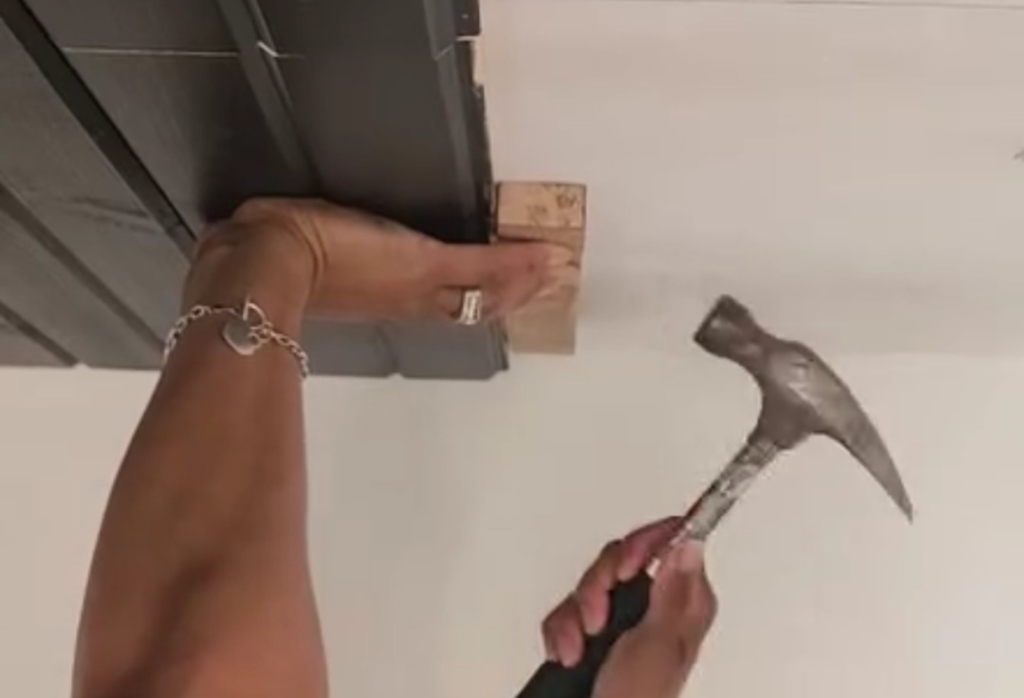
We continued this process, staggering the seams for a more natural look. Using a wood block, we gently tapped each panel into place to ensure a snug fit between the tongue and groove. Trust me, it was pretty much smooth sailing—well, except for one tiny challenge.
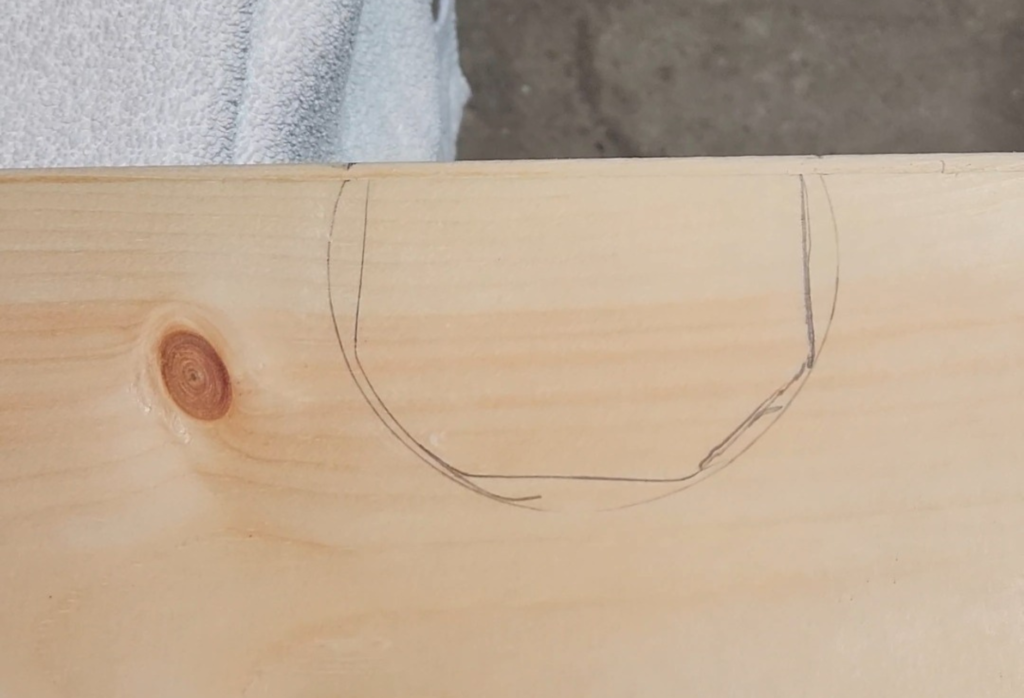
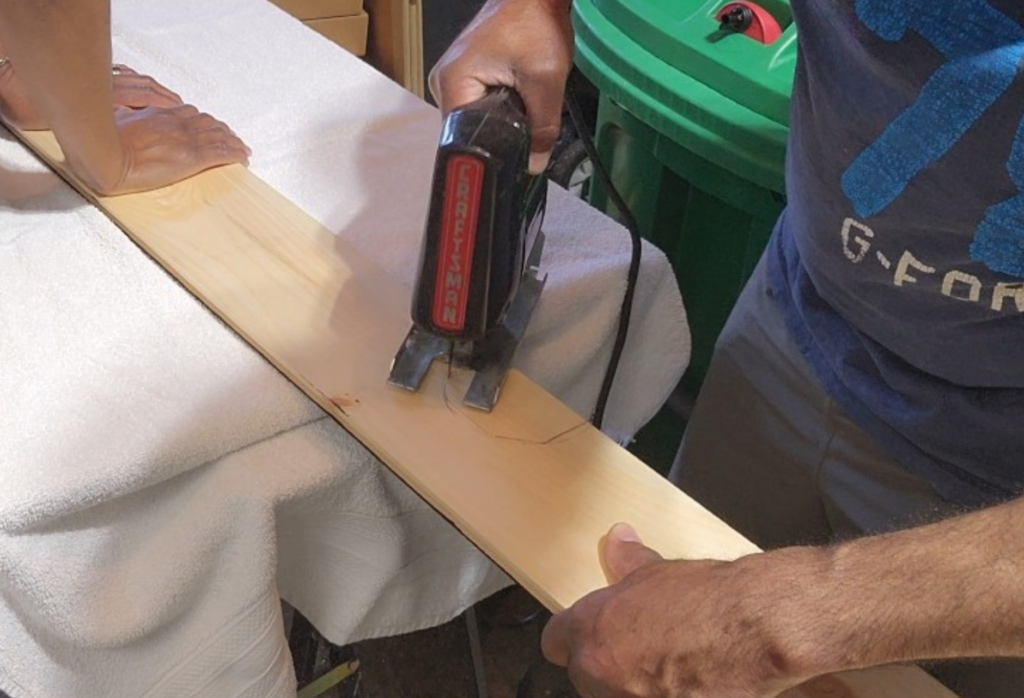
We had to cut a hole in the plank when we reached the ceiling box for the light fixture. This was nerve-wracking because if we cut the hole too large, there wouldn’t be an easy way to fill any gaps. I measured carefully, created a template using a ceiling box we had on hand, and traced it onto the plank. Thankfully, we managed to do it right with the help of an excellent YouTube video. Phew!
The Final Touches (Well, Almost…)
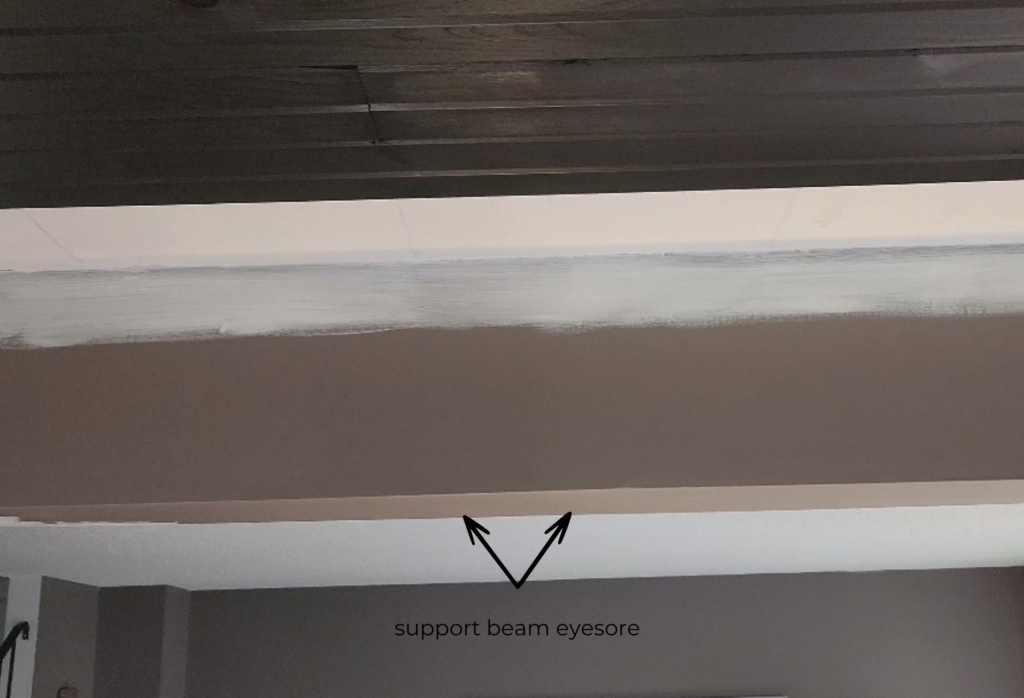
We’re nearing the finish line, with just two-panel widths left to install. But there’s a pesky support beam in the way. Don’t worry—I’ve got something special planned to hide it, and once that’s done, we can complete the ceiling and add the trim. I can’t wait to see how it all comes together!
So stay tuned for the next update—there’s more to come as we continue transforming our dining room into a space that’s stylish, functional, and totally us!


