Hey friends! I’m thrilled to walk you through the remarkable makeover of our once chaotic basement storage closet into a space that now radiates joy and functionality. Let’s dive into the journey, filled with hacks, lessons learned, and a sprinkle of DIY magic.
The Procrastination Struggle
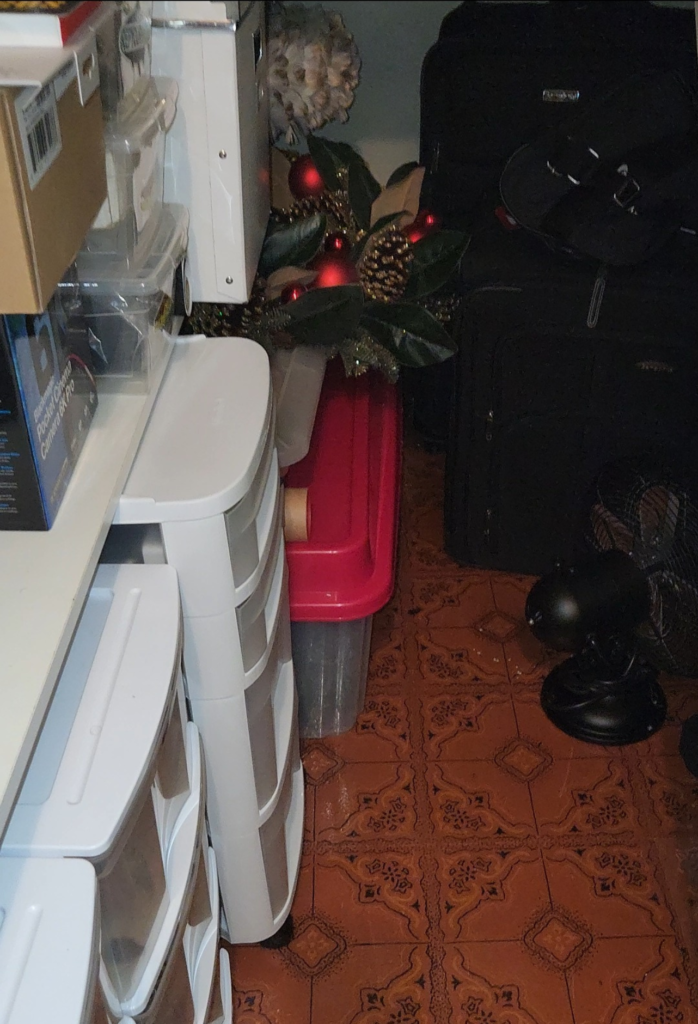
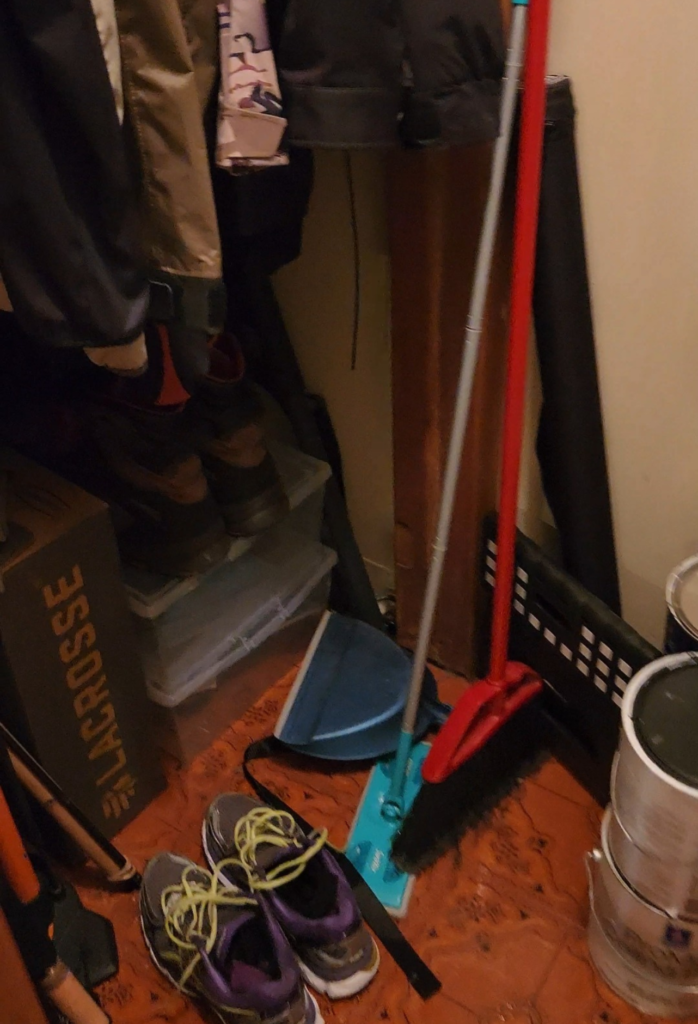
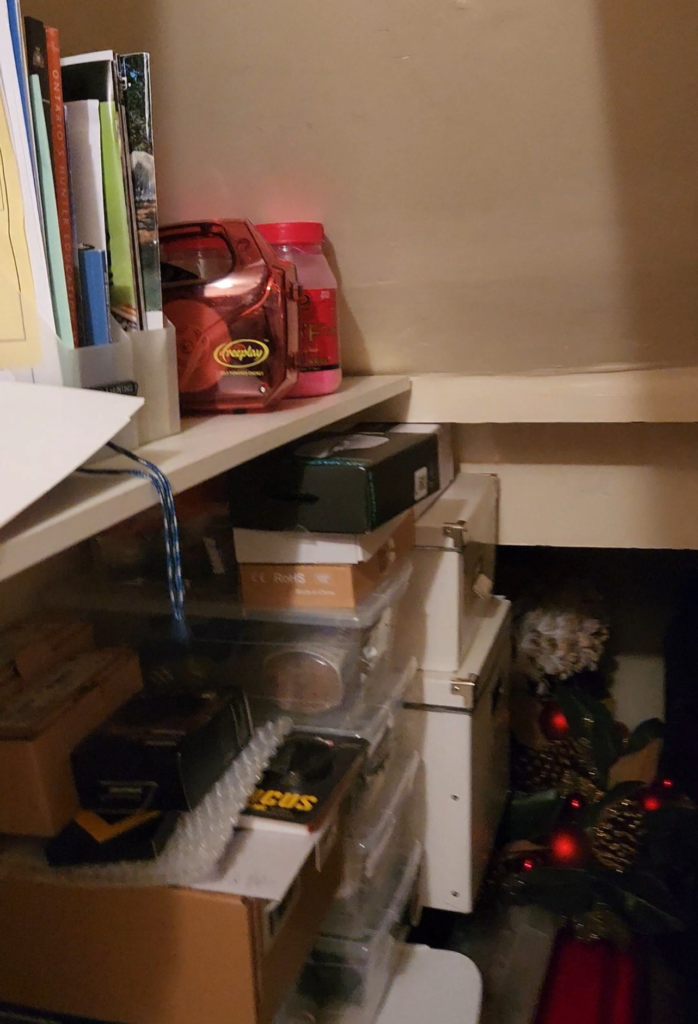
Okay, I admit it. The clutter in our basement storage closet had been on my to-do list since last February. It took months for the motivation to kick in, but the looming threat of a Christmas decoration climb-a-thon finally pushed it to the top of the priority list.
Clearing the Chaos
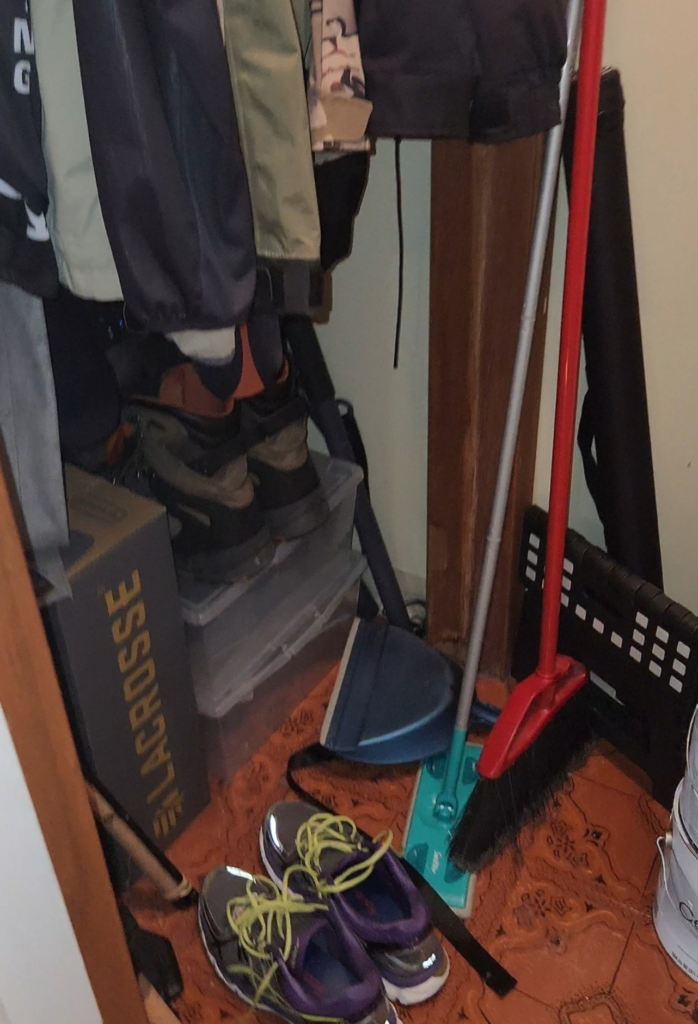
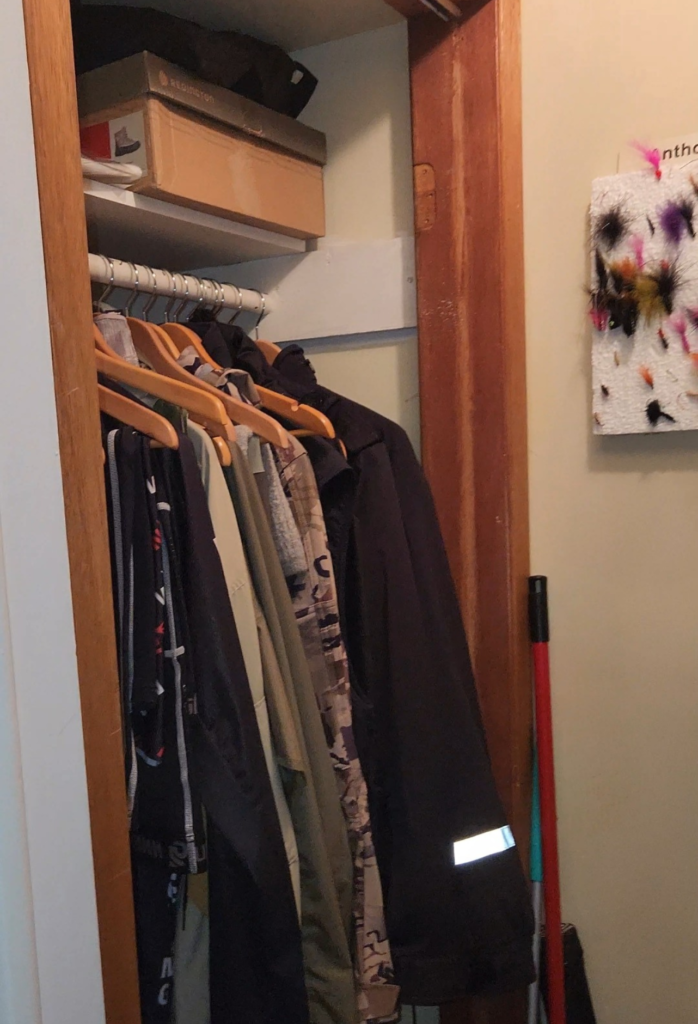
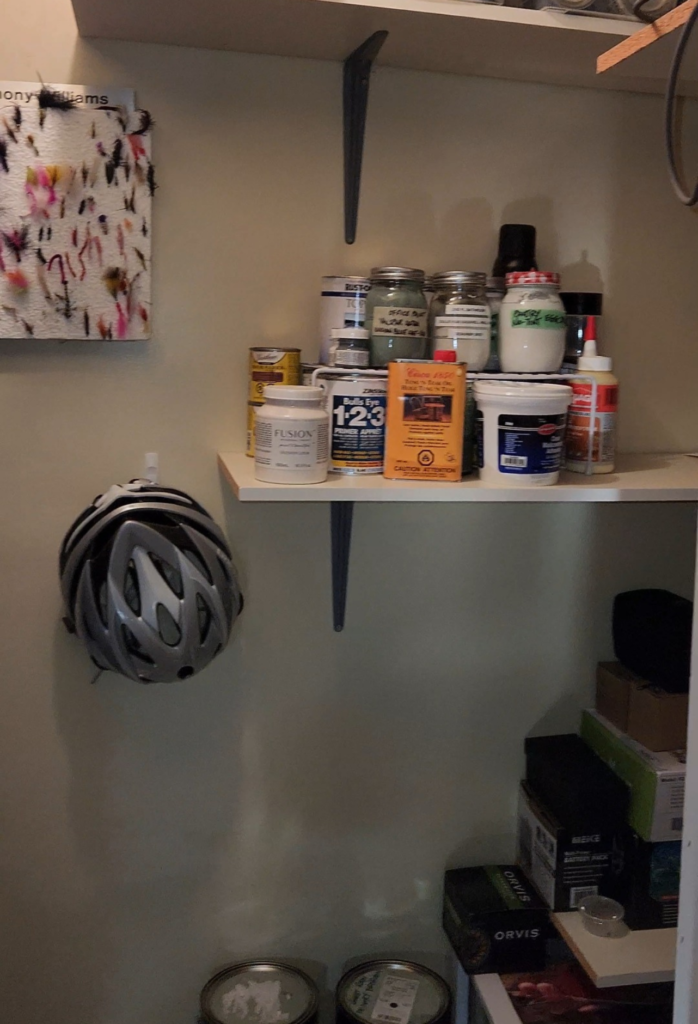
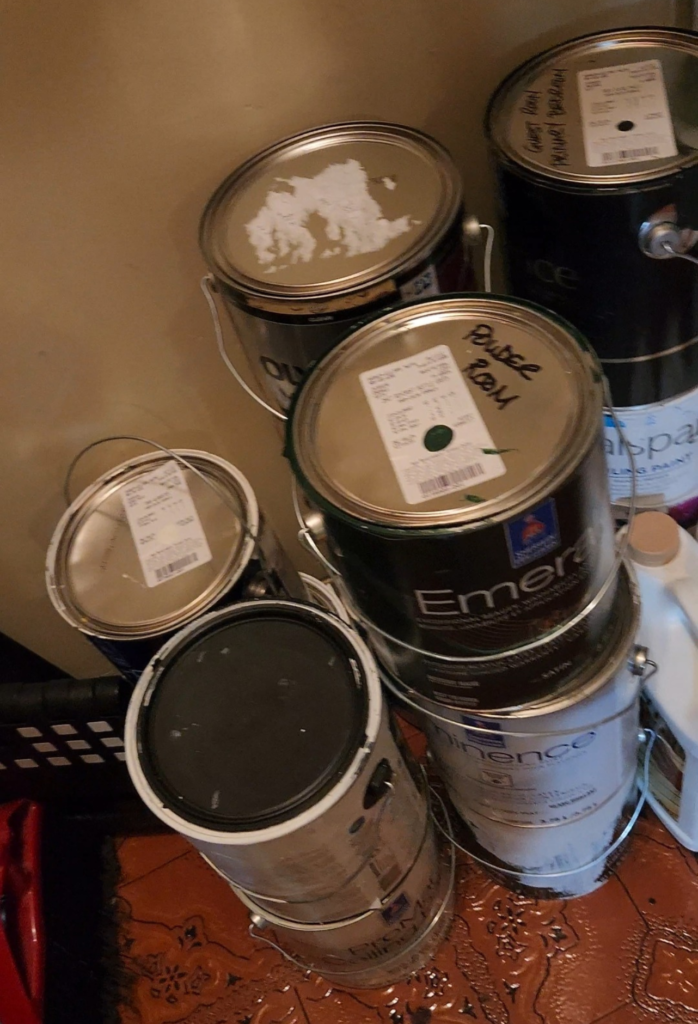
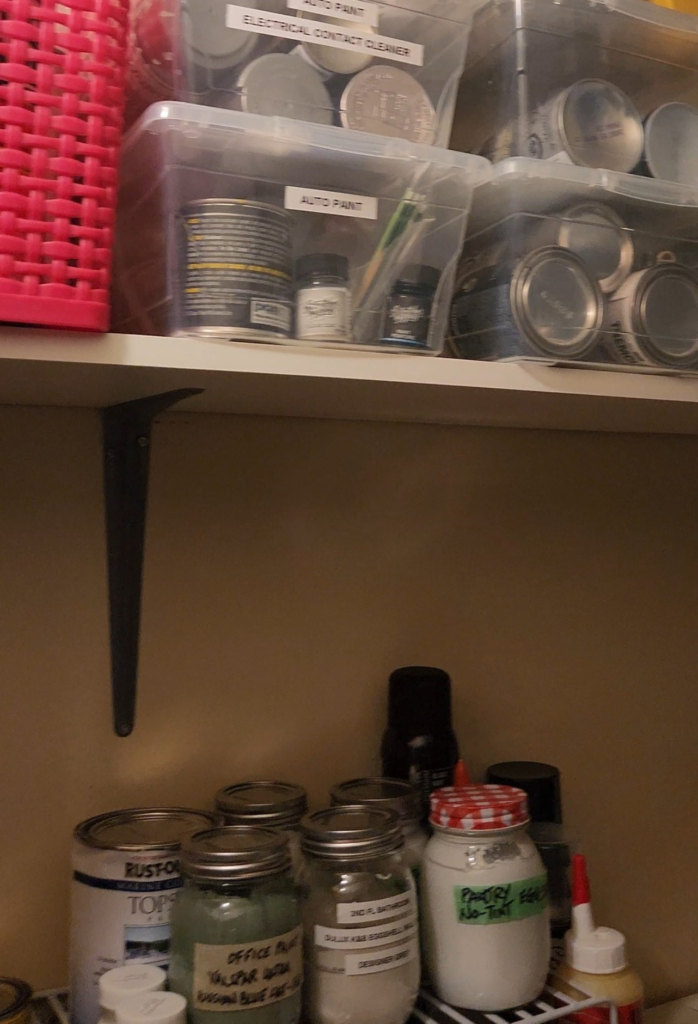
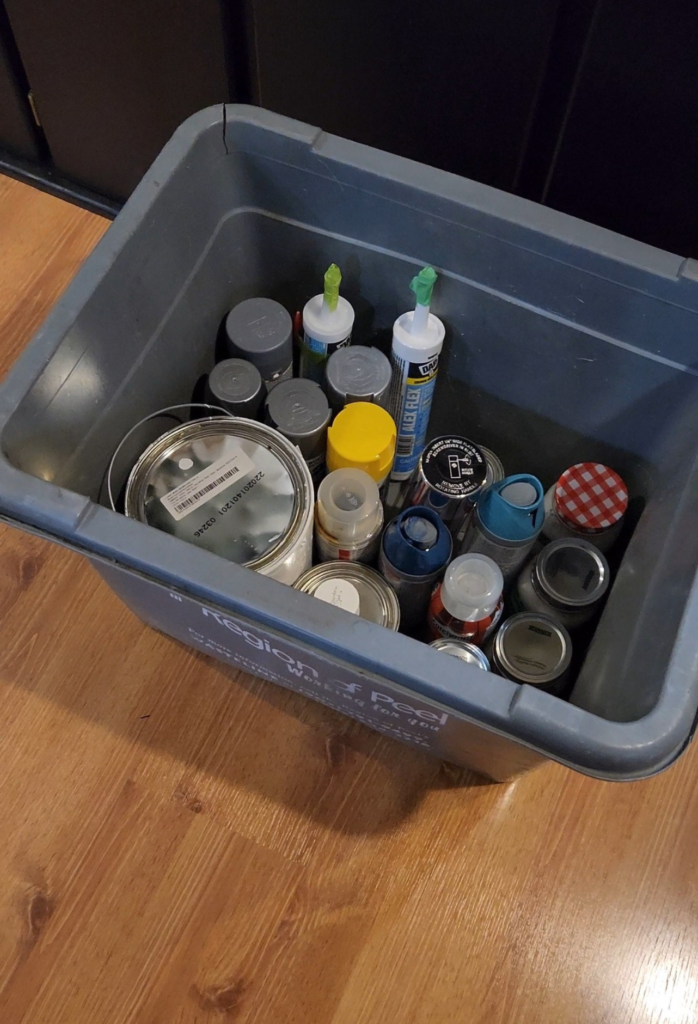
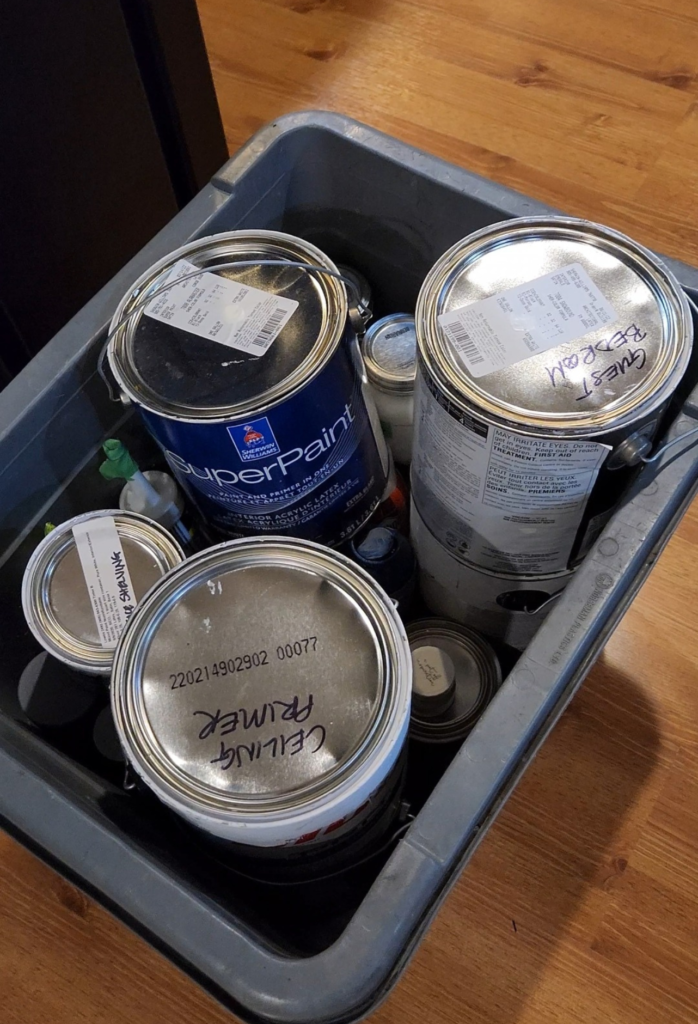
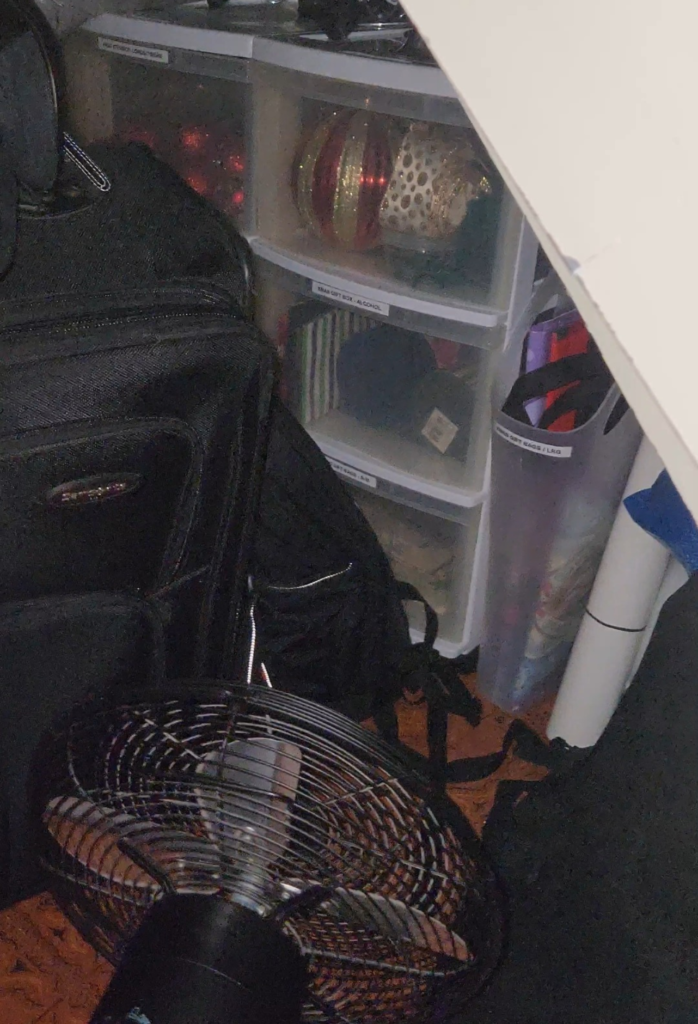
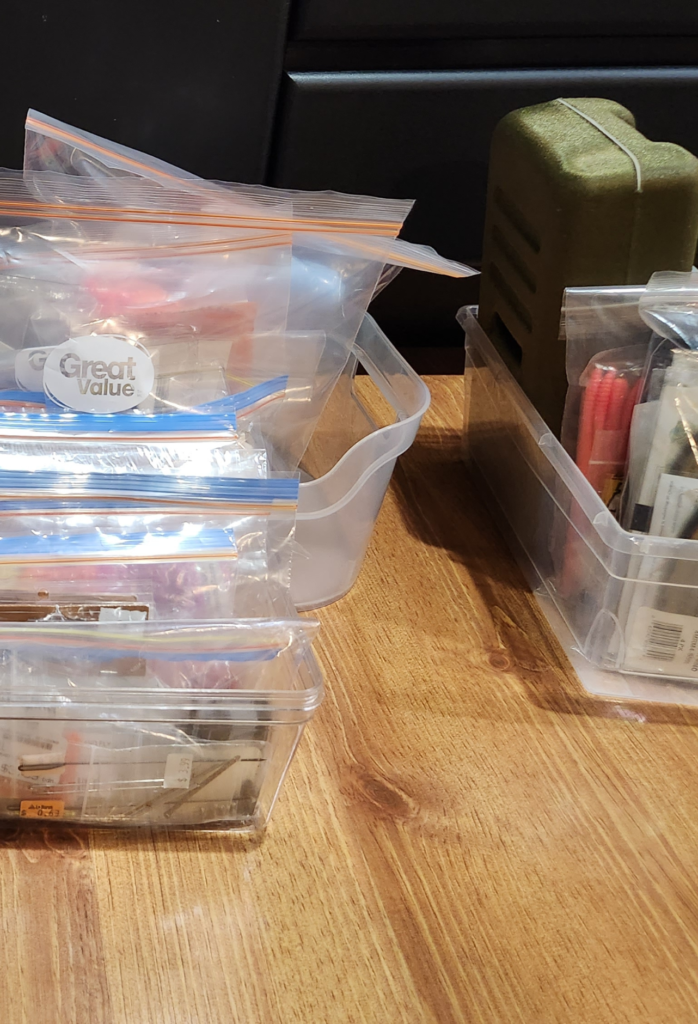
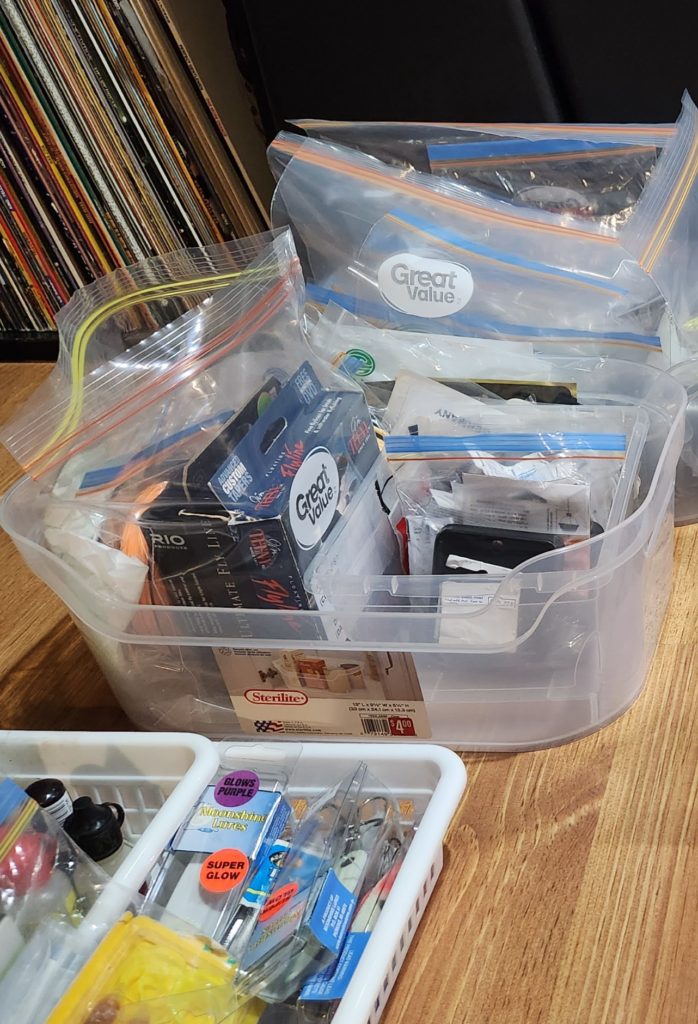
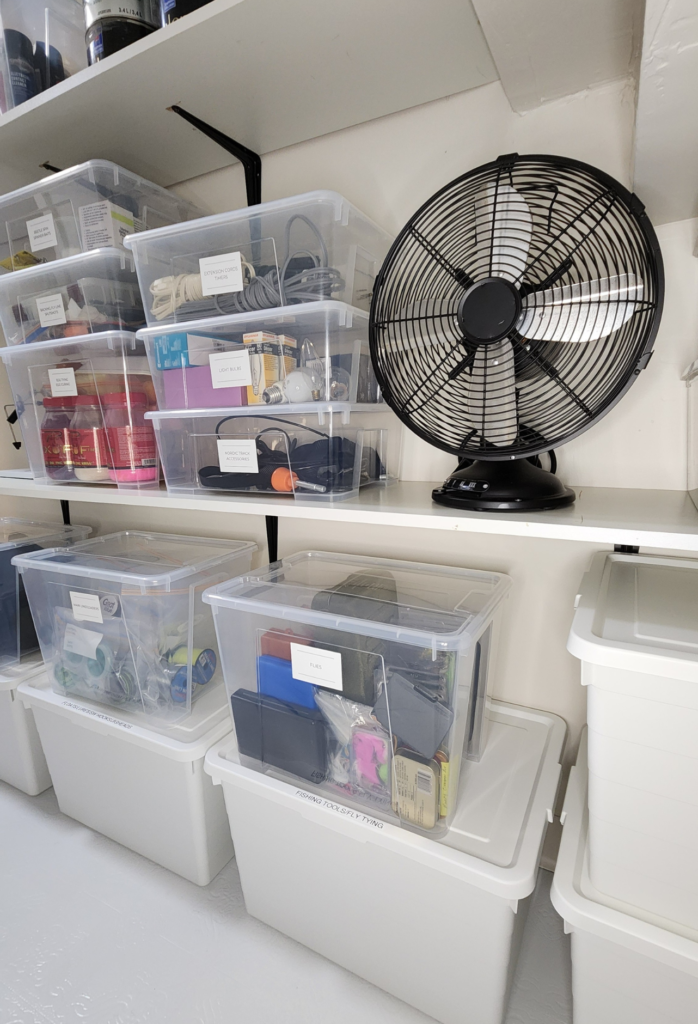
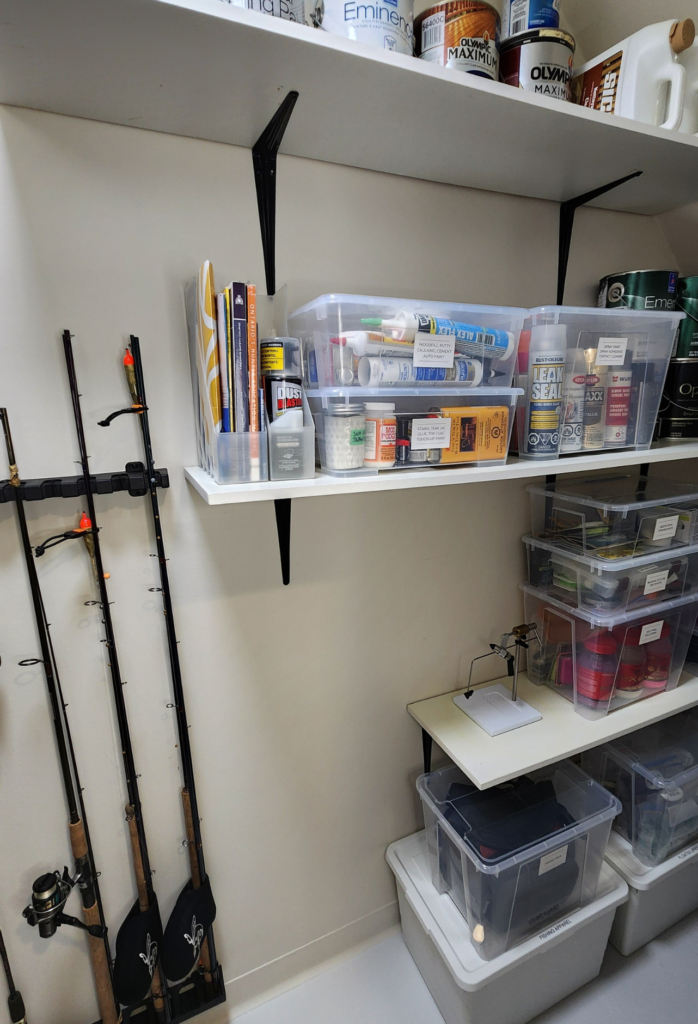
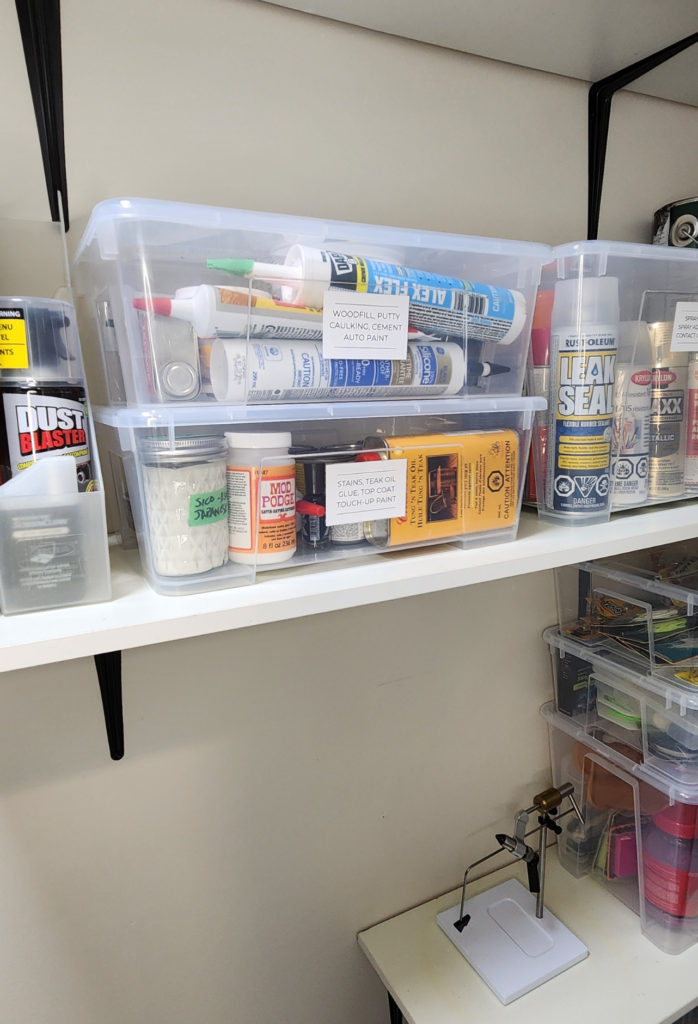
Our basement storage closet hosted a medley of items, from paints and adhesives to my husband’s fishing gear. We tackled the mess, making decisions on what stays, goes, or gets relocated to the garage. With some purging and strategic decisions, we freed up space, making access to items more convenient.
Bin Bypass
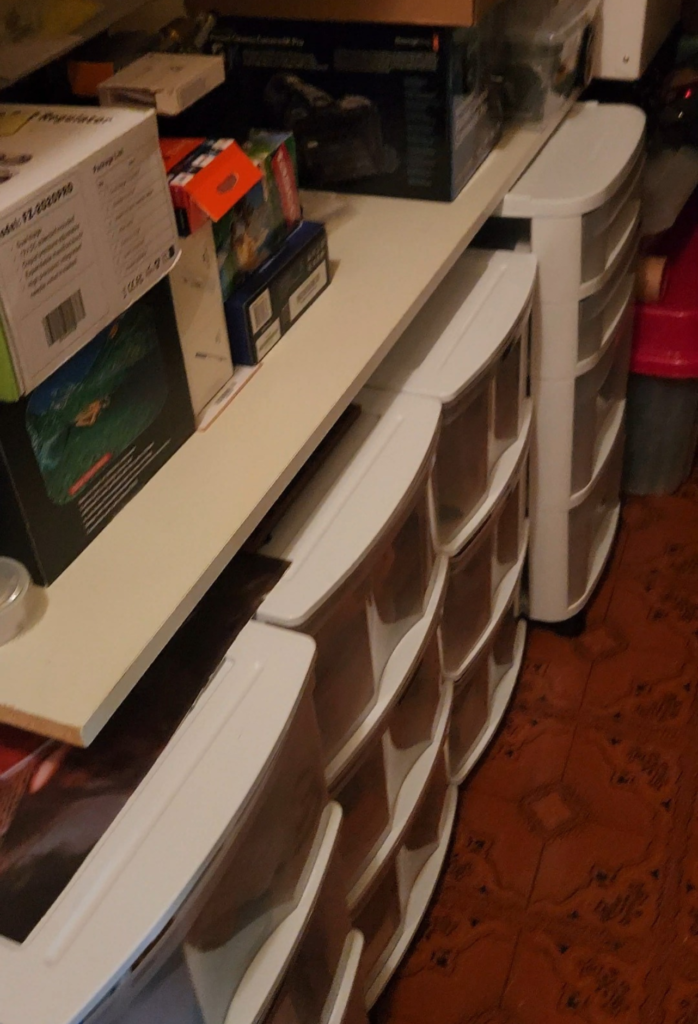
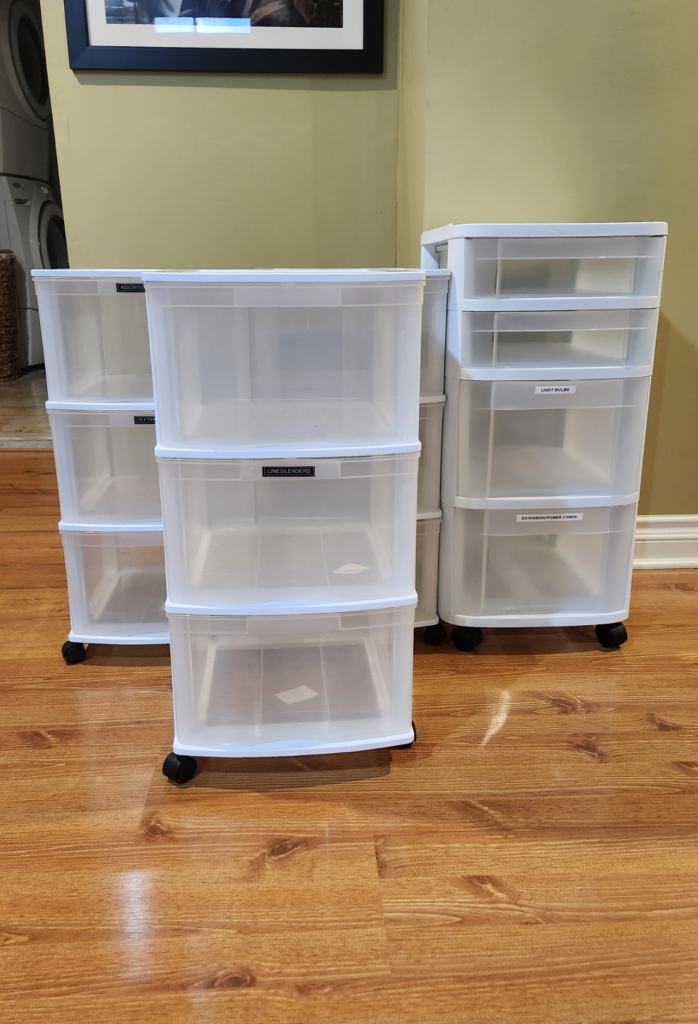
Buh-bye, cluttered bins with drawers! While they seemed like a good idea initially, they didn’t cut it for organizing fishing gear. We sorted through, decluttered, and found better ways to store things, paving the way for a clutter-free zone.
Copper Elegance on Display
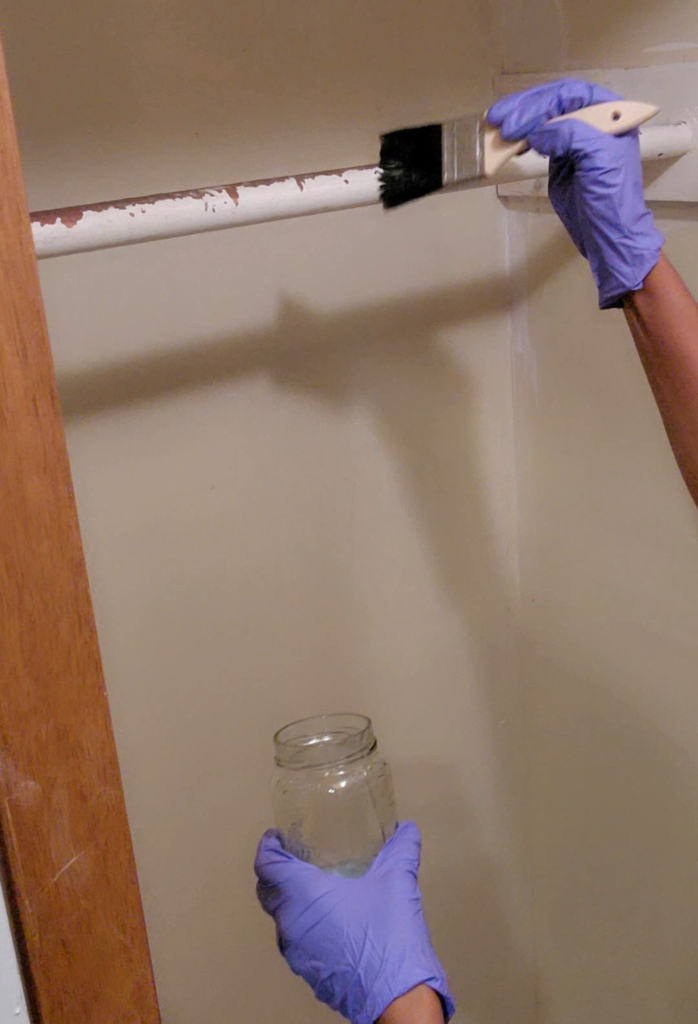
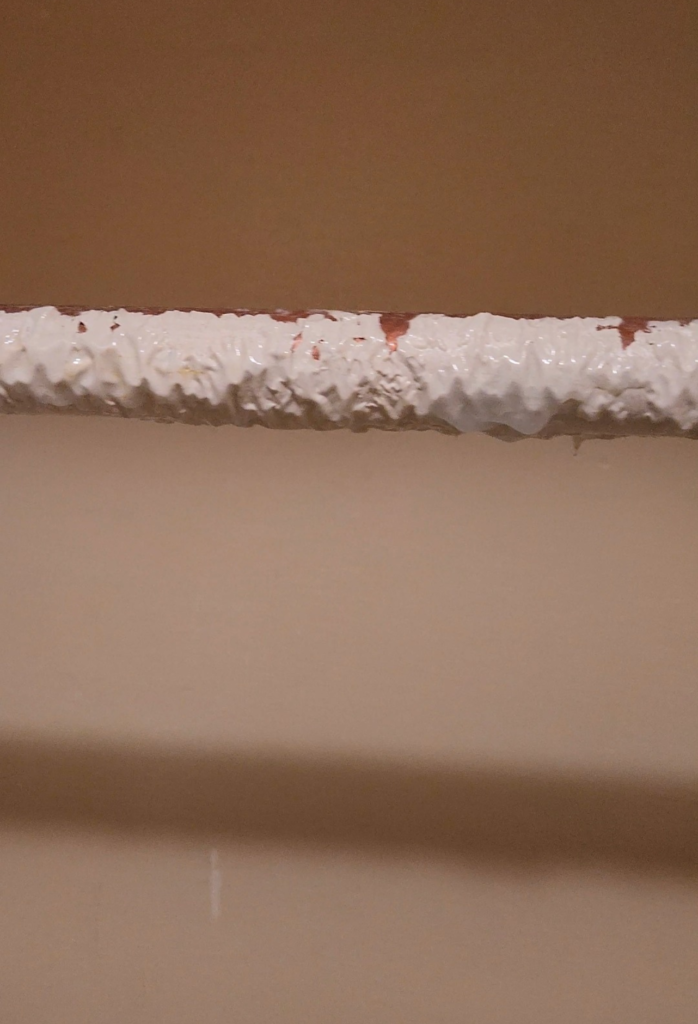
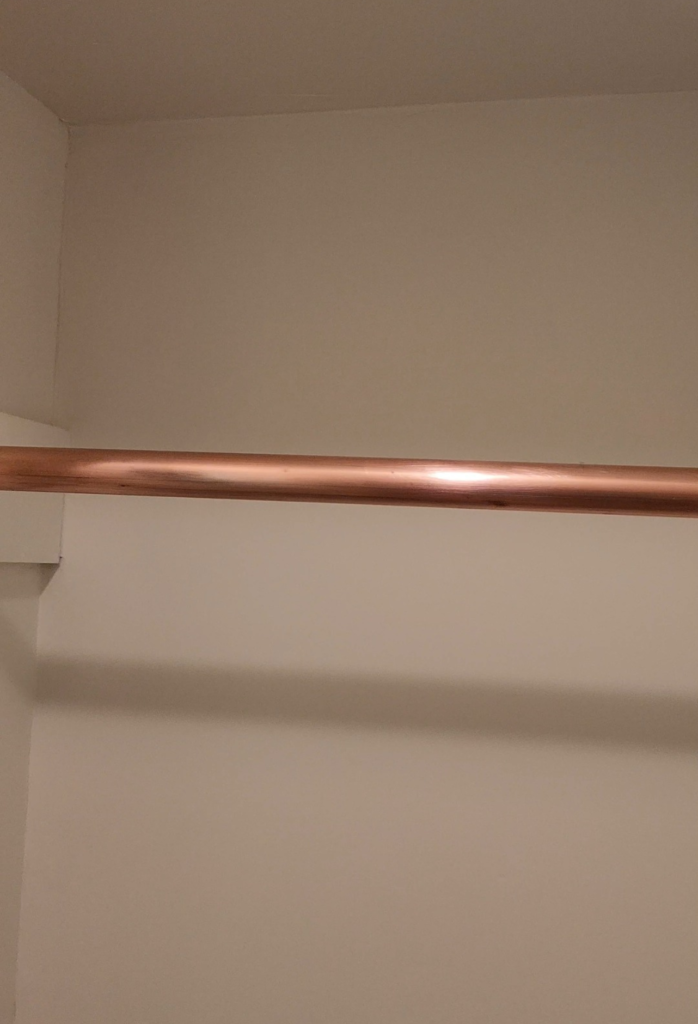
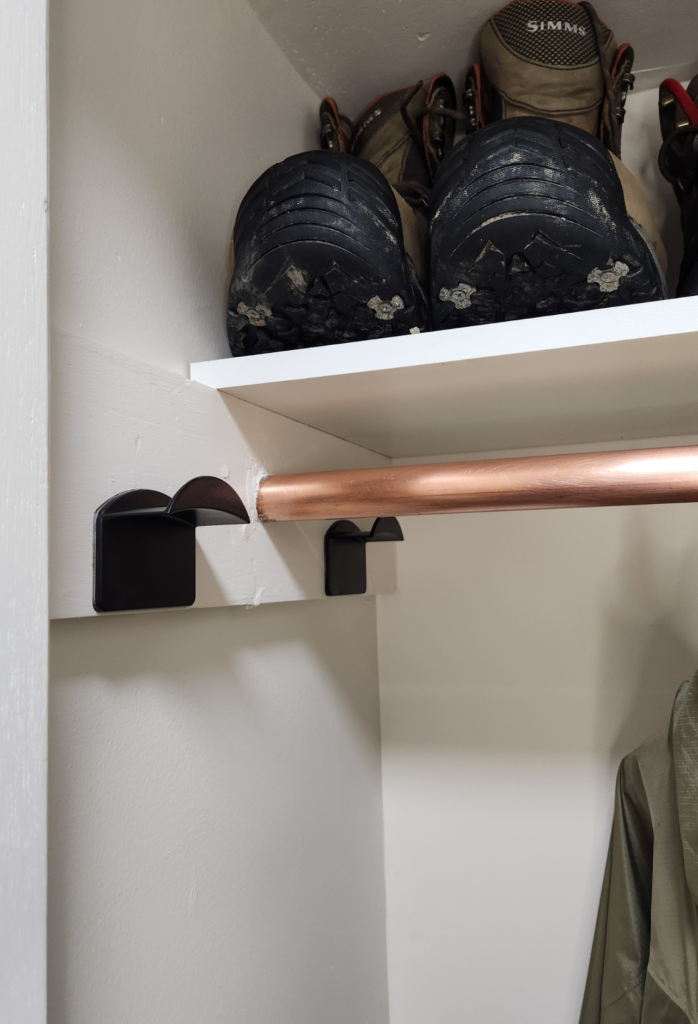
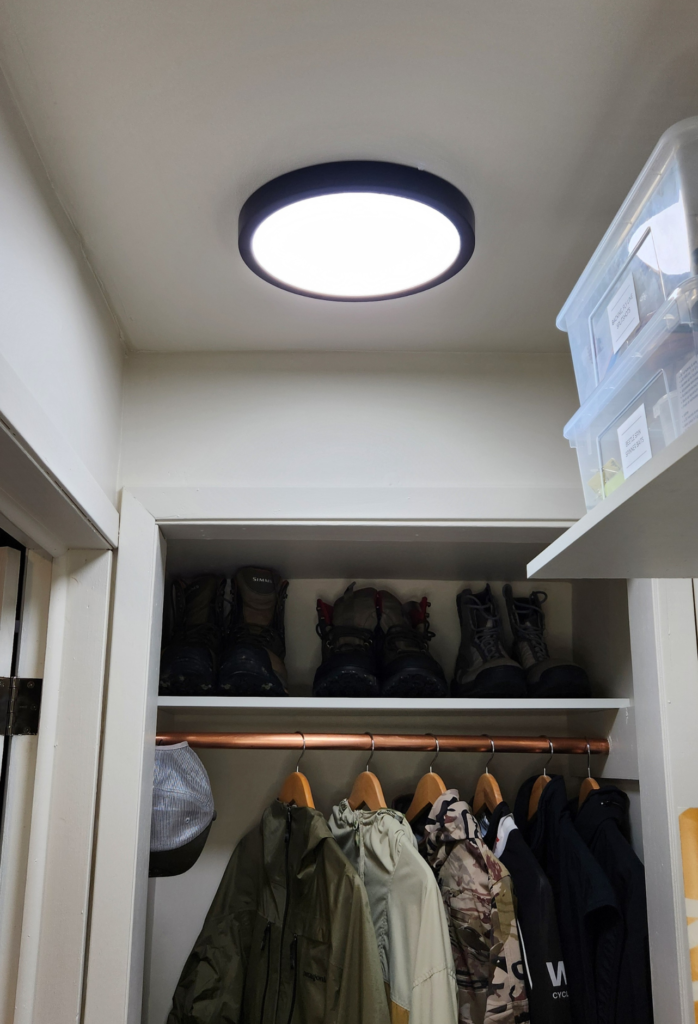
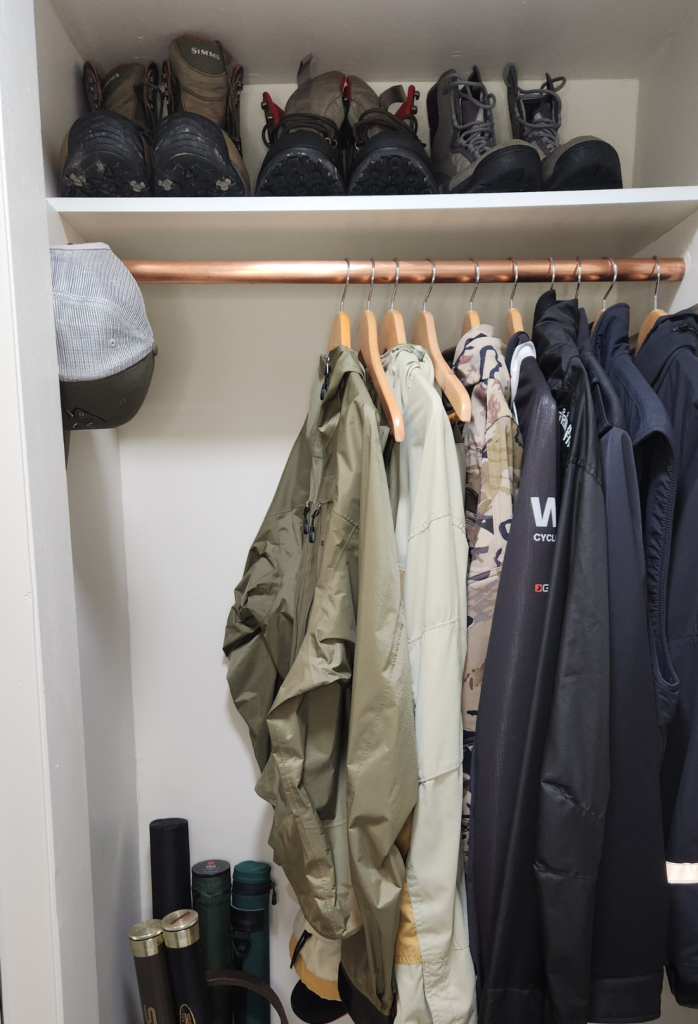
Surprise! Stripping the closet rod revealed a copper tubing hack by the previous owner. Not necessary but undeniably cool. It added a touch of bling to the closet, making it uniquely ours.
Creating Space and Revamping the Canvas
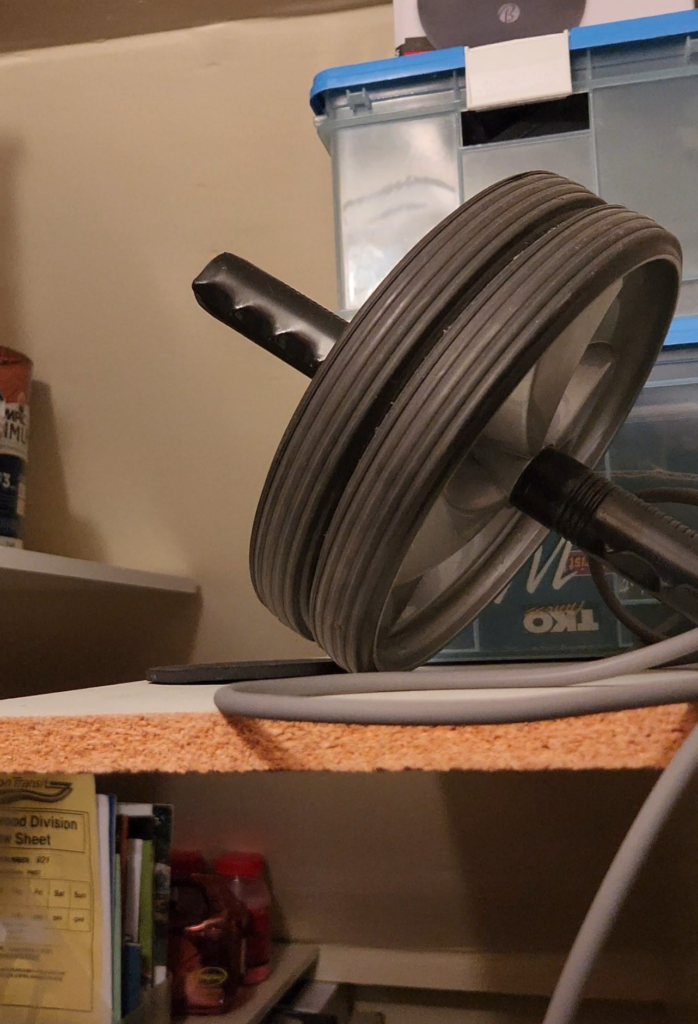
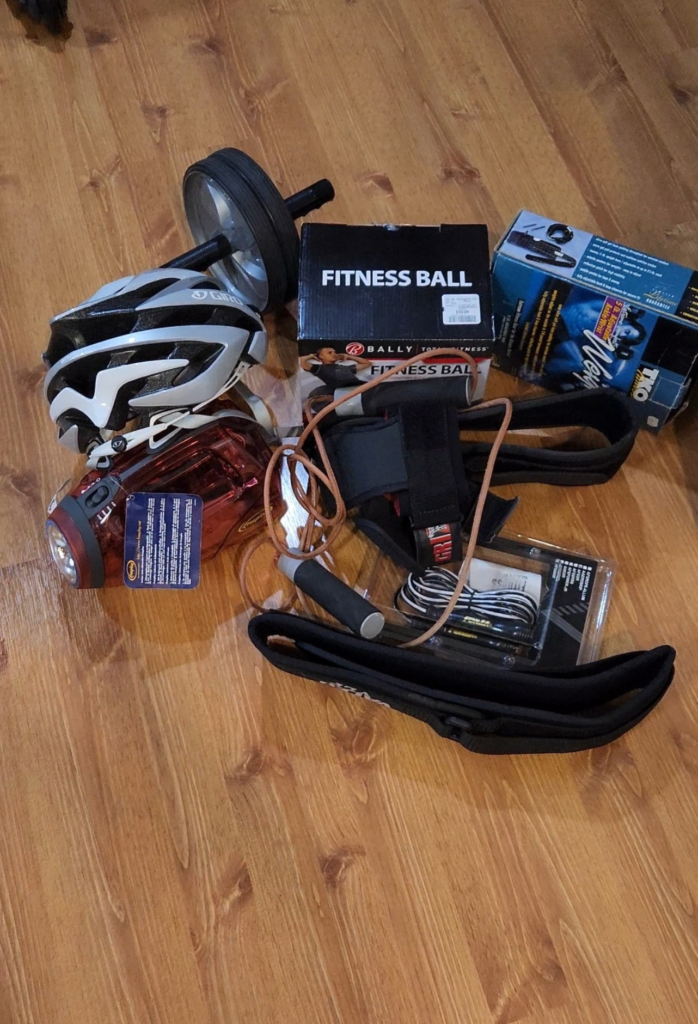
To maximize space in our narrow storage closet, I took the initiative to remove the shelf on the right side of the wall. It had previously stored workout gear, but once those items were purged, keeping the shelf seemed pointless. Concerns about safety, particularly the risk of someone accidentally smacking their head on the shelf edge, solidified the decision to bid it farewell.
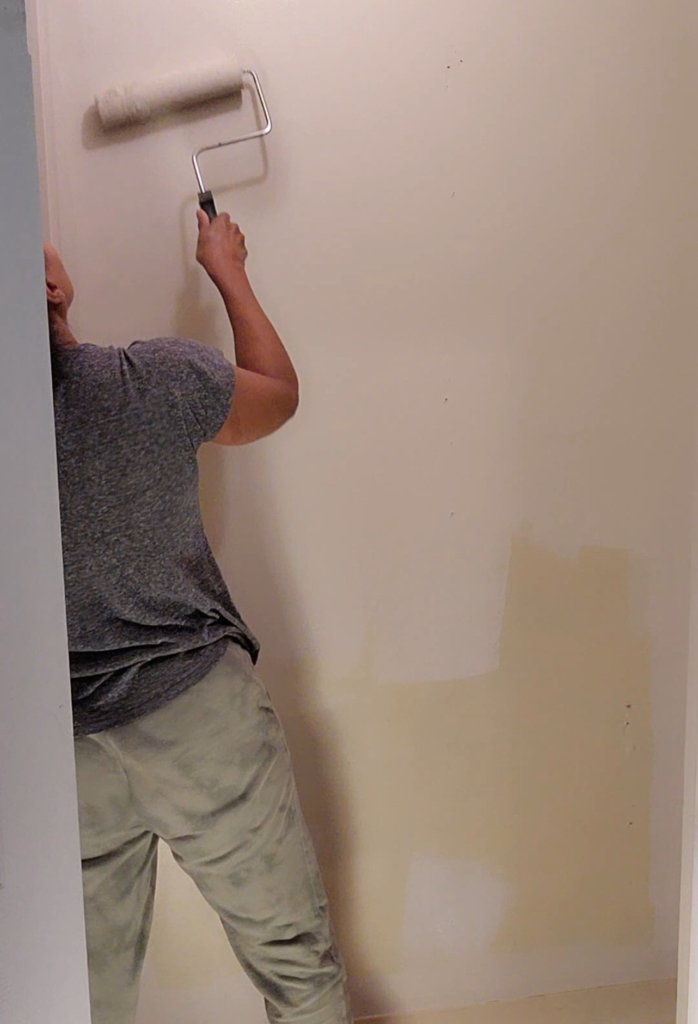
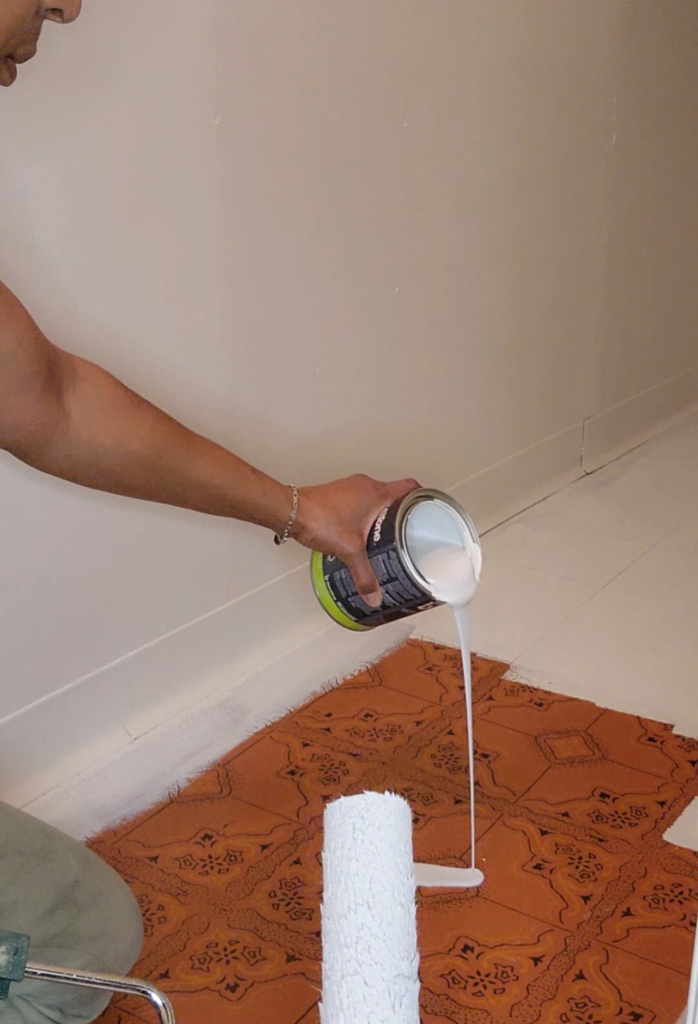
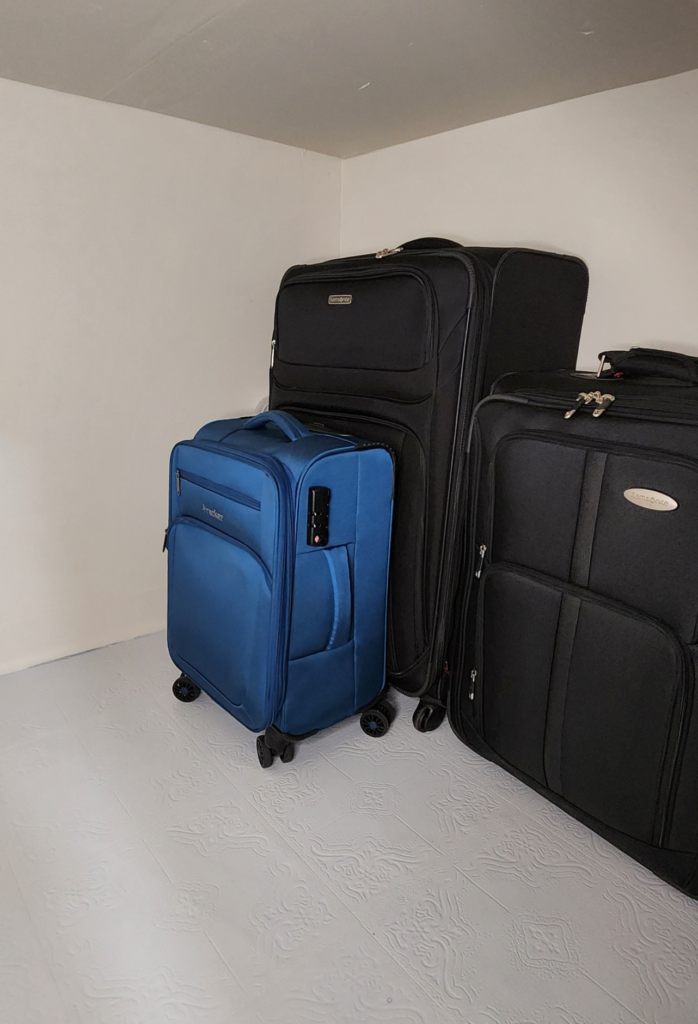
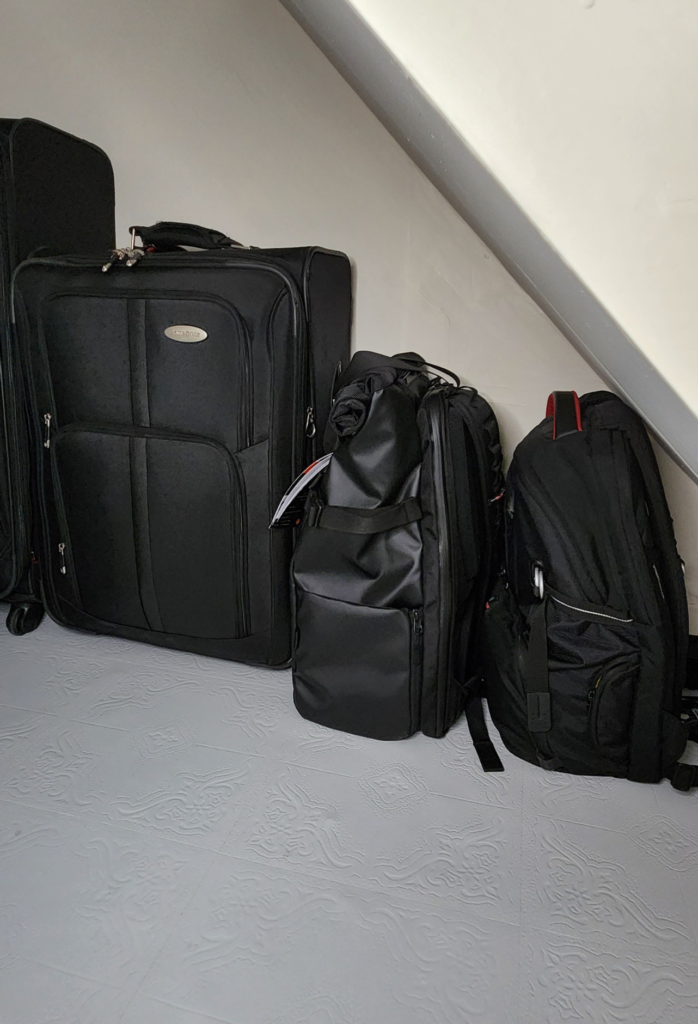
Now, faced with a blank canvas, inspiration struck to embark on a mini-makeover for the storage closet. This involved actively patching holes and applying fresh paint to the walls, ceiling, and yes, even the floor. I’ve taken charge of transforming the cringe-worthy linoleum by painting it white, providing a temporary but refreshing facelift until we replace it along with the basement flooring in the near future.
Smart Bin Solutions
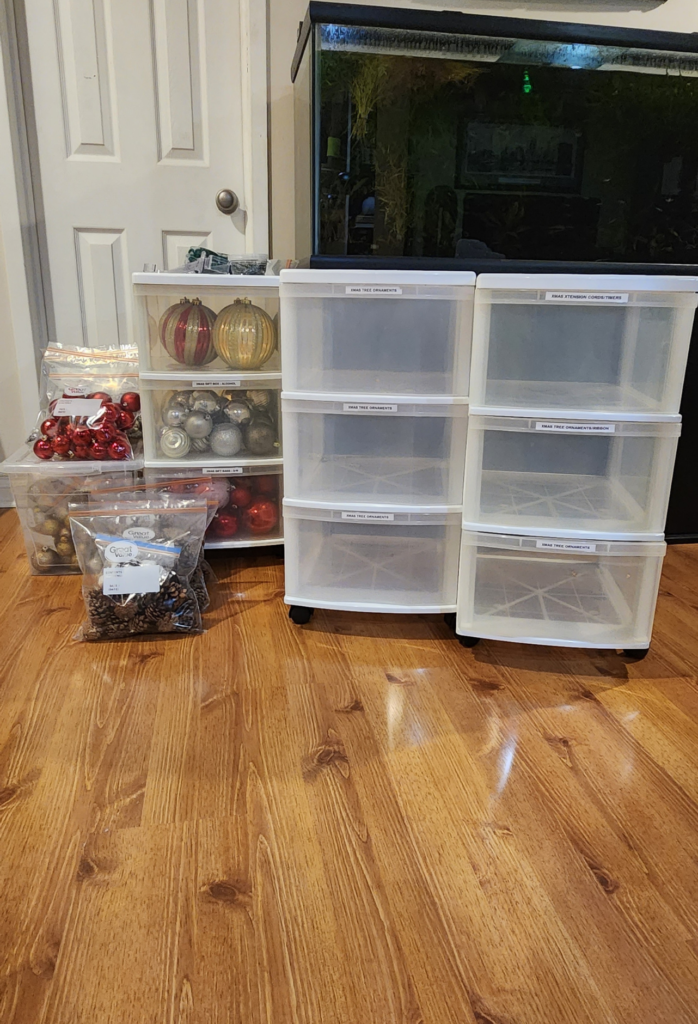
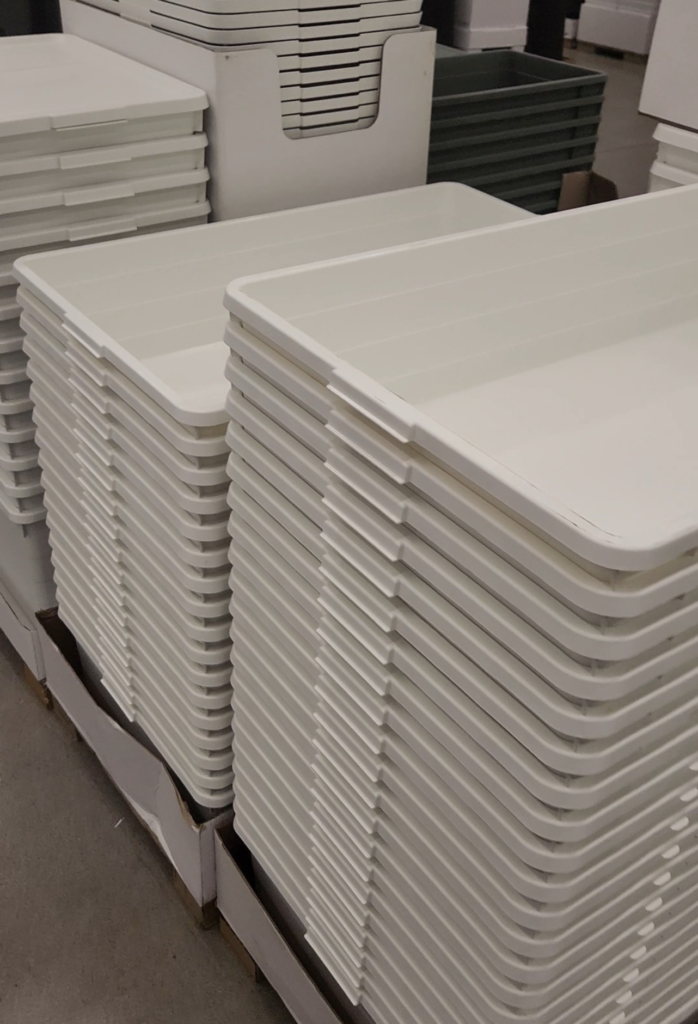
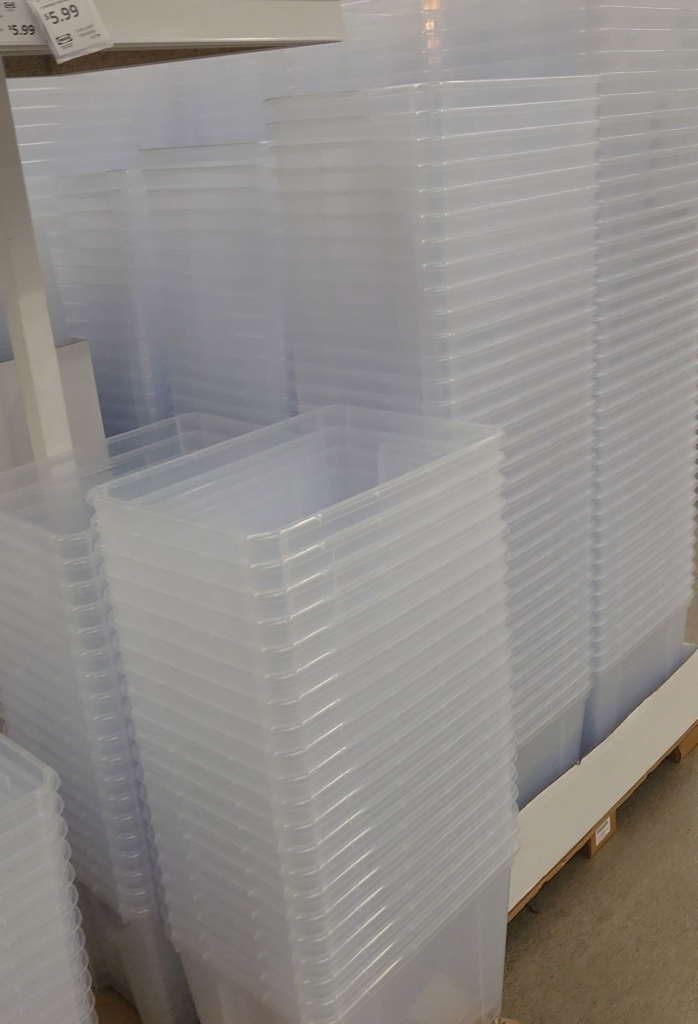
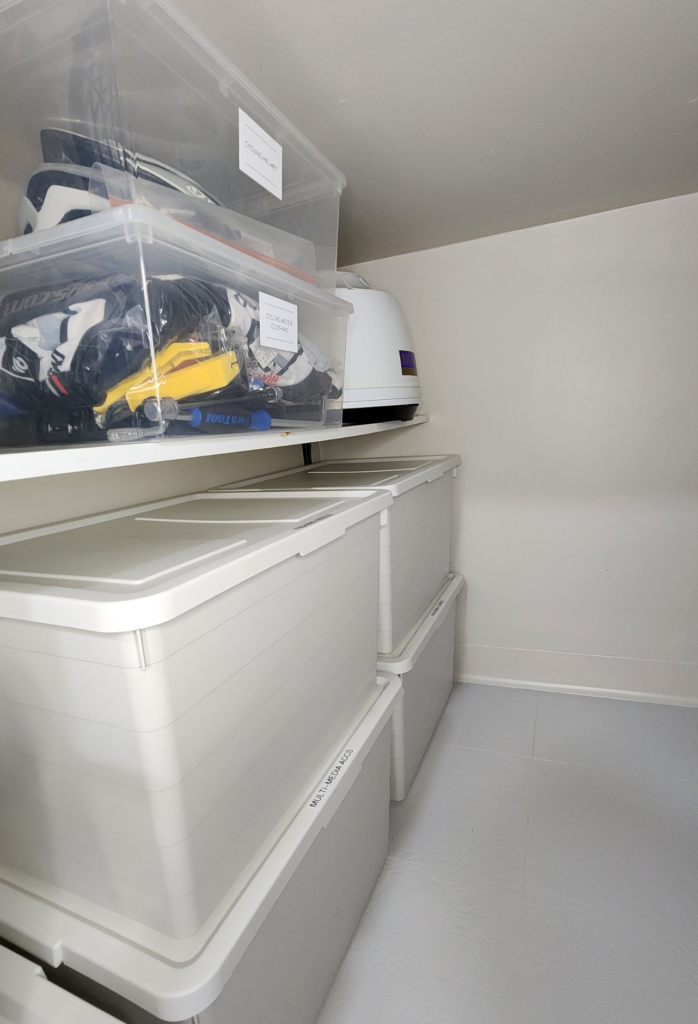
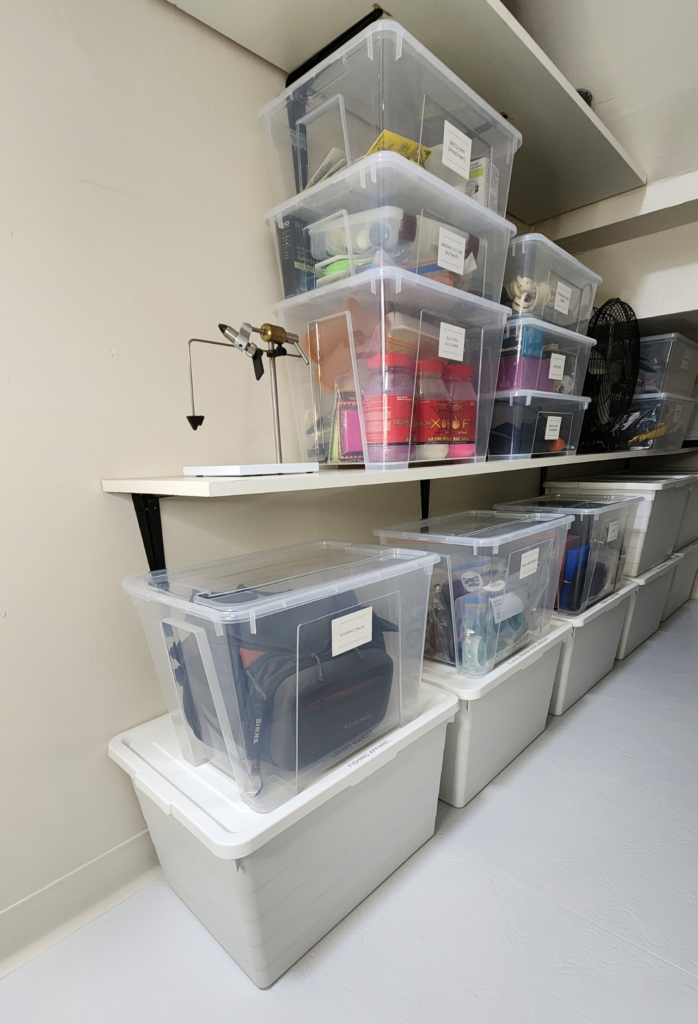
Armed with measurements, I headed to IKEA for bins that would perfectly fit the shelves. No more piles on the basement floor—everything had its designated spot, labelled and organized.
Revitalizing the Shelves with a Splash of Creativity
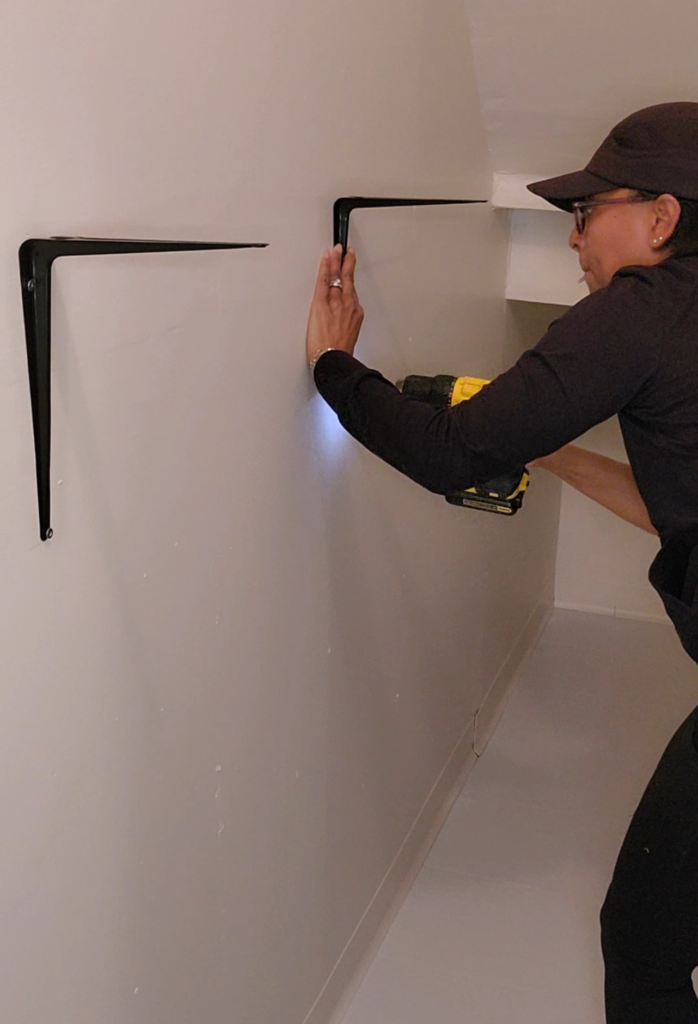
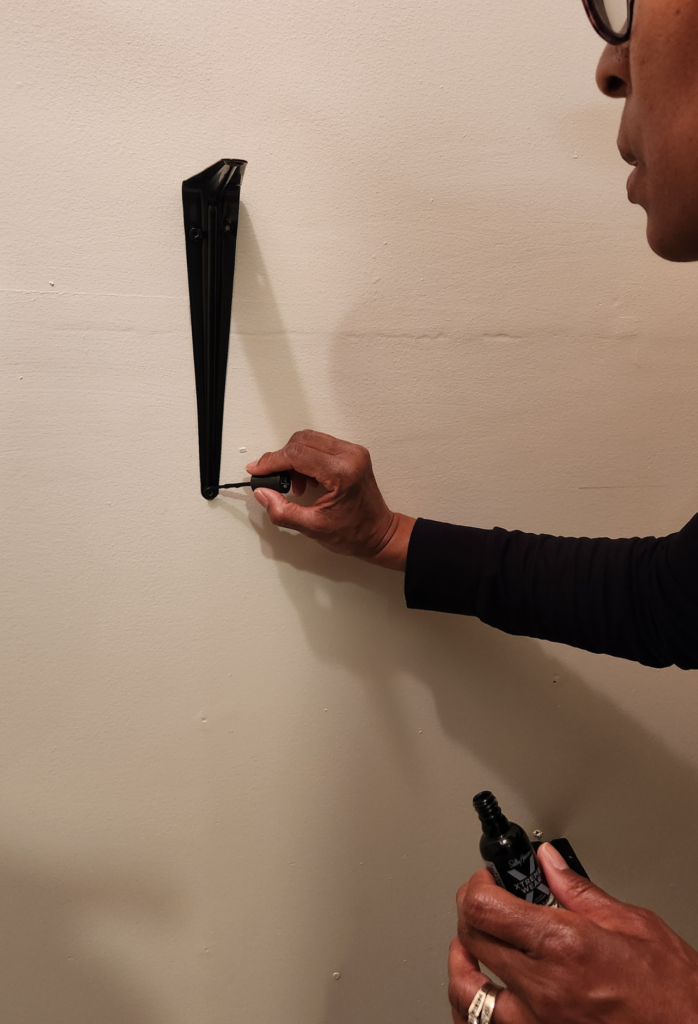
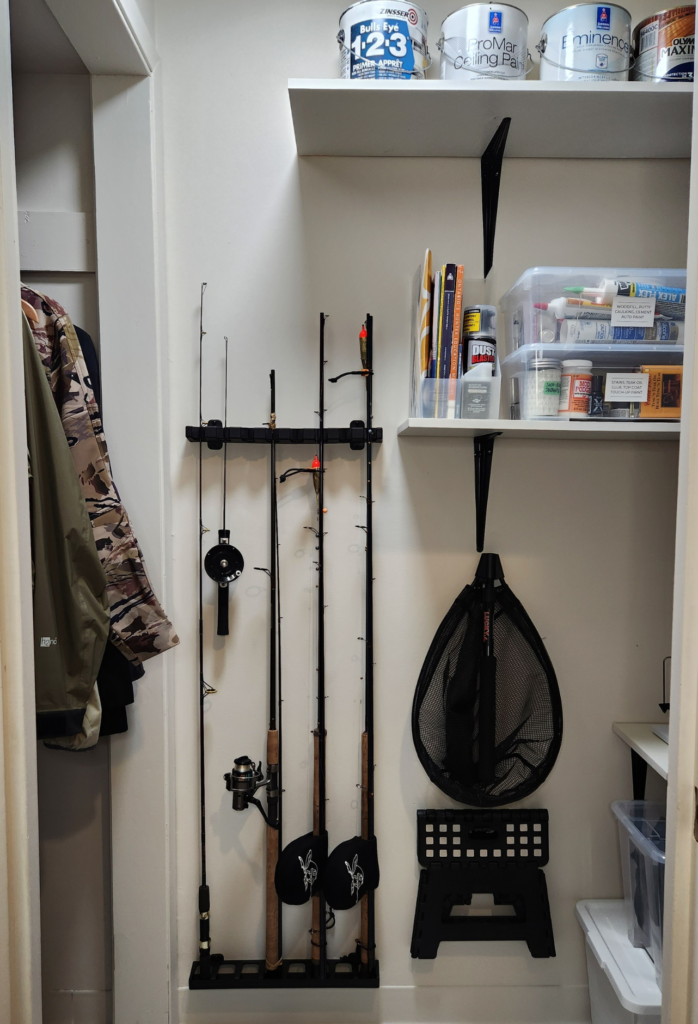
With the shelves in impeccable condition, I opted to give them a second life by reinstalling them in their original positions. The only tweak I made was swapping out the outdated support brackets for sleek black ones. There was a minor hiccup—the black shelf supports lacked matching screws. No worries, though! Drawing inspiration from a neat hack my hubby taught me, I improvised by painting the screwheads black with nail polish. How’s that for a clever touch?
Ingenious Fishing Gear Solutions
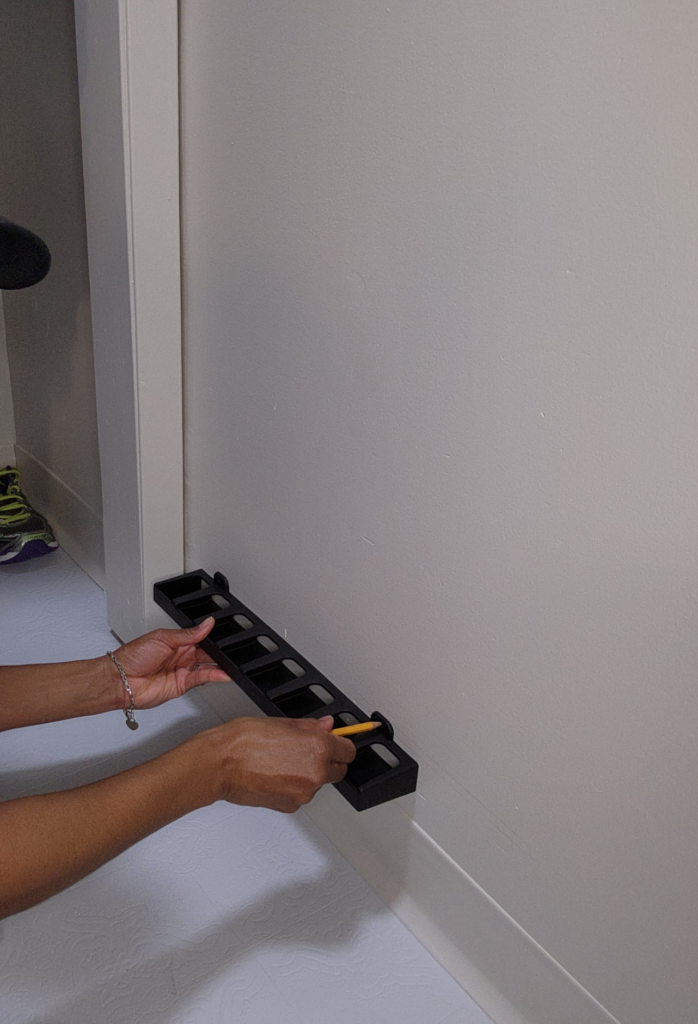
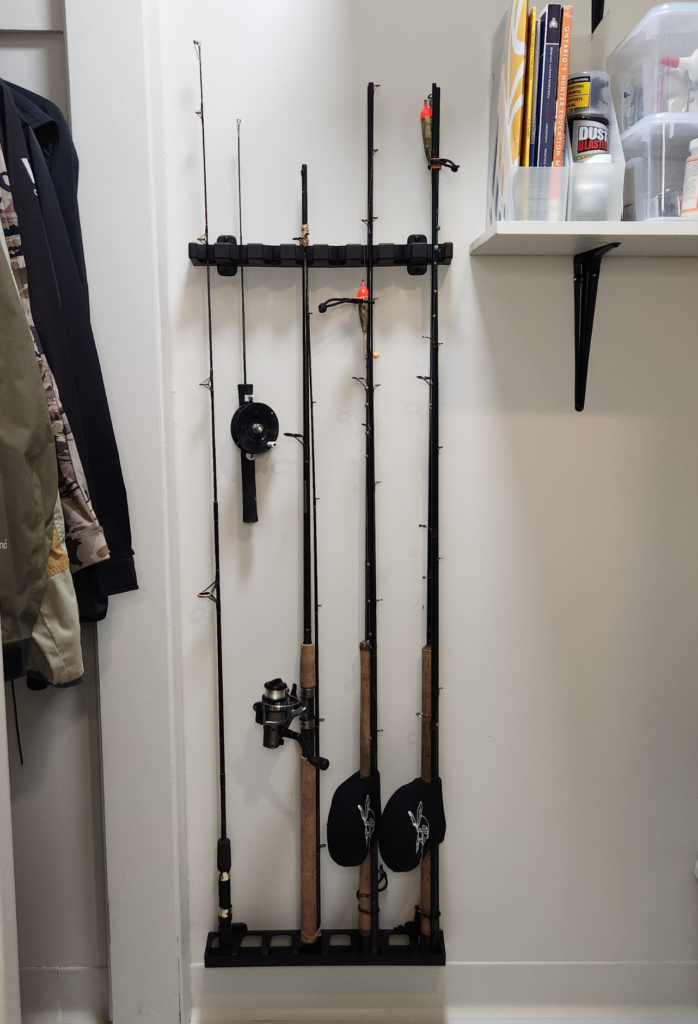
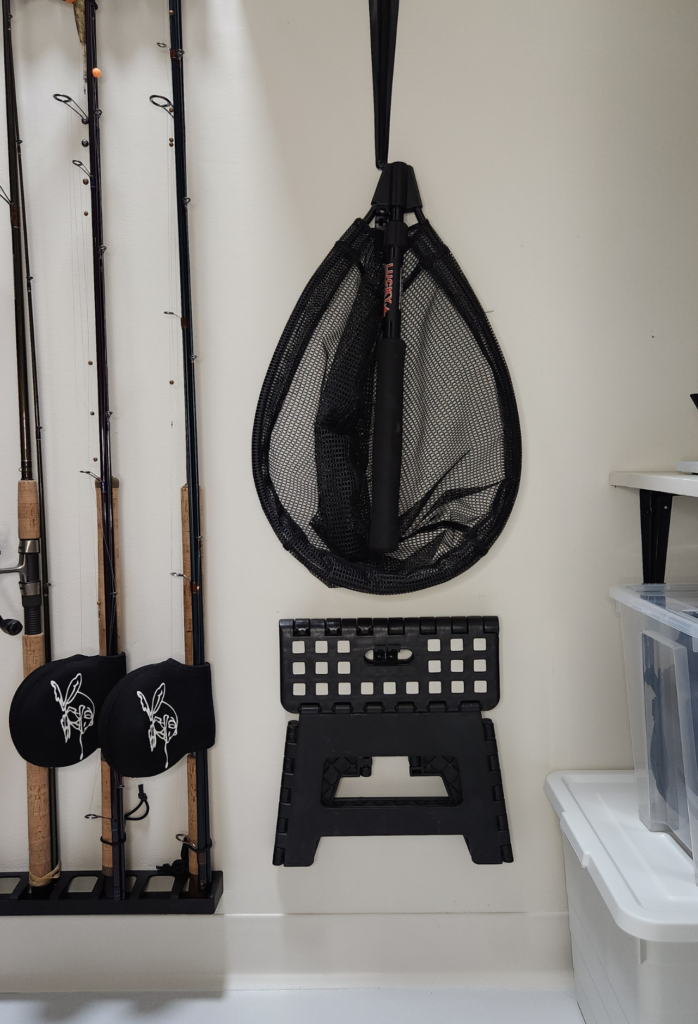
Online exploration led us to a perfect solution for organizing fishing rods: an efficient storage holder from Amazon. This nifty find allowed us to neatly fasten the rods to the wall, taking into account their height and ensuring easy accessibility. With measurements in hand, installation was a breeze, providing a sleek and organized home for the fishing rods.
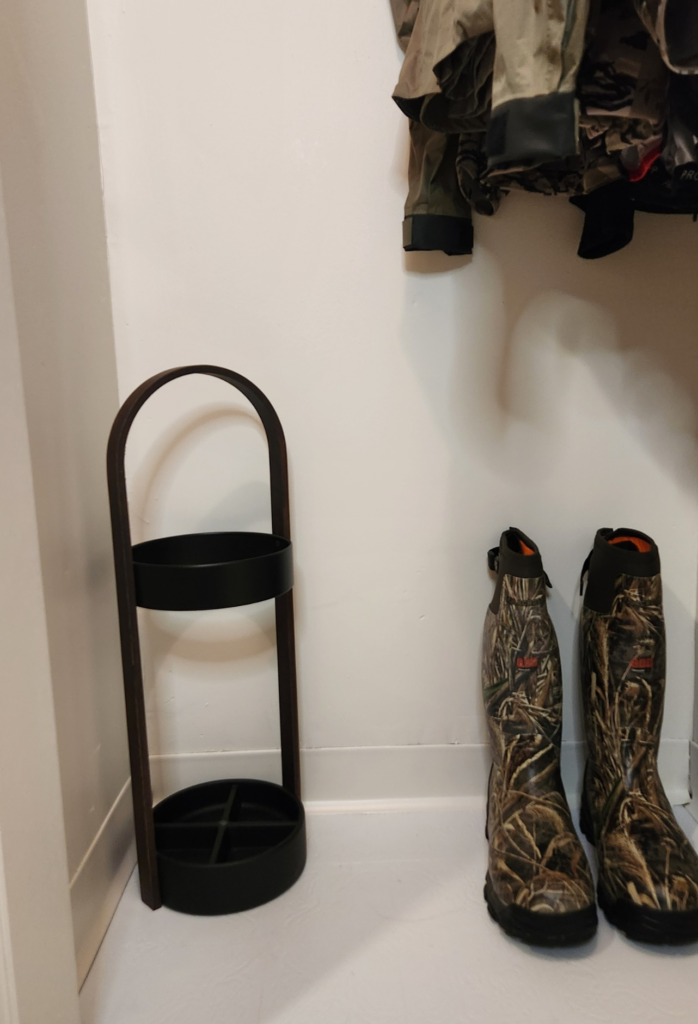
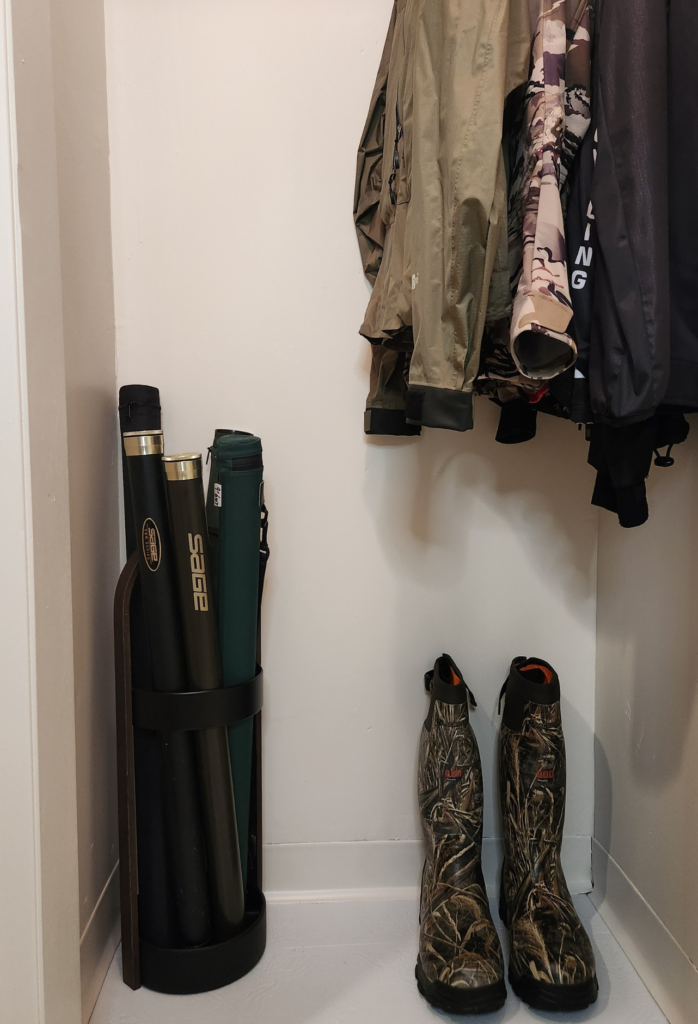
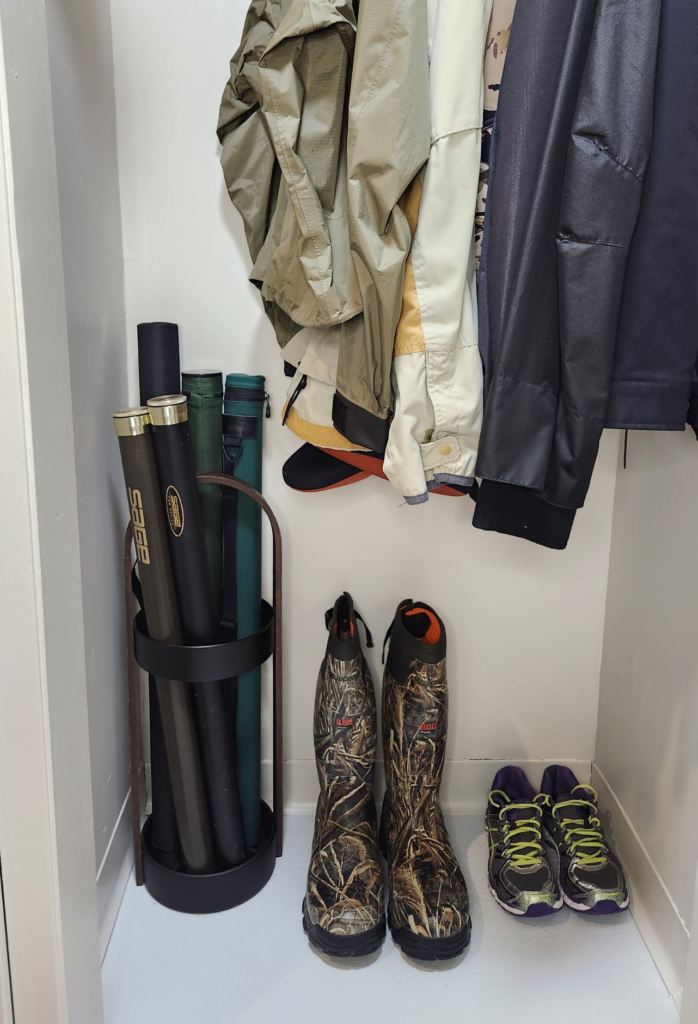
Addressing the issue of storing fishing rod travel cases was a bit more unconventional. After exploring various options like travel bags (which didn’t quite fit the bill), a lightbulb moment struck. Our seldom-used stylish umbrella stand in the coat closet had the perfect dimensions. With a little reshuffling and parting ways with an oversized umbrella, the stand became an ideal, cost-free storage solution for fishing rod travel cases. It not only served its purpose functionally but added a touch of style to the basement storage closet, showcasing a brilliant repurposing win.
Small Touches, Big Impact
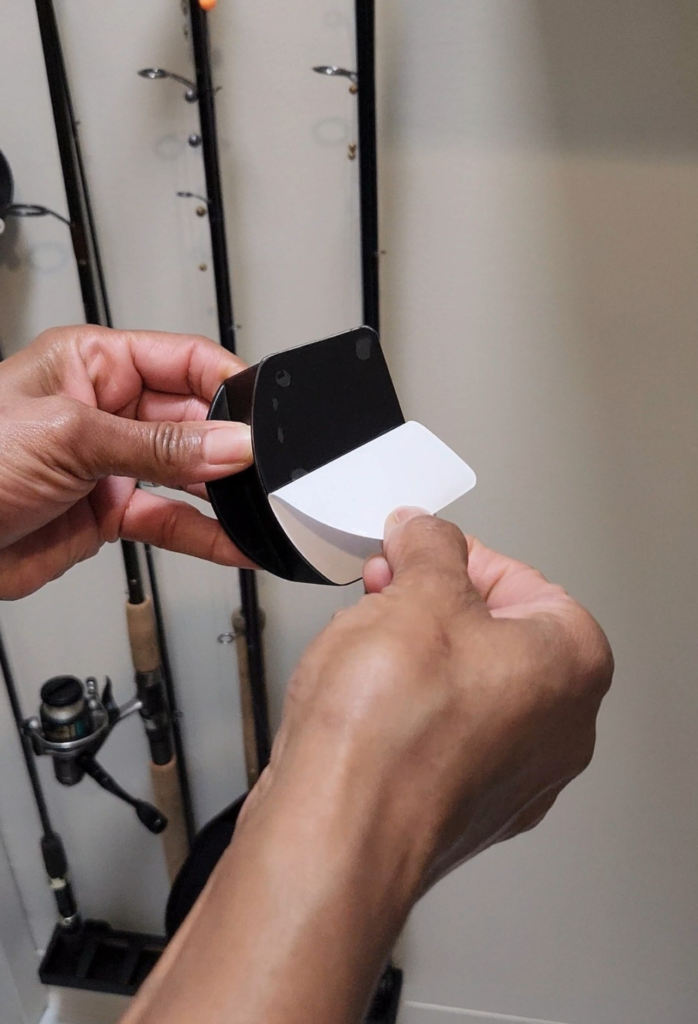
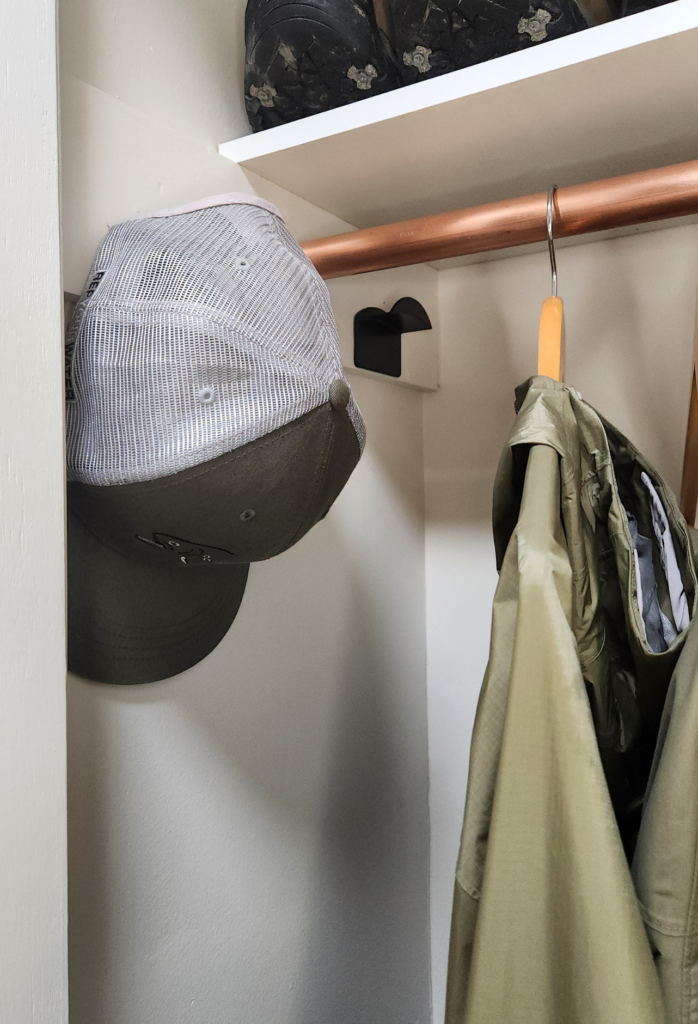
Sometimes, it’s the small things that make a big difference. Enter the baseball cap holder, sourced from Amazon. Recommended by my husband, this sleek black holder not only keeps caps organized but also adds a stylish touch to the space. Its self-adhesive design made installation a breeze—no tools required. This seemingly minor addition became a practical and aesthetic enhancement, exemplifying how attention to detail can elevate the overall organization of a space.
DIY Hacks for Vertical Organization
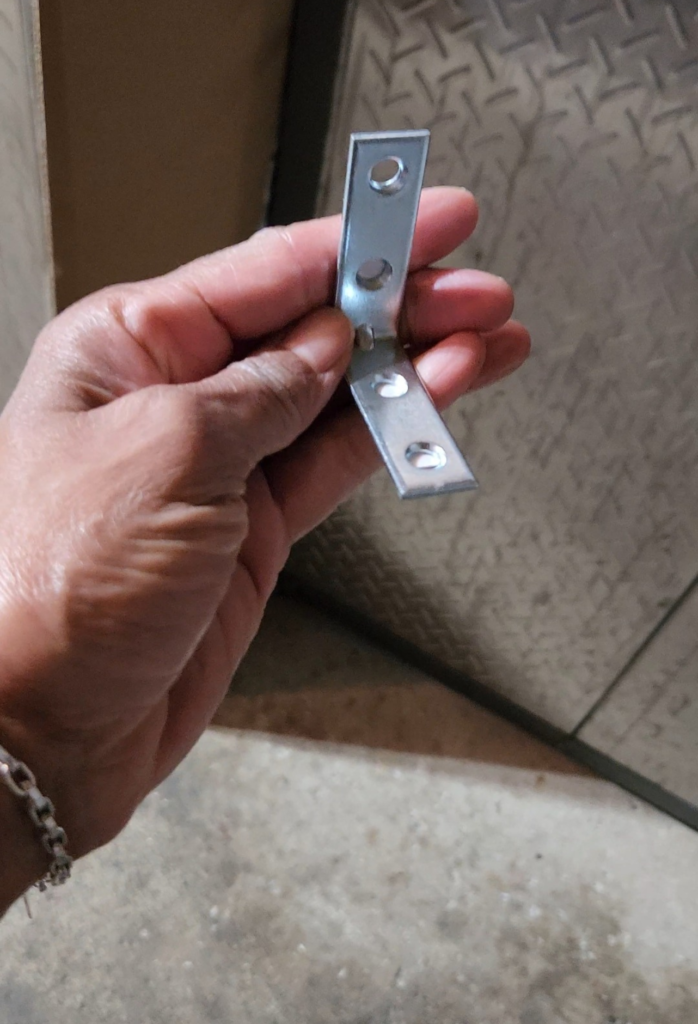
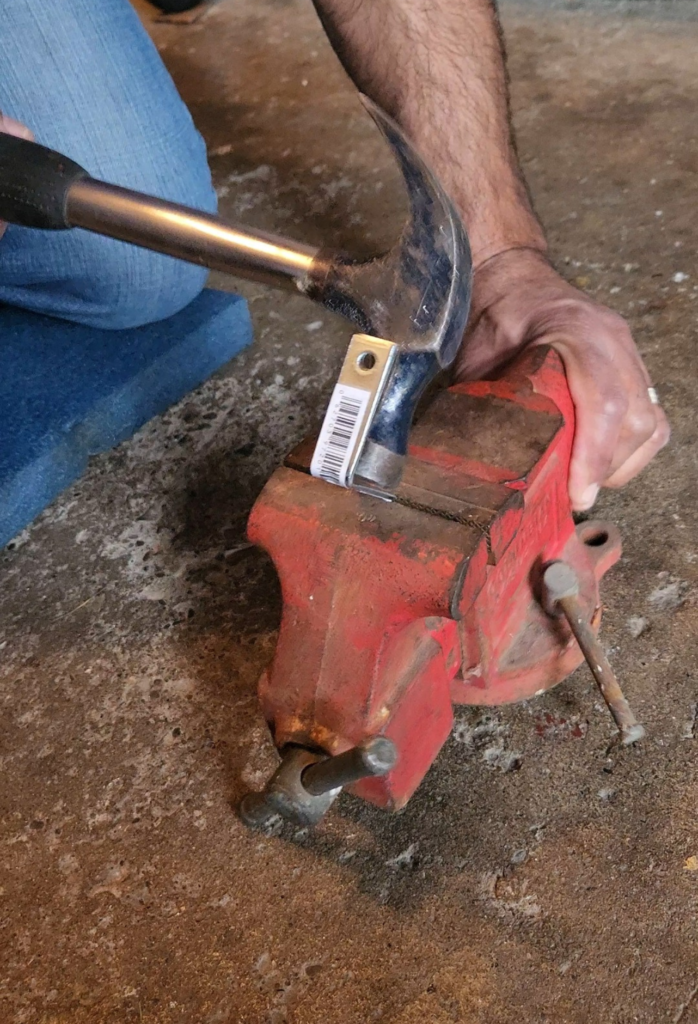
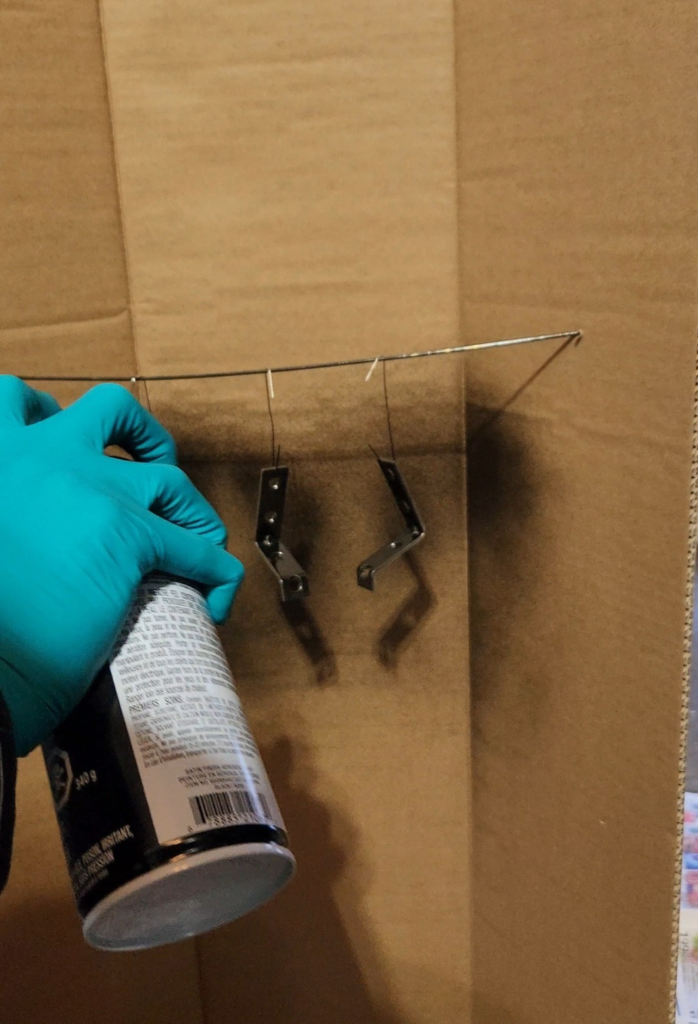
Hooks for the stepladder and fishing net proved elusive online, so we took matters into our own hands. Small corner braces, a bit of bending, a splash of spray paint, and our DIY hack ensured they hung securely, optimizing vertical space.
Illuminating the Space
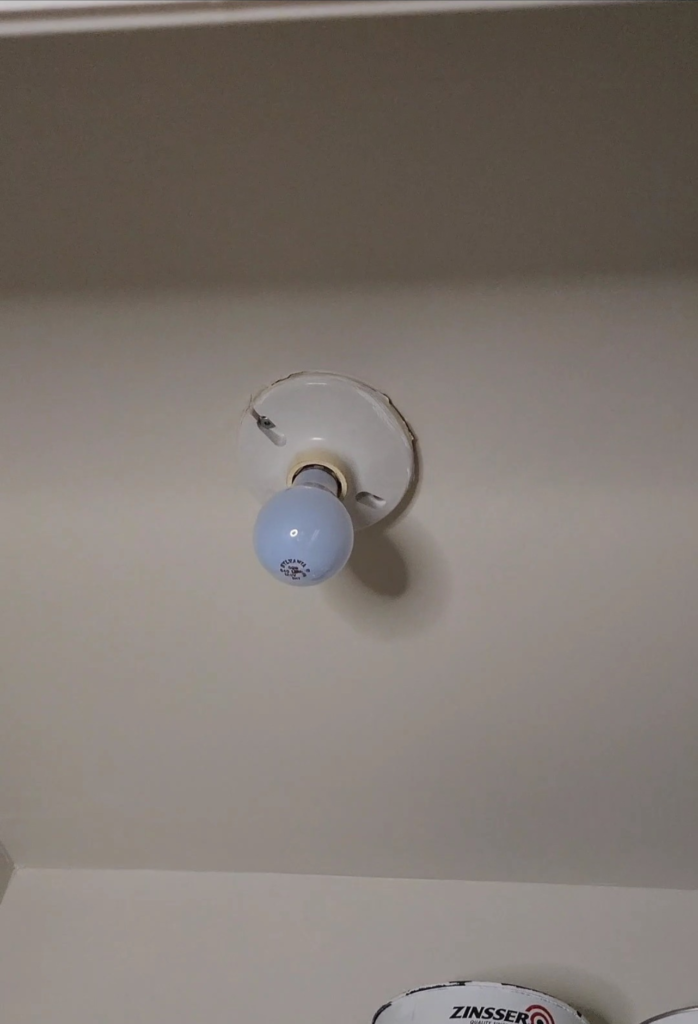
Recognizing the urgent need for an upgrade, I addressed the outdated lighting situation in our closet. The old socket light bulb had overstayed its welcome, and honestly, we should have bid it farewell years ago. After some exploration, I stumbled upon the ideal solution – a sleek flush-mount ceiling light that gracefully hugs the ceiling.
The dimmable feature is a game-changer, allowing us to set the perfect brightness. Given the importance of bright lights in this closet to catch every detail and ensure nothing out of place remains unnoticed, this upgrade was indeed a necessary and rewarding addition to the entire transformation.
The Joy of a Clutter-Free Zone
As I stand back and marvel at the transformation, I can’t help but feel a sense of accomplishment. Our basement storage closet is no longer a cluttered mess but a visually appealing, organized space that we’re committed to keeping clutter-free.
With a bit of motivation and creativity, transforming a cluttered space into an organized haven is not only achievable but incredibly rewarding. Here’s to organized spaces and the joy they bring!
Disclosure: This post includes affiliate Amazon links. This means that as an Amazon Associate, I may earn a commission from any qualifying purchases you make through those links.


