Over time, I incorporated various decorative accents throughout my home, but there came a point where it no longer created the desired ambiance. Multiple areas in my home had remained unchanged for a considerable period and were long overdue for a revamp. One of my top priorities was to transform an uninspiring, disordered space into an inspiring and captivating home office, which I have now accomplished.
Revamp the Shelving
Honestly, I was quite dissatisfied with the construction of the custom shelving. I envisioned the shelves resembling floating shelves, as displayed in my home decor magazine. Unfortunately, the contractor didn’t quite understand the concept, resulting in the final product being less than desirable. Moreover, I ended up spending more on oak plywood than necessary.

Despite this, the shelving was functional, so I made do with it. Initially, I used it as my desk since the room doubled as a guest room. However, after replacing a sleeper sofa with a desk that offered more surface space, the shelving became the perfect storage spot for office supplies and equipment.
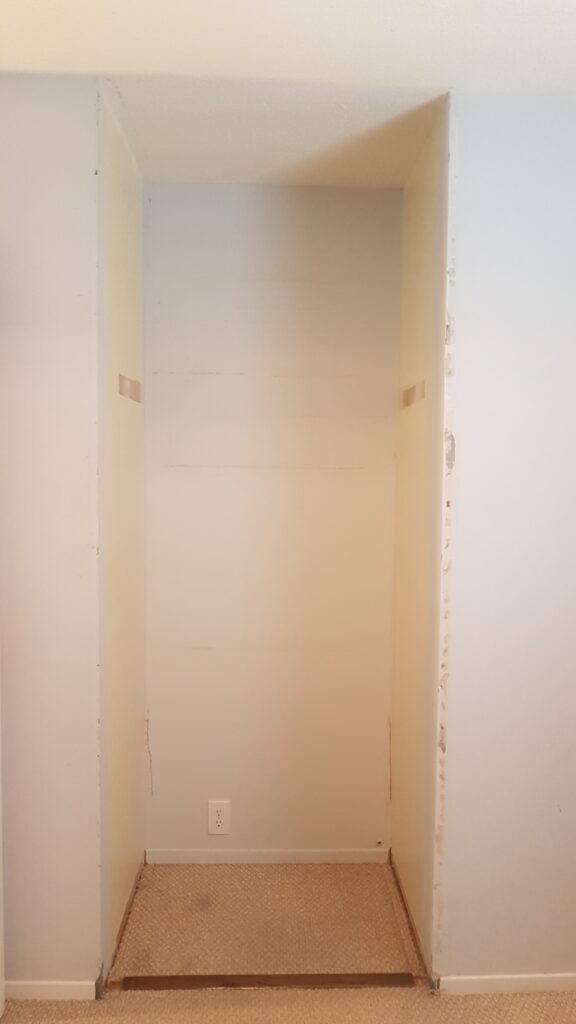
Nevertheless, since the home office makeover was on my honey-do list, the dark-stained oak shelving and “walls” need to go.
Reduce Paper Storage
I was eagerly looking forward to decluttering this particular area of my office. As I’ve grown older, I’ve realized that I crave a more minimalist approach to life. While I wouldn’t consider myself a minimalist, having fewer possessions makes it easier to maintain a clutter-free space, ultimately allowing me to enjoy my free time doing what I love rather than being bogged down by paperwork.
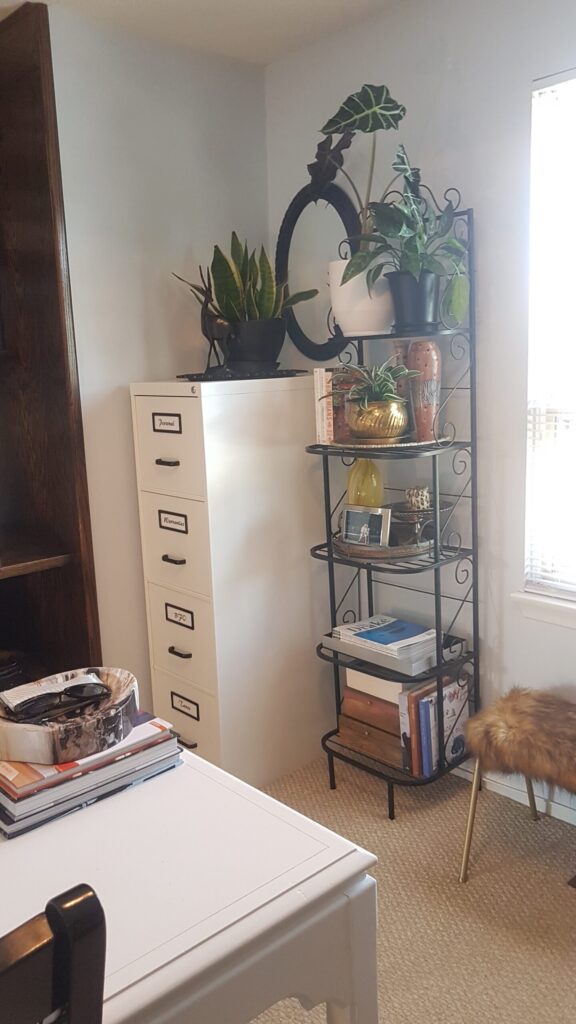
To reduce my paper trail, I decided to eliminate non-essential documents such as instruction manuals. Instead, I store essential records like client files on an external drive, which is backed up to the cloud. These efforts proved successful as I was able to sell my file cabinet!
Additionally, I purged several items from the metal bakers rack and was able to sell that as well, resulting in significant victories!
My Gallery Wall Isn’t Working
Whenever I come across an expansive wall, I can’t help but envision an arrangement of family pictures, artwork, and wooden carvings. As a matter of fact, I have a gallery wall in both my living room and basement that I still admire. However, the one in my home office is not up to par.
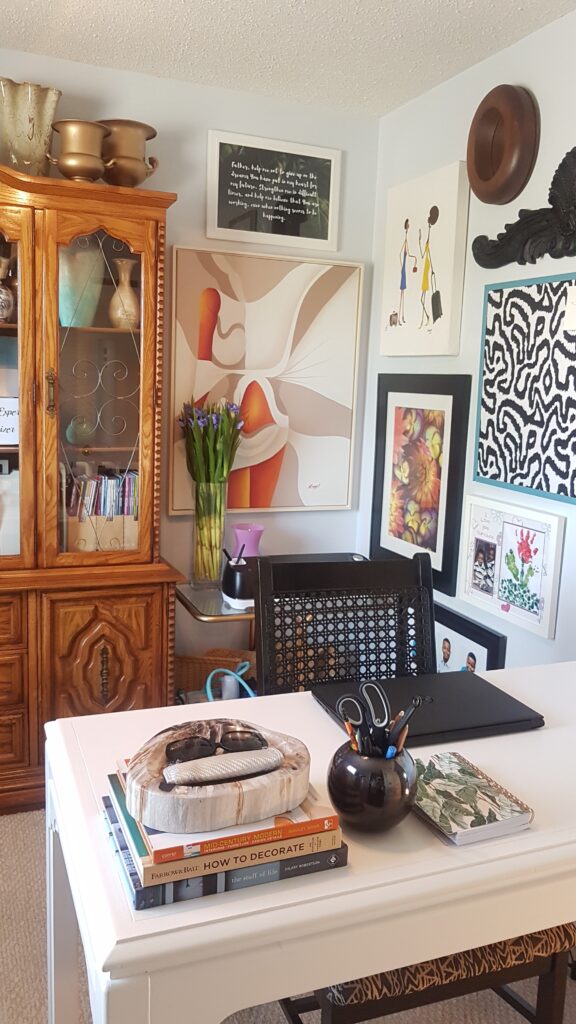
There are a few issues I have with this gallery wall eyesore. For starters, I wasn’t fond of some of the artwork and objects displayed. Furthermore, I’m beginning to think that this corner of the room was not the best placement for the gallery wall. Additionally, the cluttered wheeled cart with random items in this corner of the room is causing sensory overload, making it difficult to appreciate the gallery wall.
As a result, I’ve decided to revamp this particular wall to make it more aesthetically pleasing and in line with the minimalist approach I’m aiming for.
Underutilized Office Accessories
Here’s an additional view of the gallery wall in question, showcasing what isn’t working. The spacing between objects is inconsistent, which is a common issue with gallery walls. To avoid this, it’s best to wait until all curated pieces are available before beginning the layout. While I work on revamping my home office gallery wall, I recommend checking out some inspiring examples on The Spruce.
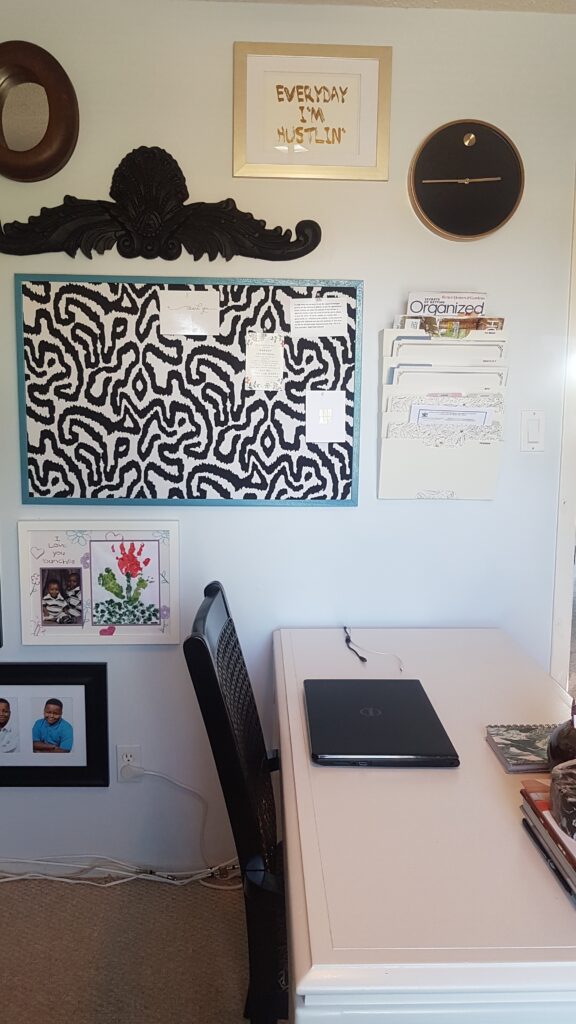
Another aspect that isn’t working for me is the wall clock. Although functional and decorative, I can easily check the time on my android or laptop. Additionally, my DIY corkboard featuring a cool animal print hasn’t been as useful as I anticipated. Wall files may be an office staple for many, but I’m on a mission to reduce paper and its storage, rendering them unnecessary for me.
Dated Yet Multifunctional Hutch
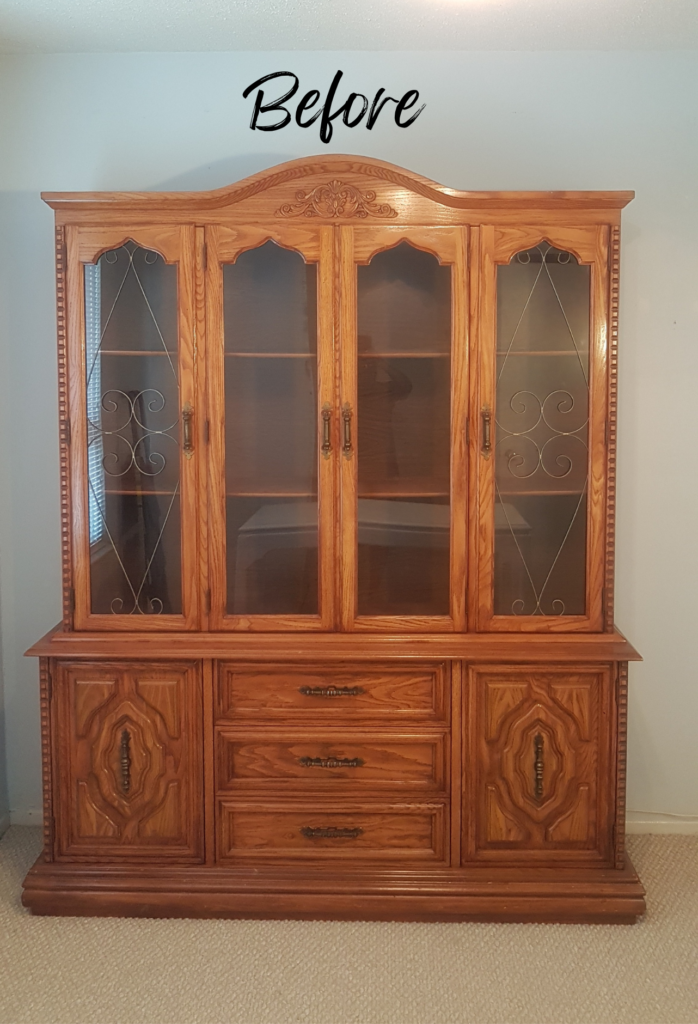
Although the hutch in my home office had an outdated, orange-y wood look, it has served its purpose remarkably well as my primary storage for craft, sewing, and office supplies, as well as my sewing machines.
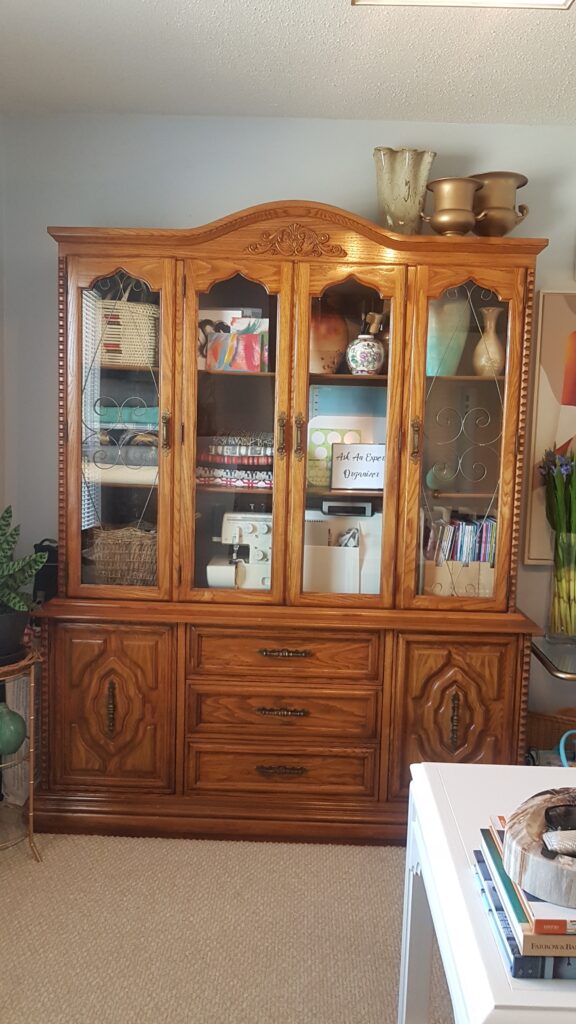
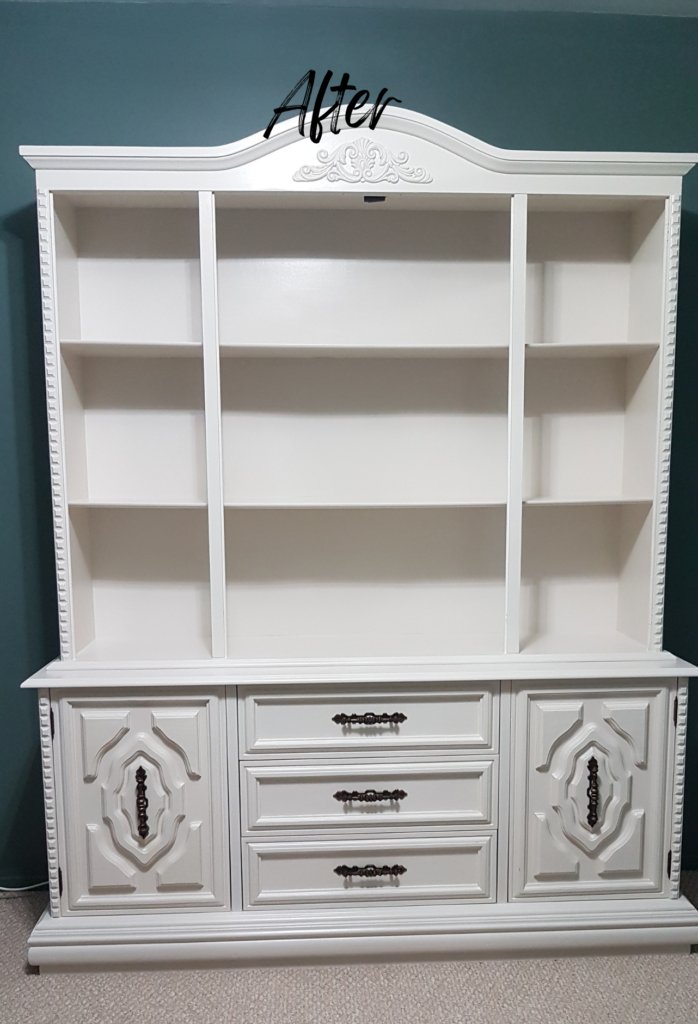
To modernize and brighten up the hutch, I have a pint of white paint ready for the transformation. I’m thrilled to see the impact it will make since it’s the largest piece of furniture in my home office. This hutch holds significant value to me as it previously belonged to my mother, and being able to use it serves a sentimental purpose as well.
But First…
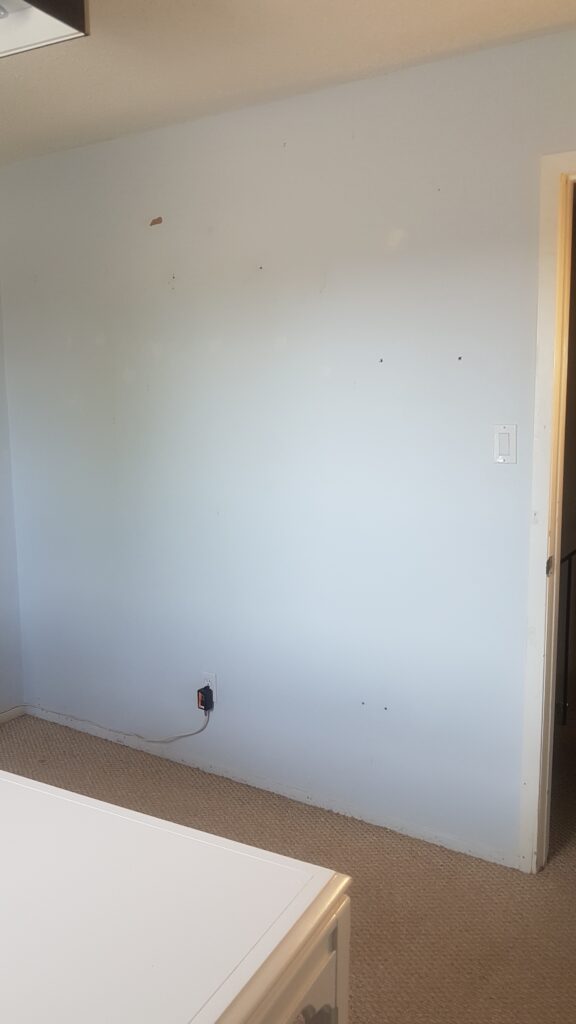
As part of the home office makeover, it was necessary to remove everything from the office, including the wood shelves.
Unfortunately, I forgot to take “before” pictures of the empty office, as well as of me scraping and painting the unattractive popcorn ceiling, filling and sanding nail holes, sanding and painting the desk, and sanding and painting the hutch. However, you can find recorded video footage of the entire process, including me and my hubs decluttering paper, scraping the popcorn ceiling, and installing the new shelves, on my YouTube channel under the title “My Home Office Reveal“.
Wall Paint Colour Inspo
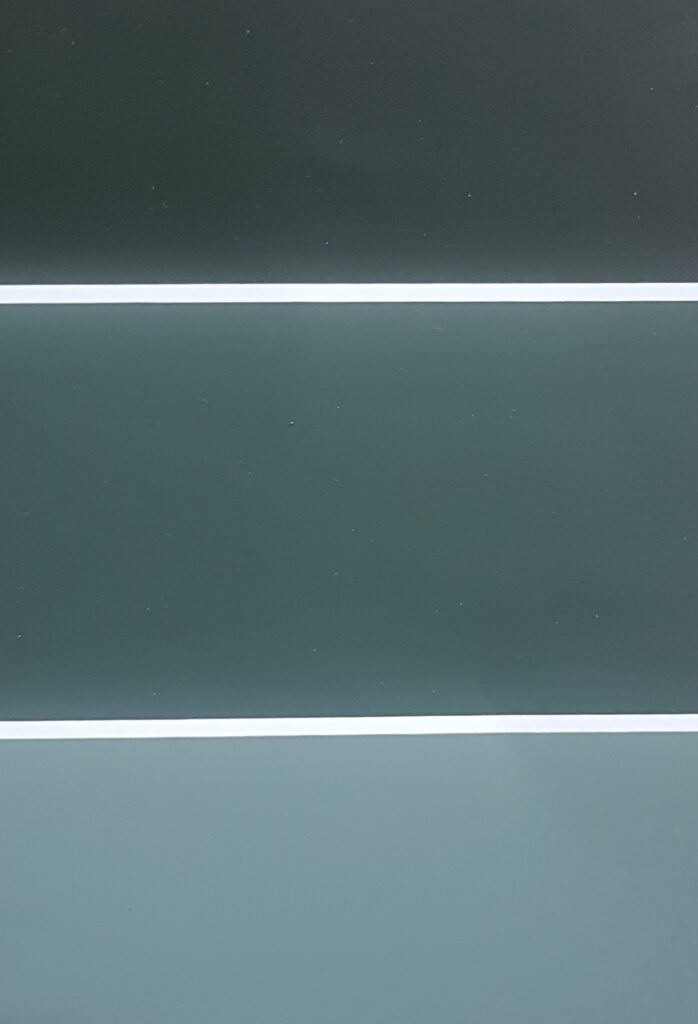
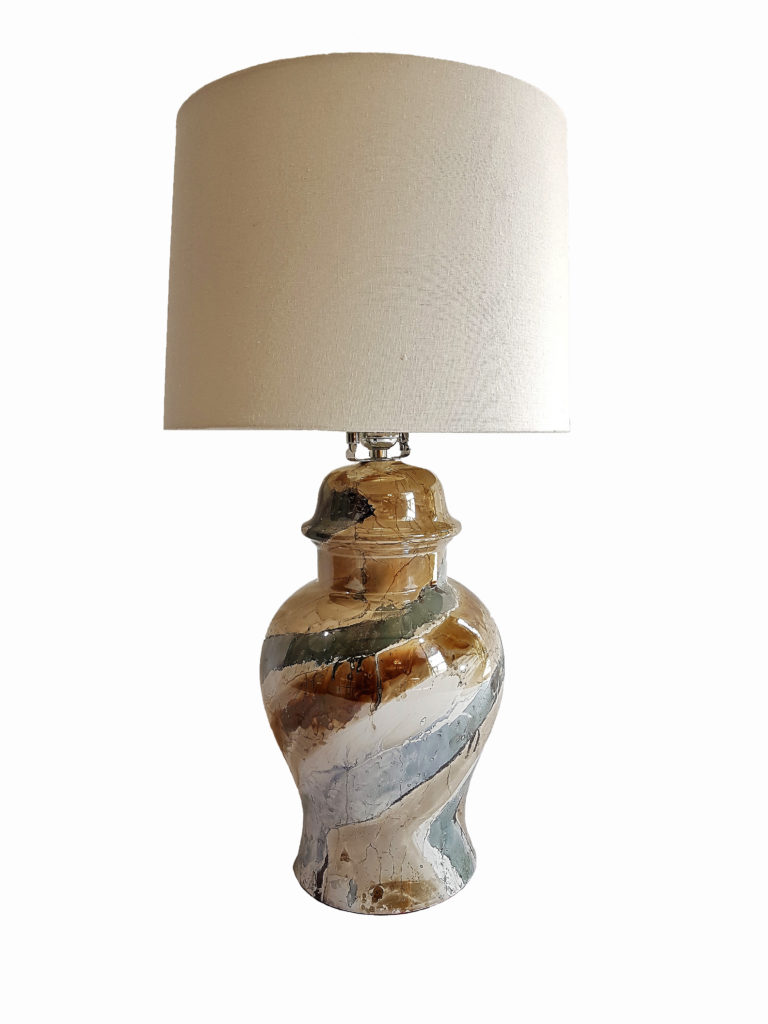
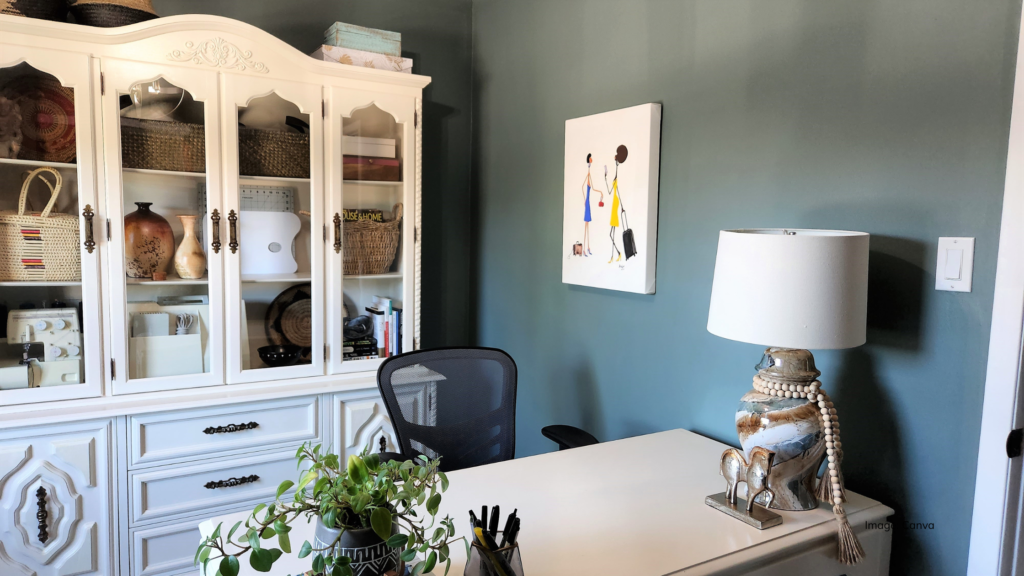
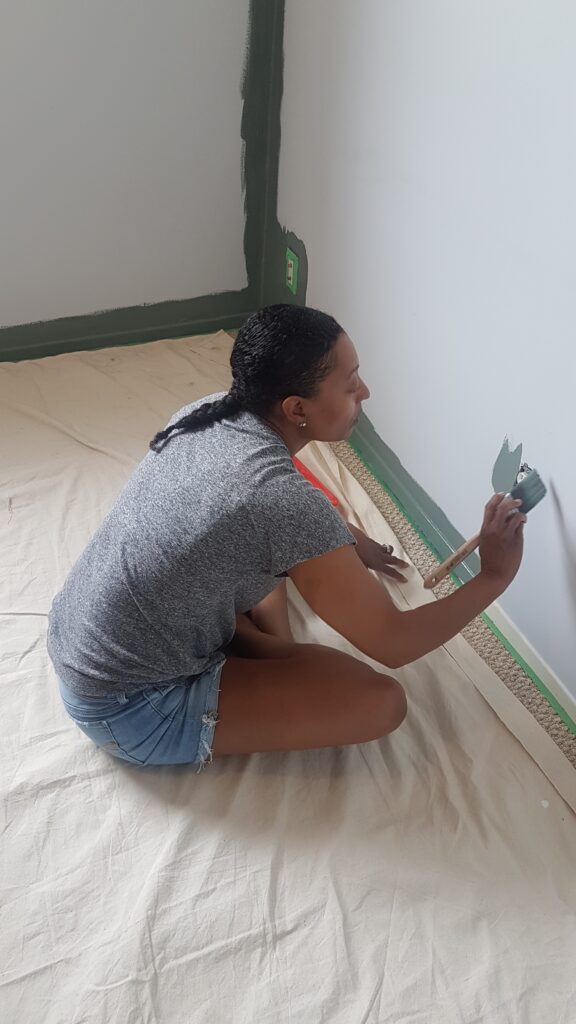
My choice of wall paint colour was inspired by a mid-century modern drip glaze ceramic ginger jar table lamp. I had spotted this lamp in a thrift store about two years before my office makeover and knew it would be perfect for the right occasion. If only I had exercised the same patience with my gallery wall!
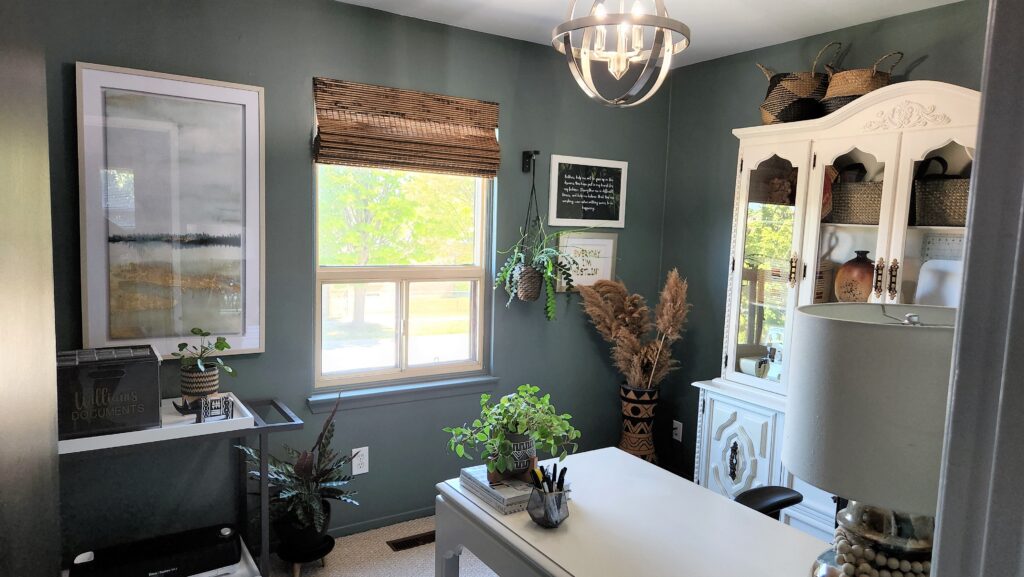
To achieve the calming yet refined look I desired, I selected one of the darker shades of green from the lamp. The shade I chose was Bombay Cat by Sico paint.
New Shelf Install
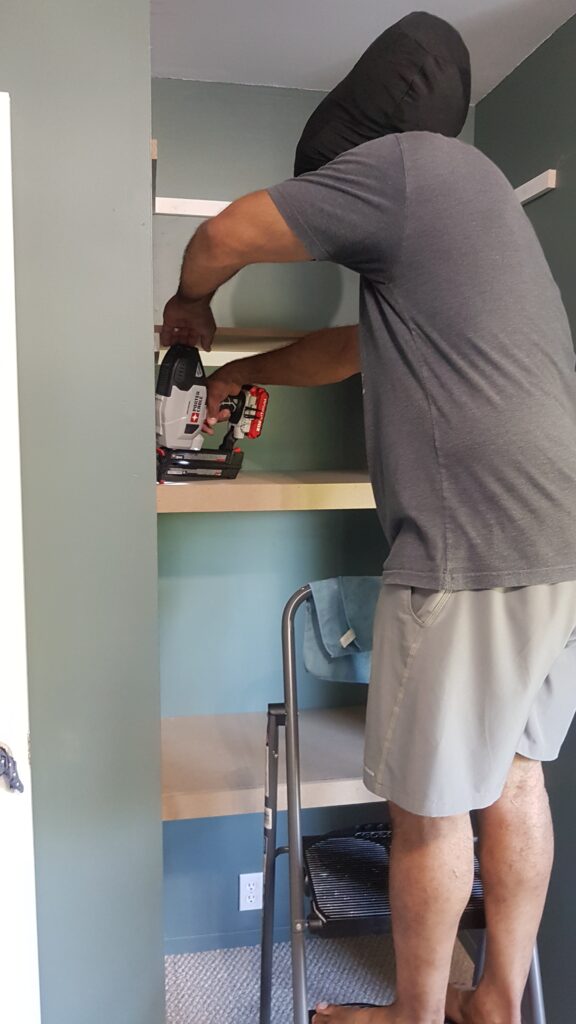
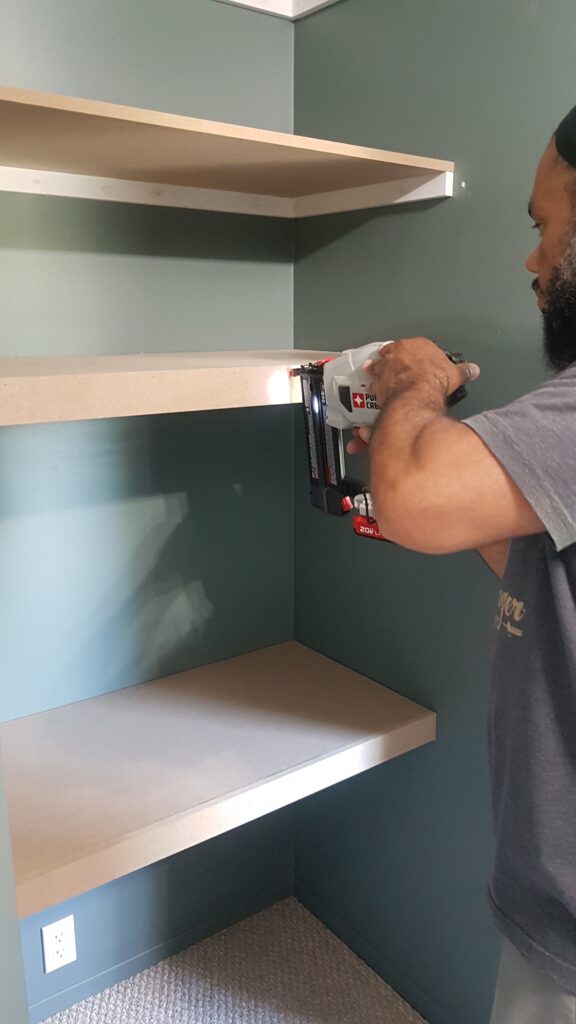
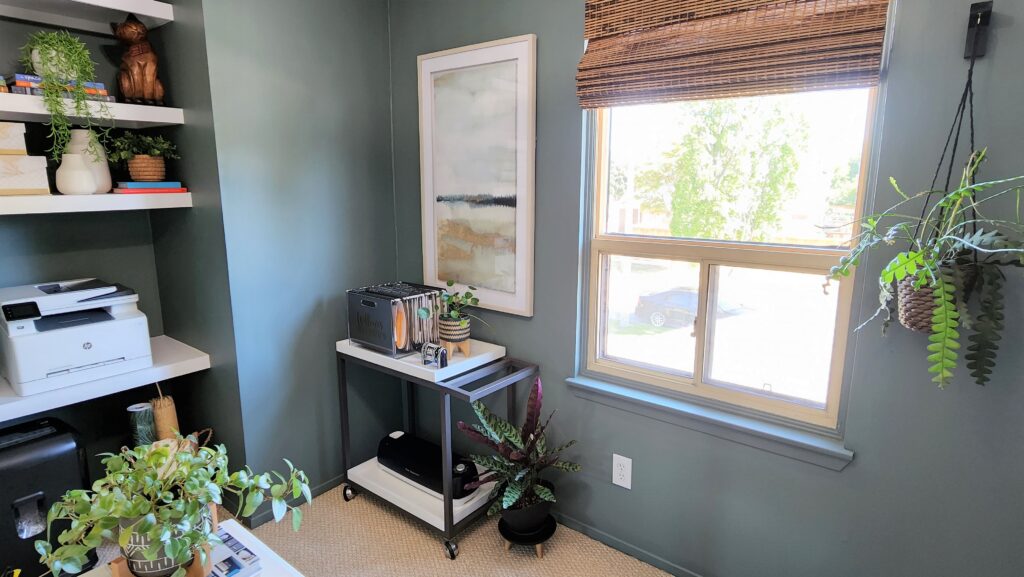
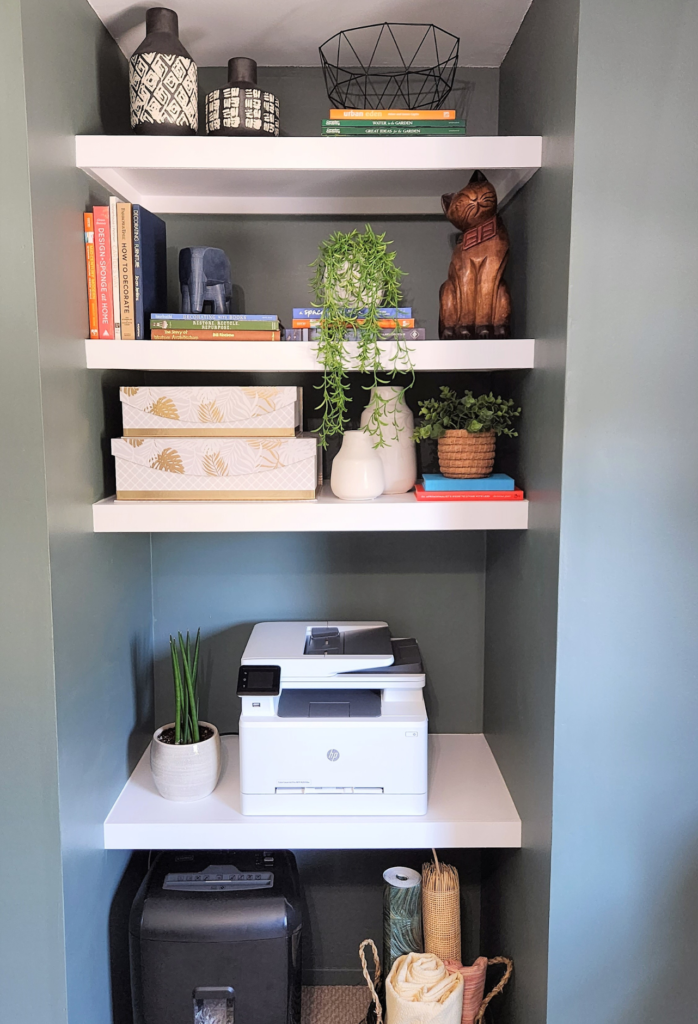
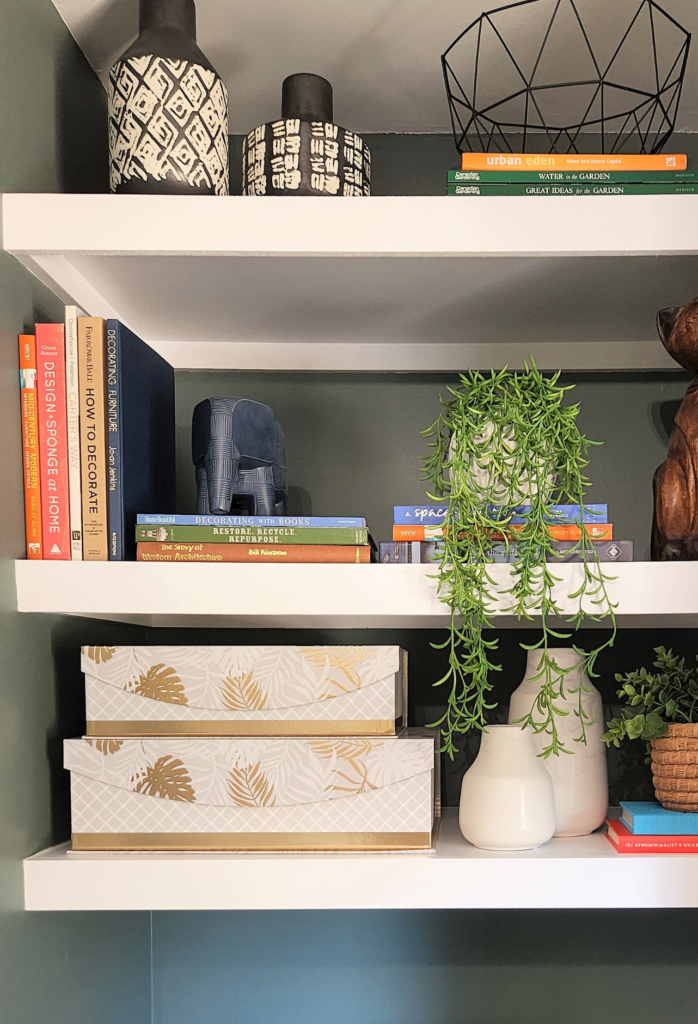
The installation and design of the shelves were both affordable and straightforward. To create the shelves, we purchased a single 4’x8′ board of 5/8″ MDF (medium density fiberboard) for the top and facing. To avoid the challenge of transporting such a large board, we asked the friendly staff at Lowes to cut the board into four 18″ sections for our desired depth. Since the closet width was less than 4 feet, we could measure and cut each shelf to the appropriate size.
Given that the closet walls were not perfectly uniform, I measured each shelf’s intended location, and each had slightly different measurements. To prevent wasting materials, I took multiple measurements to ensure that all the shelves fit correctly.
For the supports, we utilized 1″x3″x8′ pine trim. We identified the wall studs and used 2″ wood screws to secure them in place. This is crucial since the weight load of the shelf, including heavy items such as my printer, is carried by the wall studs. If I had drilled only into the drywall, the nail would not hold the weight, leading to a disastrous crash of my printer and other items.
The Fresh Updates!
It’s remarkable how a fresh coat of white paint can completely transform a piece of furniture! This is a prime example of the power of paint and how it can make a significant difference in any space.
Another minor update I made to the hutch was removing the metal inlay from its upper glass doors. This alteration was made to create a less formal look and make it easier to clean the glass. In upcoming pictures, you will see the doors reattached without the inlay.
It’s Much More Inspiring Now
Look at how I consolidated all of my filing requirements into a single desktop file box!
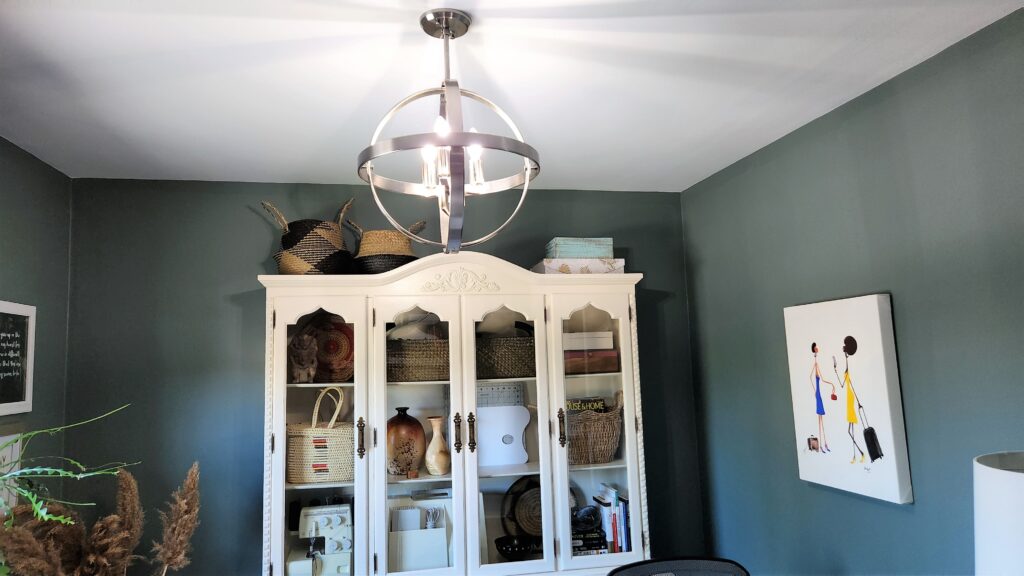
I bought a ceiling light at an auction two years ago and contemplated selling it on Facebook Marketplace but eventually decided to keep it. Initially, I installed the fixture in the primary bedroom to replace the old lighting fixture, which represented an improvement. Later on, after completing the primary bedroom’s makeover, I realized that the ceiling light would be a perfect fit for my home office. Therefore, as part of the overall renovation, I relocated the ceiling light, and it was a fantastic choice! The ceiling light not only complements the new design of my office but also adds warmth to the space.
Transforming my home office from drab to fab was truly a labour of love! Even though it was a low-budget makeover, the impact was significant, and it was rewarding to see all the hard work pay off.
Cost Savings
Initially, I had set a budget of $500, but I ended up splurging on a few new items that were worth the extra cost, such as an ergonomic desk chair, a bamboo Roman shade, and organizational products like an acrylic file box and interior organizers to keep my office and craft supplies tidy. I also added some framed art above the file storage cart to complete the look.
To save money, I repurposed a few items I already had, such as a free hutch and wheeled cart inherited from my mother and a desk from a hotel liquidation furniture store. I also found a vintage mid-century modern lamp at a thrift store.
Fortunately, I was able to sell a few items to offset some of the expenditures, such as the filing cabinet for $60, the gold-painted vintage wheeled cart for $100, and the baker’s rack for $60.
To be candid, I’m a bit behind in sharing my home update progress with you, as this home office makeover occurred a little over two years ago (April 2021). Nonetheless, I’m thrilled to share my experience, and I’m still in love with the outcome!
